Short answer
- Set up a budget kids art corner in a weekend in this order. First, pick a corner you can see from where you usually sit, with decent light and a floor you can clean, and measure it before you buy anything. Second, protect the floor, wall, and table with washable or sacrificial layers. Third, set up a stable table and chair where the child's feet rest flat, or on a footrest, and forearms rest on the table without raised shoulders. Fourth, sort supplies you already own, discard dried out and broken items, and store a small everyday set in clear, labeled, low containers children can reach and return. Keep special or higher risk supplies, such as small loose parts and any product with cautionary labeling, out of the everyday corner for supervised sessions only. Fifth, add a changeable display line and a keepsake box. Finish on Sunday by testing the corner with one simple activity, fixing the problems you see, and agreeing a short cleanup routine that ends with hands washed with soap and water.
Introduction
A kids’ art corner does not need a spare room, matching storage, or a large budget. It needs four things working together: a surface at a height a child can use comfortably, supplies a child can reach and put back without help, protection for the floor and walls so mess does not become damage, and a simple way to display finished work and store the pieces worth keeping. Put those four things in place over one weekend and you get a corner children actually use, not a tidy display they are afraid to touch.
This guide assumes you already own some basics, such as paper, crayons, or colored pencils, and it spends attention instead of money wherever possible. The order matters. Choose and measure the spot first, protect it second, and buy last, only for the gaps your own inventory cannot fill. Prices are not quoted here because they vary by store and region, but every suggestion is chosen to be low cost or no cost where possible, from a shower curtain as a floor mat to jam jars as pencil holders.
Safety is built into the setup, not added at the end. The safety sections below draw on guidance checked on 30 October 2026 from the U.S. Consumer Product Safety Commission (CPSC), the Art and Creative Materials Institute (ACMI), National Poison Control, the Centers for Disease Control and Prevention (CDC), and the National Association for the Education of Young Children (NAEYC). Where a claim depends on a child’s age or grade, the article says so, because a corner that is safe for a seven year old can hold real hazards for a toddler who still mouths objects.
Why a Small Corner Works
When paper and crayons live in one visible place, a child does not need permission, an adult, or a cleared dining table before starting. Starting becomes easy, and finishing becomes easier too, because every item has one home nearby.
NAEYC guidance for families on supporting creativity, checked on 30 October 2026, contrasts process art, where a child explores materials and creates something no adult planned, with product art, where a child follows a sample to make a predetermined result. NAEYC states that process art supports physical development, because small motor skills develop as a child glues, draws, paints, and works with clay or dough, and those skills matter for later writing. It also states that talking about art expands vocabulary as adults name materials, tools, and concepts, supporting literacy development, and that art supports self regulation and self control as a child focuses, makes choices, and feels successful. NAEYC’s process art at home guidance adds that process art requires minimal adult preparation, does not need expensive supplies, and can use materials from home and nature. A budget corner follows that pattern: a defined place, open ended materials, and room for the child to lead.
Pick the Corner Before You Buy Anything
Start with supervision, light, and cleaning. The best corner is one you can see from where you usually sit, with decent natural light if possible and a floor that is easy to clean or that you can fully cover. A corner of a living room, dining area, or child’s bedroom can all work.
Rule out spots beside the main walkway, which collect bumps and interruptions, spots squeezed between furniture with no room to pull out a chair, and spots far from water, which make cleanup harder.
Measure before you commit and write the numbers down: wall length on each side, windowsill height, outlets, and any radiator, vent, or door swing. Check working space, not just furniture footprint. A table that exactly fills the wall leaves no room to pull out a chair or walk behind a seated child. Leave extra space on at least one side, and if two children will share, plan for two seats side by side from the start.
Plan around the youngest child. If a child under three will use or wander through the corner, no small loose parts can be left within reach. If the corner is for older children only, keep special supplies in a closed box stored elsewhere. Do not rely only on a rule a toddler cannot understand. Finally, test the corner at the time of day it will be used, sitting in the child’s chair to check glare and shadow.
Protect First, Decorate Second
Expect mess and contain it, working from the floor up. For the floor, use a washable mat, an old shower curtain, oilcloth, or an inexpensive plastic tablecloth under the table, large enough to extend beyond the table on all sides, because drips and pushed back chairs do not stay inside the table footprint. Secure curled edges so they do not become a tripping edge. For the wall behind and beside the table, use a roll of inexpensive paper, a wipeable board, or clean cardboard to take splashes. For the table, use a wipeable tablecloth, contact paper on a secondhand table, or a large cutting mat.
Add protection that costs nothing. Aprons or old adult T shirts worn as smocks protect clothes; keep two or three in the corner so a spare is ready. Roll sleeves up, tie long hair back, and keep a damp cloth, a dry cloth, and a small bin in the corner itself, so a child does not cross the room with dripping hands to find a cloth.
A Table, a Chair, and Light
You do not need a matched furniture set. A small secondhand table, a sturdy folding table, or a table already in the house can serve if height and stability are right. Judge any candidate with three checks. First, stability: push the table from the side. A table that rocks or slides will frustrate a child and spill paint water, so tighten legs or choose another table. Second, the chair: reject one that tips easily, has a damaged leg, or is so tall a child must climb unsafely. Look for a stable chair with a flat seat and a backrest. If a small child uses a booster on a stable adult chair, supervise climbing and use it only as its instructions allow. Third, height: feet should rest flat on the floor or on a firm footrest, and forearms should rest on the table without shoulders rising toward the ears. A child hunched over a coffee table or kneeling will tire quickly and stop sooner from discomfort, not lack of interest.
Check secondhand furniture before it enters the corner: wipe it clean, and check for splinters, loose screws, sharp edges, and peeling paint or finish. If you are unsure about an old painted finish, choose a different table rather than guessing.
For light, daylight near a window is ideal by day. In the evening, use a lamp that lights the table evenly without shining into the child’s eyes. A clip on or small desk lamp is enough. Do not rely only on a distant ceiling light, which can leave the surface in shadow. Keep cords out of the walkway and out of reach of very young children.
Organize Supplies So Children Can Work Alone
If every supply lives in one deep box, a child must dig, ask an adult, and leave a pile behind. If supplies are visible, sorted, and reachable, the same child can choose, start, and tidy up with far less help.
Start with a full inventory before buying anything. Gather every art supply in the house, and discard dried out markers, broken crayons, empty glue bottles, and any product that is expired, damaged, or missing its label. National Poison Control guidance on safe use of art products, checked on 30 October 2026, advises reading labels carefully, throwing away expired products, storing products in their original containers, and washing up skin, equipment, and the area after use. Keep products in original containers, and never pour paint or glue into food or drink containers.
Sort what remains into drawing, painting, cutting and sticking, and modeling. Duplicates will appear, and the sort alone often shows you need to buy far less than expected. List only genuine gaps, usually paper and one missing basic such as a glue stick or child sized scissors.
Use containers you already have: sturdy jars for pencils and brushes, baskets or boxes for paper, and a tray or baking sheet for painting supplies. Clear containers help children see contents without opening everything. Label each container with a picture as well as a word for younger children. Keep containers small enough to carry with two hands, and avoid heavy containers stored above head height.
Split supplies strictly. Everyday supplies live in the corner: paper, crayons, colored pencils, age appropriate child sized scissors, glue sticks, and a few paint colors. Special supplies live elsewhere and come out only for supervised sessions: glitter, beads, buttons, strong adhesives, and any cautionary labeled product. Rotate the everyday set every few weeks, swapping a few items, so familiar supplies feel new and the corner does not overflow.
Safety Checks Before the First Session
Widely used does not mean every product suits every child. Do the label, age, and small parts checks before the first session, and repeat the label check whenever a new product enters the corner. This section is general information, not medical advice. If a child swallows a product, gets it in the eyes, or has a worrying reaction, follow the product label and seek prompt professional advice rather than guessing.
Read the label and look for the right seal
CPSC art materials guidance, checked on 30 October 2026, explains that the Labeling of Hazardous Art Materials Act, enacted in 1988, amended the Federal Hazardous Substances Act to require labeling of chronically hazardous art materials, codified at 16 CFR 1500.14(b)(8). CPSC states that art materials must undergo a toxicological assessment at least every five years, and that a statement of conformance, such as Conforms to ASTM D-4236, must be placed on the product whenever practicable, or otherwise on permitted package or point of purchase material. That statement shows the product has been through the labeling system, not that it suits a young child on its own.
ACMI runs the seal program on many packages. Its classroom art materials safety page, checked on 30 October 2026, says to check for the Approved Product, or AP, Seal on creative products for kids in sixth grade or younger. ACMI describes AP Seal products as certified, in a toxicological evaluation by a board certified toxicologist, to contain no materials in sufficient quantities to be toxic or injurious to humans, including children, or to cause acute or chronic health problems, and as labeled in accordance with ASTM D 4236 and the Federal Hazardous Substances Act including LHAMA. When you have a choice for younger children, choose the AP Seal product.
Treat the Cautionary Labeling, or CL, Seal the opposite way. ACMI says CL Seal products are for seventh grade and older, and states: never give children in sixth grade or younger a product with the CL Seal. It describes them as properly labeled for known health risks and proper use, never to be given to a child in grade six or lower or to anyone unable to read, understand, and follow safety labeling. CL Seal products do not belong in everyday supplies. Store them separately, read the full label before opening, and put them away after a supervised session.
National Poison Control, checked on 30 October 2026, also advises not eating or drinking while using art products, never using a product for skin painting or food decoration unless the label says it is safe for that use, and checking ACMI certification when choosing school supplies, noting AP products are the best to use with young children. If something goes wrong, it advises using the webPOISONCONTROL tool or calling a poison center at 1-800-222-1222, described as free, confidential, and available 24 hours a day. Save that number where adults can find it quickly.
Keep small parts away from the youngest children
CPSC’s toy safety education page, checked on 30 October 2026, advises following age guidance on packaging, keeping small balls and toys with small parts away from children younger than age three, and keeping deflated balloons away from children younger than age eight. It also notes toys must have age labels if they are a choking hazard for children under three. Applied to art stock, beads, buttons, small magnets, and other small collage pieces should not be in reach of a child under three, and older children should use them only in supervised sessions, with a count out and count back habit.
Magnets need a separate rule. The Child Injury Prevention Alliance toy safety shopping guide, content provided by the Center for Injury Research and Policy at Nationwide Children’s and checked on 30 October 2026, warns magnets can be very dangerous if swallowed, that two or more can attract each other inside the body and cause serious problems, and that parents should seek immediate help if a child may have swallowed a magnet. For a corner used by young children, keep loose small magnets out altogether. Clips or clothespins do the display job without that risk.
Match scissors and tools to the child
The same guide advises, for children ages four to five, to be sure art supplies are marked non toxic and scissors have blunt tips, and generally not to buy toys with sharp edges or points for young children and to read age recommendations on labels. Start younger children with blunt tipped, child sized scissors, teach them to carry scissors closed with points down and return them straight after use, and keep craft knives, hot glue guns, and any tool with a blade, sharp point, or heat out of the everyday corner, in adult storage for supervised use only.
If a child has allergies or skin sensitivities, read the label before a product enters the corner, and stop use and seek advice if a reaction occurs. Follow manufacturer instructions for ventilation with any strong smelling adhesive or spray, and prefer water based, low odor everyday supplies for a small indoor corner. Store special supplies closed, in original containers, out of young children’s reach.
Display Work Without Covering Every Wall
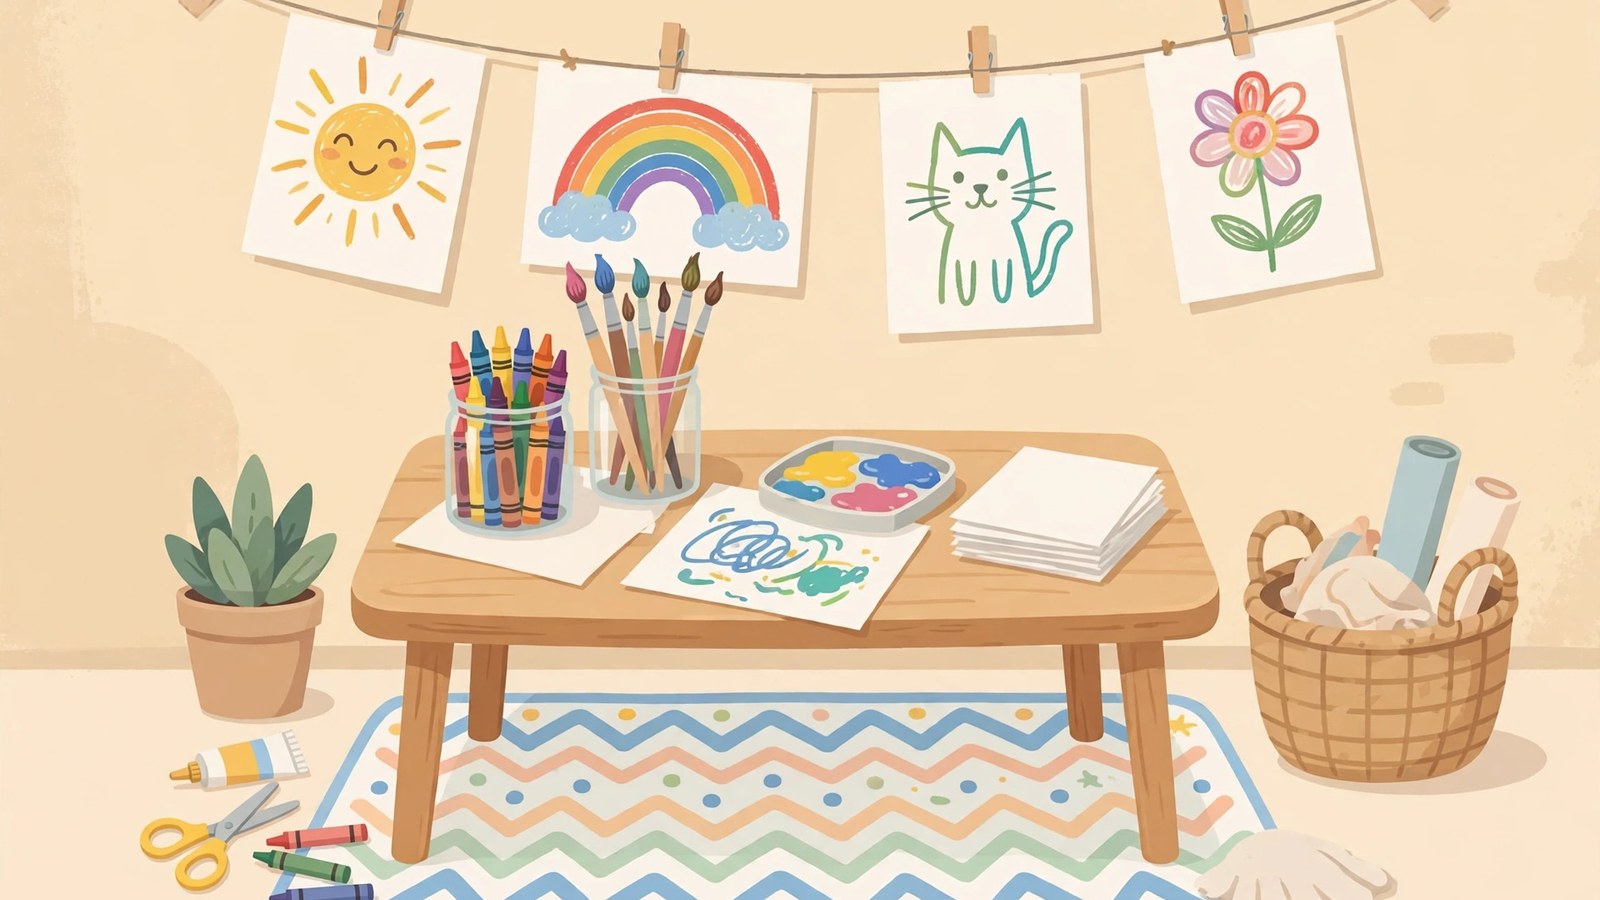
A display system stops finished art piling up on the table. The simplest budget system is string or wire across one protected wall with clips or clothespins, so pictures swap in seconds without tape marks or nails. A corkboard or clip frames work the same way. The test is whether the child can change the display, with help at first, without adult tools.
Agree a rule together: a set number of pictures stays up, and when a new favorite goes up, an older one comes down into a keepsake folder or box labeled with the child’s name and the year. Photograph large, fragile, or three dimensional pieces into a named phone album before recycling or dismantling them, and store kept flat work flat so it does not curl or tear.
The Weekend Plan
Use Saturday for decisions and protection, and Sunday for testing and routine. Do not buy until the Saturday inventory is done.
| Time | Job | Done when |
|---|---|---|
| Saturday morning | Choose and measure the corner, note outlets and door swings, clear and clean it. | Written measurements and an empty corner. |
| Saturday midday | Sort all supplies into four groups. Discard dried out, expired, broken, and unlabeled items. | Four groups and a short gaps list. |
| Saturday afternoon | Lay floor, wall, and table protection. Set up table and chair; do stability, height, and light checks. | Child seated with flat feet or a footrest and an evenly lit surface. |
| Saturday late afternoon | Fill low, labeled containers with everyday supplies only. Move special supplies out of reach. Fix the display line and keepsake box. | Child can reach and return every everyday item. |
| Sunday morning | Run one simple test session. Watch where the child reaches, spills, waits, or asks for help. | A short fix list from what actually happened. |
| Sunday afternoon | Fix the list: move the water jar, lower a container, add a footrest, adjust the lamp, widen the mat. | Each problem has one concrete change. |
| Sunday evening | Agree and practice cleanup, post the picture checklist at child eye level, and finish with handwashing. | Child can show you each step. |
If time runs short, protect the order, not the decoration. A corner with protection, a stable table, sorted low supplies, and a practiced routine is finished in every way that matters.
A Cleanup Routine Short Enough to Stick
Make cleanup part of the activity, not a punishment after it. Keep it short, specific, and always in the same order: lids on, brushes in the jar, paper in the basket, scraps in the bin, table wiped, chair pushed in, hands washed. Post the steps as a picture checklist at child eye level, and praise tidying as part of making art.
End with proper handwashing, not just a wipe. CDC guidance on hand hygiene as a family activity, checked on 30 October 2026, describes handwashing as an easy and effective way to prevent the spread of germs, says parents and caregivers play an important role in teaching it, and teaches five steps: wet, lather, scrub, rinse, and dry, with key times including after using the bathroom and before eating. CDC notes young children learn by imitating adults, frequent reminders are needed at first, alcohol based hand sanitizer with at least 60 percent alcohol is a fallback only if soap and water are not available, and baby wipes are not designed to remove germs. For visibly dirty art hands, soap and water is the standard finish.
Add a weekly five minute adult reset: discard dried markers, sharpen pencils, top up paper, wipe covers and the mat, and check that no special supplies have migrated back into everyday containers.
Keeping It Going After the Weekend
Add new material occasionally, not all at once. A roll of large paper, watercolor pencils, or clean household recycling can refresh interest without a large purchase. NAEYC suggests saving recycled materials for collage, and its process art at home guidance lists bases such as cardboard and paper plates, connectors such as masking tape, glue, and pipe cleaners, and tools such as scissors and varied brushes. Check any recycled item first: clean, dry, age appropriate, with no sharp edges, staples, or small detachable parts for young children. Cardboard tubes, egg boxes, and fabric scraps often pass. Containers that held cleaning products or chemicals never belong in the corner.
Revisit the setup each season as children grow: can the child still sit comfortably, reach and return the everyday set, and follow cleanup without prompting? Where the answer changes, change the corner, not the child’s access to art. And let the corner be a little messy during a session. A corner that must stay pristine will not be used. Mess is welcome while making art, protection catches it, and tidying is part of finishing. That balance is what makes a budget corner last beyond its first weekend.
Frequently Asked Questions
How much does a budget kids art corner cost?
There is no single figure, because the setup is built first from what you already own: a table and chair in the house or found secondhand, jars and baskets as containers, an old shower curtain or tablecloth as floor protection, and supplies found in the initial sort. For many families the only purchases are gaps, most often paper and one missing basic. Prices vary by store and region, so this guide does not quote them.
What if I have no spare corner at all?
Use a portable version of the same system. Keep everyday supplies in one lidded box or tray on a shelf, protect any table with the same wipeable cover and floor mat, work there for the session, and pack everything back as the cleanup routine. A fold down or lap based surface can work for short sessions, but check height and stability the same way, and stop if a child must hunch or kneel.
Which art supplies are safe enough for the everyday corner?
Choose products whose labels you have read, keep them in original containers, and for children in sixth grade or younger prefer ACMI AP Seal products, which ACMI describes as certified to contain no materials in sufficient quantities to be toxic or injurious to humans, including children. Do not place ACMI CL Seal products in the everyday corner, because ACMI states they should never be given to children in sixth grade or younger. Keep small loose parts, loose magnets, and tools with blades, sharp points, or heat out, bringing them out only for supervised sessions where age makes them appropriate at all.
What should I do if a child swallows an art product or gets it in the eyes?
Follow the product label’s first aid guidance and seek prompt professional advice rather than guessing. National Poison Control advises using its webPOISONCONTROL tool or calling a poison center at 1-800-222-1222, described as free, confidential, and available 24 hours a day. If a child has swallowed a magnet, or you think they may have, seek immediate help, because swallowed magnets can attract each other inside the body and cause serious problems. This answer is general information, not medical advice for a specific incident.
How do I stop the corner spreading across the whole room?
Give spread a boundary and a routine. The floor mat is the boundary during a session, the everyday containers limit how much can be out, the display rule limits what stays on the wall, and the keepsake box receives what comes down. The weekly reset catches drift. If work regularly leaves the mat, the usual causes are a mat or table that is too small, or too many supplies out at once, each with a direct fix in the setup sections above.
How often should I change the supplies in the corner?
Rotate a few items every few weeks, or sooner if the corner goes unused. Discard dried out items at the weekly check, put away a material nobody chooses for a while, and top up a material that is always finished, such as paper.
Sources & references
- U.S. Consumer Product Safety Commission (CPSC), Art Materials business guidance. Used for the Labeling of Hazardous Art Materials Act enacted in 1988 amending the Federal Hazardous Substances Act, requirements codified at 16 CFR 1500.14(b)(8), toxicological assessment at least every five years, and the statement of conformance such as Conforms to ASTM D-4236 placed on the product whenever practicable or otherwise on permitted package or point of purchase material.
- U.S. Consumer Product Safety Commission (CPSC), Toys safety education page. Used for following age guidance and safety information on packaging and choosing products that match a child's interests and abilities, keeping small balls and toys with small parts away from children younger than age three, keeping deflated balloons away from children younger than age eight, discarding plastic wrappings promptly, and toys needing age labels if they are a choking hazard for children under three.
- Art and Creative Materials Institute (ACMI), Classroom Art Materials Safety. Used for checking for the AP Seal on creative products for kids in sixth grade or younger, the AP Seal description as certified in a toxicological evaluation by a board certified toxicologist to contain no materials in sufficient quantities to be toxic or injurious to humans, including children, or to cause acute or chronic health problems, with labeling in accordance with ASTM D 4236 and the Federal Hazardous Substances Act including LHAMA, and for the CL Seal as for seventh grade and older and adults, never to be given to children in sixth grade or younger or to anyone unable to read, understand, and follow safety labeling.
- National Poison Control, Safe Use of Art Products. Used for reading labels carefully and following instructions, throwing away expired products, not eating or drinking while using art products, washing up skin, equipment, and environment after use, never using products for skin painting or food decoration unless the label says it is safe for that use, storing art products in their original containers, checking ACMI certification when choosing school supplies, AP products being the best to use with young children, and the webPOISONCONTROL tool and poison center number 1-800-222-1222 as free, confidential, and available 24 hours a day.
- Centers for Disease Control and Prevention (CDC), About Hand Hygiene as a Family Activity. Used for handwashing as an easy, cheap, and effective way to prevent the spread of germs, parents and caregivers playing an important role in teaching children, the five steps wet, lather, scrub, rinse, and dry, key times such as after using the bathroom and before eating, children learning by imitating adults, frequent reminders being needed at first, soap and water being the best way to get rid of germs, alcohol based hand sanitizer with at least 60 percent alcohol only if soap and water are not available, and baby wipes not being designed to remove germs.
- National Association for the Education of Young Children (NAEYC), Supporting the Development of Creativity, by Laurel Bongiorno. Used for the contrast between process art and product art, process art supporting physical development through small motor skills used in gluing, drawing, painting, and working with clay or dough and their importance for future writing, vocabulary expanding through naming materials, tools, and concepts with conversation supporting literacy development, and art supporting self regulation and self control through focus, choices, and feeling successful, plus the practical suggestions to provide a place such as a special bin or drawer, save recycled materials for collage, include watercolor and finger paints and varied painting tools, offer varied drawing materials, provide lots of blank paper, and include tape, glue, scissors, and dough or clay.
- National Association for the Education of Young Children (NAEYC), Encouraging Process Art at Home: Reaping the Benefits of Joy and Making, Message in a Backpack. Used for process art as exploring materials without working toward a particular end product, process being more important than outcome, benefits including playfulness, curiosity, and resilience, minimal adult preparation, no need for expensive supplies or to be an artist, using materials from home and nature, and the suggested groups of bases, objects to explore, connectors, and tools for a home setup.
- Child Injury Prevention Alliance, Toy Safety Shopping Guide, content provided by the Center for Injury Research and Policy at Nationwide Children's. Used for small parts checking, avoiding magnets and small toys as choking hazards for the youngest children, magnets being dangerous if swallowed with two or more able to attract inside the body and the advice to seek immediate help if a child may have swallowed a magnet, reading age recommendations on labels, avoiding toys with sharp edges or points for young children, and for children ages four to five being sure art supplies are marked non toxic and scissors have blunt tips.


