Short answer
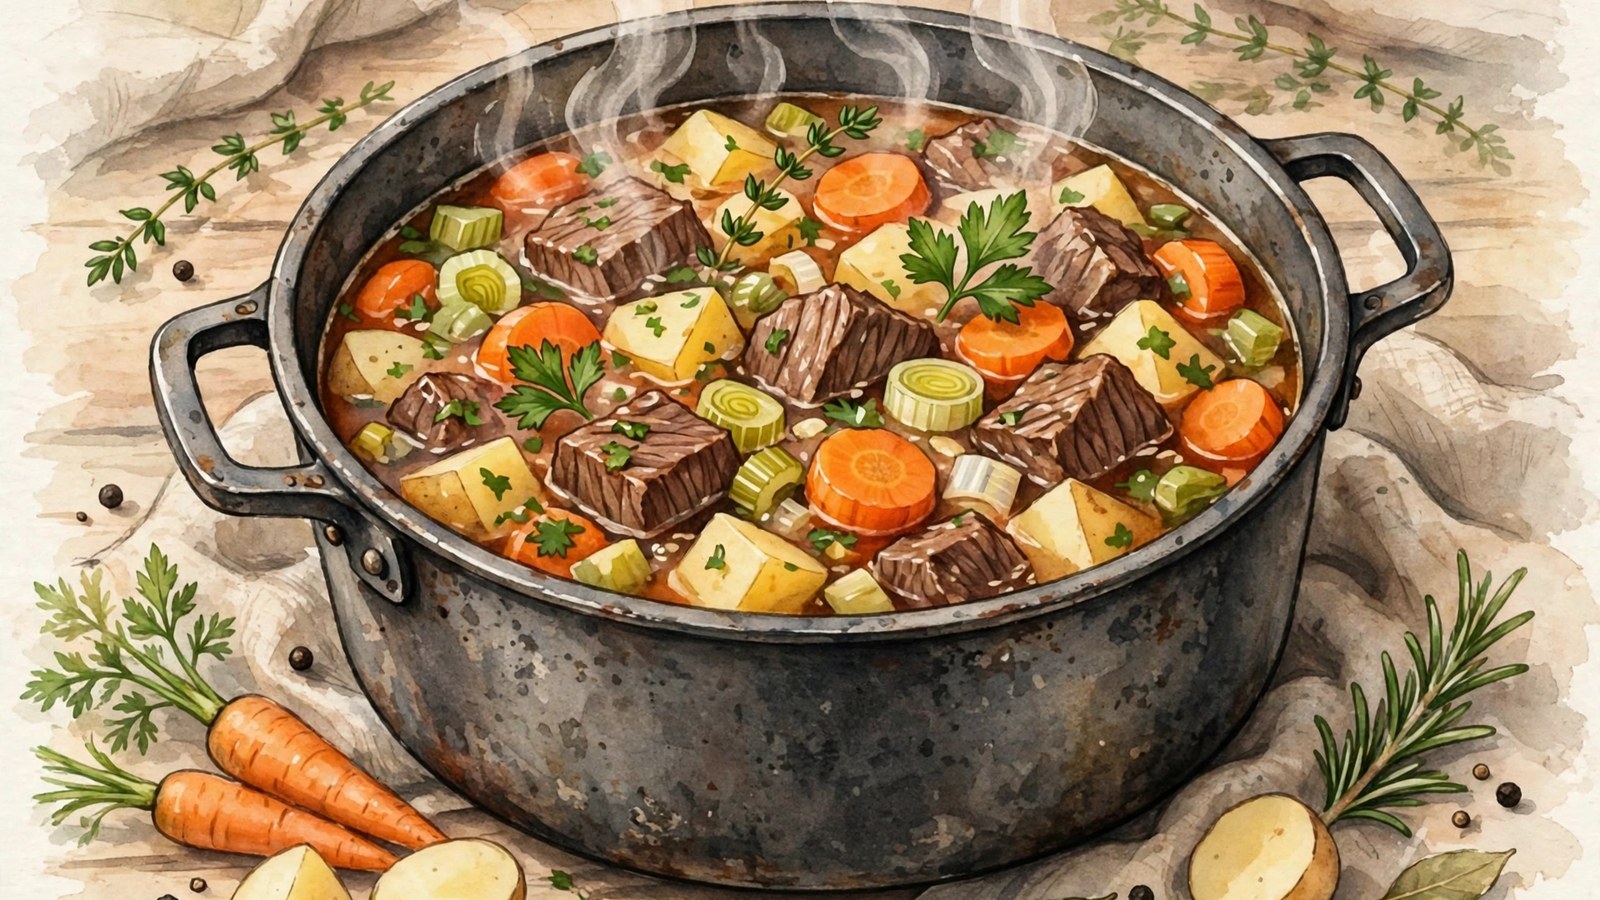
- Brown 2 pounds of beef chuck cut into 1 inch cubes in batches in a large heavy pot until deeply browned, then set it aside. Soften onion, carrots, and celery in the same pot, stir in garlic and tomato paste for 1 to 2 minutes, then deglaze with broth and scrape up the browned bits. Return the beef with the remaining broth, diced tomatoes if using, bay leaves, and thyme, bring to a gentle boil, and simmer on low for about 1 hour. Add potatoes cut into 3/4 inch cubes and simmer 30 to 45 minutes more, until the beef yields to a fork and the potatoes are tender. Add green beans in the last 15 minutes for a firmer texture and frozen peas or corn in the last 10 minutes. Season at the end, remove the bay leaves, and serve with parsley. For reference, FoodSafety.gov lists whole cuts of beef such as steaks, roasts, and chops at 145 degrees Fahrenheit with a 3 minute rest, and ground beef at 160 degrees Fahrenheit. A soup simmered for this long will pass those temperatures, but tenderness, not color alone, is the practical test for the cubed beef. Refrigerate leftovers within 2 hours, use them within 3 to 4 days, and reheat soup to a rolling boil.
Introduction
One-pot beef and vegetable soup with potatoes is built for weeks when dinner needs to be straightforward, filling, and made in a single pot. You brown beef chuck, soften onion, carrots, and celery, add broth, tomatoes, and potatoes, and simmer until the beef is tender and the potatoes are cooked through. The potatoes give the broth a little body as they cook, and the vegetables keep their own character instead of disappearing into the pot.
One pot does not have to mean flat flavor. The difference between a rich soup and a bland one is usually browning, the order in which ingredients are added, and enough simmering time. Beef crowded into a pot steams and stays pale. Beef browned in batches with space around each piece develops a savory crust that flavors everything that follows. Salt checked at the start, in the middle, and again at the end seasons the soup evenly. This guide walks through each of those decisions, gives the full ingredient list and method, and covers food safety, storage, and freezing in plain terms.
The food safety guidance in this article was checked against FoodSafety.gov, the United States Department of Agriculture Food Safety and Inspection Service, and the Food and Drug Administration on 31 October 2026.
Choosing Beef That Suits a Simmered Soup
Not every cut of beef suits a simmered soup, and choosing well saves money and disappointment. Chuck roast, cut into cubes, is the best choice here. Chuck comes from the shoulder. It contains connective tissue and marbling, and it becomes tender and flavorful with slow, moist cooking. As it simmers, the connective tissue softens and the broth gains body, which is why chuck tastes richer after a long, gentle cook than a lean cut does.
Stew meat sold pre-cut is often chuck, but can be a mix of cuts that cook at different rates. Look for similar sized pieces, and trim hard fat or gristle.
Cuts to avoid for this soup include lean, expensive cuts such as sirloin, tenderloin, and ribeye. They are suited to fast, dry cooking, and they tend to become dry and firm when simmered for a long time. They also cost more for a worse result. Ground beef can make a different, quicker soup, but it behaves differently. It needs browning and draining, it does not need a long simmer to become tender, and the texture is entirely different, so treat a ground beef soup as a separate recipe rather than a shortcut for this one. FoodSafety.gov lists ground beef at 160 degrees Fahrenheit.
Aim for cubes about 1 inch across. Pieces that are too small can shred into the broth, and pieces that are too large may still be tough when the vegetables are done. Trim thick external fat, but leave marbling. Pat the cubes dry before browning, because wet beef steams instead of browning.
Ingredients
For a large pot serving about 6 to 8 people, gather:
- 2 pounds beef chuck, cut into 1 inch cubes, patted dry
- 2 tablespoons vegetable oil, divided
- 1 teaspoon salt, plus more to taste
- 1/2 teaspoon black pepper, plus more to taste
- 1 large yellow onion, diced
- 3 carrots, peeled and sliced into 1/2 inch pieces
- 3 celery stalks, sliced
- 4 cloves garlic, minced
- 2 tablespoons tomato paste
- 8 cups low sodium beef broth
- 1 can (14 to 15 ounces) diced tomatoes, with juices, optional but recommended
- 1 and 1/2 pounds potatoes, peeled or unpeeled as you prefer, cut into 3/4 inch cubes
- 2 bay leaves
- 1 teaspoon dried thyme
- 1 teaspoon dried rosemary, crushed, or 1 tablespoon fresh rosemary leaves, optional
- 1 cup green beans, cut into 1 inch pieces, fresh or frozen
- 1 cup frozen peas or corn, optional
- 2 tablespoons chopped fresh parsley, for serving
- 1 tablespoon Worcestershire sauce, optional, for depth
Have everything prepared before the pot goes on the heat. Keep raw beef separate from vegetables and from plates for cooked food.
Choosing Potatoes and Preparing the Vegetables
Potato choice changes the body of the soup. Waxy potatoes, such as Yukon Gold and red potatoes, hold their shape well and stay in distinct cubes, which suits a soup where you want to see and taste the potatoes as separate pieces. Starchy potatoes, such as russets, break down more at the edges and thicken the broth, which suits a heartier, almost stew like body. Yukon Gold is a good middle ground. It holds its shape reasonably well while still giving a little thickness, and its mild, buttery flavor suits beef soup. If you use russets, cut them slightly larger, because they soften faster.
Thin skinned potatoes, such as red potatoes and Yukon Gold, can be left unpeeled after a good scrub. Russets are usually peeled, because their skins are thicker. If you leave skins on, scrub well and cut away green spots and eyes, because green skin can taste bitter.
Tomatoes are optional, but they add acidity and depth that balance the richness of the beef. Diced tomatoes with their juices give a slightly chunky, rustic broth, while crushed tomatoes give a smoother, more uniform broth. If you dislike tomato in beef soup, leave it out and add a small splash of vinegar or lemon juice at the end instead, to provide a similar brightening effect. Add that acid gradually, because a little lifts the soup and too much makes it sharp.
Method, Step by Step
Step 1: Season and brown the beef in batches
Season the beef cubes with salt and pepper. Heat 1 tablespoon of the oil in a large, heavy pot or Dutch oven over medium high heat, until the oil shimmers but does not smoke. Add beef in a single layer, with space between the pieces, and brown for 3 to 4 minutes per side, without moving the pieces too often, until they develop a deep brown crust. Browning is not about cooking the beef through. It is about creating flavor on the surface that will season the broth.
Remove the browned beef to a clean plate, add the remaining oil if needed, and repeat with the next batch. Crowding the pot is the most common mistake at this stage. A crowded pot drops in temperature, the beef releases liquid, and the meat steams and turns gray instead of browning. Two batches are normal for this amount, and three are fine if your pot is smaller.
Step 2: Soften the vegetables and cook the tomato paste
Reduce the heat to medium, and add the onion, carrots, and celery to the same pot, with any browned bits still clinging to the bottom. Those bits, often called fond, are concentrated flavor, and they will dissolve into the soup as the vegetables release moisture. Cook the vegetables for 5 to 7 minutes, stirring occasionally, until the onion softens and turns translucent and the carrots begin to soften at the edges.
Add the garlic and tomato paste, and cook for 1 to 2 minutes more, stirring constantly, until the tomato paste darkens slightly and smells sweet rather than raw. This brief cooking step takes away the raw, tinny edge of tomato paste and deepens its flavor.
Step 3: Deglaze, add the liquid, and start the simmer
Pour in a splash of broth, about 1/2 cup, and scrape the bottom of the pot with a wooden spoon to loosen the fond. This step, called deglazing, brings all of that browned flavor into the liquid instead of leaving it stuck to the pot. Then add the remaining broth, the diced tomatoes if using, the bay leaves, thyme, and rosemary, and return the browned beef along with any juices that collected on the plate.
Stir, bring the soup to a gentle boil, then reduce the heat to low. Cover the pot partially, leaving the lid slightly ajar so steam can escape, and simmer for about 1 hour, stirring occasionally, until the beef is beginning to tenderize. Keep the simmer gentle. A gentle simmer gives a clearer broth and a more even cook.
Step 4: Add the potatoes and finish the vegetables
After the first hour, add the potatoes, stir, and continue simmering for 30 to 45 minutes more, until both the beef and the potatoes are tender. Adding the potatoes later, rather than at the start, prevents them from overcooking and dissolving while the beef still needs time. This timing is the main reason the soup can have tender beef and intact potatoes in the same pot.
If you are using fresh green beans and you like them soft, add them with the potatoes. If you like them firmer, add them in the last 15 minutes. Frozen peas or corn should go in during the last 10 minutes, because they cook quickly and lose color and sweetness if they are simmered for an hour.
Step 5: Test for tenderness and season at the end
Test the beef with a fork: it should yield and shred with gentle pressure. Test potatoes with a fork: they should give easily without falling apart. If the beef is still tough, give the pot another 20 to 30 minutes on low. If potatoes are done but beef is not, lift the potatoes out, continue simmering the beef, and return the potatoes at the end to warm through.
Taste and adjust the seasoning at the end, not only at the beginning. Add salt in small amounts, then pepper, then Worcestershire sauce if using, and a splash of vinegar or lemon juice if the soup tastes flat or overly rich. Remove the bay leaves, counting them out so none are left in a serving bowl, and stir in the fresh parsley just before serving, so its color and fresh flavor survive.
Food Safety, Temperatures, and Why Tenderness Is the Test Here
Beef soup involves raw meat, a long simmer, and leftovers, so basic food safety habits matter at every stage. FoodSafety.gov organizes home food safety into four steps: clean, separate, cook, and chill. Wash your hands with soap and water, and wash cutting boards, dishes, utensils, and countertops with hot, soapy water after they touch raw beef. Do not use the same cutting board or plate for vegetables or cooked food after raw beef without washing it first. Keep raw beef refrigerated until you are ready to cook, and keep it separate from ready to eat foods in the refrigerator.
For temperature reference, FoodSafety.gov lists beef, pork, veal, and lamb steaks, roasts, and chops at a safe minimum internal temperature of 145 degrees Fahrenheit with a 3 minute rest time, and ground beef, pork, veal, and lamb at 160 degrees Fahrenheit. Those figures are minimums for whole cuts and ground meat cooked on their own, and they are the figures to use if you ever brown beef to serve separately. Use a food thermometer in the thickest part of the food when you need to check a temperature, rather than relying on color alone.
Cubed chuck simmered for well over an hour will pass the minimum temperatures above during cooking. The question that decides readiness is tenderness, because chuck can reach a safe temperature and still be firm if its connective tissue has not had time to soften. Test with a fork and add time on low when the beef resists.
Storage, Reheating, and Freezing
Cooling and storage follow the same rules as for other cooked soups. The United States Department of Agriculture Food Safety and Inspection Service advises refrigerating leftovers within 2 hours of cooking, or within 1 hour if the food has been exposed to temperatures above 90 degrees Fahrenheit. Bacteria that cause food poisoning multiply most quickly between 40 degrees Fahrenheit and 140 degrees Fahrenheit, so do not leave the cooked soup sitting on the counter while the kitchen is cleaned. Divide the soup into shallow, covered containers so it cools quickly, and keep your refrigerator at 40 degrees Fahrenheit or below and your freezer at 0 degrees Fahrenheit or below.
Leftovers keep for 3 to 4 days in the refrigerator. The FoodSafety.gov cold food storage chart gives the same 3 to 4 day window for soups and stews with vegetables or meat added. If you will not eat the soup within that window, freeze it instead.
When you reheat leftovers, bring the soup to a rolling boil, stirring so it heats evenly. The Food Safety and Inspection Service gives 165 degrees Fahrenheit as the reheating temperature for leftovers, measured with a food thermometer, and advises reheating soups by bringing them to a rolling boil. Reheat only the portion you plan to eat.
Freezing works well for this soup, with one texture caveat. Potatoes change texture when they are frozen and thawed, becoming slightly grainy or soft. The soup is still safe and tasty, but the potatoes will not be as firm as they were fresh. If you plan to freeze a large batch, consider freezing the soup without potatoes and adding freshly cooked potatoes when you reheat it, for the best texture. If you freeze the soup with potatoes in it, waxy potatoes hold up better than russets, and you should expect a softer result. Freeze in portion size containers, leaving headspace, label with the date, and use within 2 to 3 months for best quality. Food kept continuously frozen at 0 degrees Fahrenheit stays safe, so that figure is a quality guide, not a safety cutoff. Thaw in the refrigerator, cold water, or the microwave, never on the counter.
Variations That Keep the Method Intact
For a heartier, stew like version, use less broth, about 6 cups, and serve the soup over mashed potatoes or egg noodles. For a lighter version that stretches further, reduce the beef to 1 and 1/2 pounds, increase the vegetables, and add a can of white beans or kidney beans, drained and rinsed, in the last 20 minutes.
For a different vegetable profile, try parsnips, turnips, or sweet potatoes in place of part of the carrots or potatoes. Sweet potatoes cook faster, so add them later. Mushrooms, added with the onions, add savory depth. Cabbage, added in the last 30 minutes, gives a rustic soup.
For a slow cooker version, brown the beef and soften the vegetables on the stove first, then transfer everything except the potatoes and quick cooking vegetables to the slow cooker, add broth, and cook on low for 6 to 8 hours or on high for 3 to 4 hours, adding potatoes in the last 2 hours on low or the last 1 hour on high. Browning is worth it, because a slow cooker cannot brown and unbrowned beef soup tastes flatter.
For a spicier version, add a pinch of red pepper flakes with the garlic, or a diced jalapeno with the onions, removing the seeds for milder heat. For an herb variation, try oregano and basil instead of thyme and rosemary for a more Mediterranean character, or stir in dill and parsley at the end for a fresher finish. Herbs added at the end taste brighter than herbs simmered for hours.
Troubleshooting Common Problems
Tough beef is the most common complaint, and the fix is usually time. If the beef resists a fork after the stated simmering time, keep simmering on low and check every 20 minutes. Do not raise the heat to a hard boil to speed things up. A hard boil can make the broth cloudy and does not soften connective tissue faster in a useful way. Tenderness is a more reliable guide than the clock alone.
If the beef is tender but the broth is thin and watery, simmer the soup uncovered for 15 to 20 minutes to reduce it slightly, or mash a few potato cubes against the side of the pot and stir them back in. Mashing a few cubes thickens the broth naturally without flour.
Greasy soup usually means the beef was very fatty or surface fat was not skimmed. Skim fat from the surface with a spoon while the soup is hot, or refrigerate the soup overnight and lift the solidified fat from the top before reheating, which is the easiest and most thorough method.
If the soup tastes bland, check salt first, then acid, then fresh herbs, in that order, tasting after each addition. Soup that has simmered for hours and still tastes flat often needs only salt and a small splash of vinegar or lemon juice to come alive.
Potatoes that dissolve into mush were usually cut too small, added too early, or were a starchy variety simmered for too long. Cut them larger next time, add them later, and choose waxy potatoes when distinct cubes matter. Potatoes that are still hard when the beef is done were cut too large, or the soup was not simmering steadily. Cut them smaller next time, and make sure the pot holds a gentle simmer.
Cloudy broth usually comes from boiling too hard. A gentle simmer and skimming foam in the first 20 minutes help. Cloudy broth is not unsafe. If the soup is too salty, dilute it with unsalted broth or water. Adding a raw potato does not reliably remove salt, despite folk advice.
Serving and Making It a Meal
Serve this soup in deep bowls, with crusty bread for dipping, or with a simple green salad for contrast. Cornbread is another good partner, especially if the soup leans spicy. For a larger meal, serve a smaller bowl as a starter before a main course, though this soup is hearty enough to be the main course on its own, especially with bread alongside.
For a crowd, this soup scales well, provided the pot is large enough and the beef is still browned in batches. A doubled recipe may need a longer simmer, so test beef tenderness rather than relying on time alone. For meal preparation, refrigerate promptly and eat within the 3 to 4 day window, or freeze portions. The flavor often improves after a night in the refrigerator.
For someone who is unwell or tired, a plain bowl served warm, with bread, is enough. Before serving, check each bowl for bay leaves, and serve a little cooler for children.
Allergen and Dietary Notes
This section is factual information for planning and serving, not medical advice. In its base form, this soup contains no ingredient that is itself one of the nine major food allergens listed by the Food and Drug Administration, but several optional and packaged ingredients can change that. The Food and Drug Administration lists nine foods, and ingredients containing their proteins, as major food allergens: milk, egg, fish, crustacean shellfish, tree nuts, wheat, peanuts, soybeans, and sesame.
Worcestershire sauce is the ingredient to check most carefully here. Depending on the brand, it can contain fish, in the form of anchovies, and soy or wheat based ingredients. Broth, broth cubes, and stock powders also vary, and some contain wheat, soy, or other allergen ingredients. Bread served alongside usually contains wheat. Read the entire ingredient list on broth and Worcestershire sauce each time you buy them, because recipes can change.
If you are cooking for a guest with a food allergy, ask about the allergy before you plan the menu, not at the table. Use clean utensils and a clean pot for a separate version, or choose a different dish.
Frequently Asked Questions
Can I use beef broth cubes or powder instead of liquid broth?
Yes, but check the salt carefully, because cubes and powders are often very salty. Dissolve them according to the package directions, use low sodium versions if they are available, and add no extra salt until you taste the finished soup. Good low sodium store bought broth works well.
Can I add barley or pasta?
Yes, but treat them as separate additions with their own timing. Pearl barley, added with the potatoes, needs about 30 to 40 minutes and absorbs liquid, so add an extra cup of broth. Pasta, added in the last 15 minutes, absorbs liquid quickly and softens on reheating, so cook it separately and add it to bowls if you plan to keep leftovers, as you would for a noodle soup.
Can I make this soup without tomatoes?
Yes. Leave them out and add a splash of vinegar or lemon juice at the end for brightness. The soup will be paler and lower in acidity, but still good. Add the acid a little at a time and taste.
How do I know the beef is done?
Press it with a fork. Tender beef yields and shreds gently. Time is a guide, not a guarantee. If the beef resists, give it more time on low. A thermometer is the right tool for checking whole cuts and for reheating leftovers, but for simmered soup beef that has cooked in broth for well over an hour, tenderness is the practical test for serving, after that long simmer has taken it past safe temperatures.
Can I freeze soup with potatoes in it?
Yes, but expect softer, slightly grainy potatoes after thawing. Waxy potatoes hold up best. For the best texture, freeze the soup without potatoes and add fresh potatoes when you reheat it. Freezing with potatoes is safe and still tasty. Use the frozen soup within 2 to 3 months for best quality, thaw it in the refrigerator, and reheat it to a rolling boil.
Can I use ground beef instead of chuck?
You can make a ground beef soup, but it is a different soup and should not be treated as the same recipe with a shorter time. Ground beef needs browning and draining, and does not need a long simmer. FoodSafety.gov lists ground beef at a safe minimum internal temperature of 160 degrees Fahrenheit, so use a food thermometer if you adapt the recipe in that direction and are unsure whether the meat has cooked through.
Brown the beef well, add vegetables in order, give the pot time, season at the end, and store leftovers safely. Those habits give you a soup that can carry a cold week and fill a freezer.
Sources & references
- FoodSafety.gov, Cook to a Safe Minimum Internal Temperature. Used for the safe minimum internal temperature chart: beef, pork, veal, and lamb steaks, roasts, and chops at 145 degrees Fahrenheit with a 3 minute rest time, ground beef, pork, veal, and lamb at 160 degrees Fahrenheit, leftovers reheated to 165 degrees Fahrenheit, and the instruction to use a food thermometer in the thickest part of the food.
- FoodSafety.gov, 4 Steps to Food Safety. Used for the four steps clean, separate, cook, and chill, washing hands and washing surfaces and utensils with hot, soapy water after raw meat, using separate cutting boards and plates for raw meat and for produce and ready to eat foods, keeping a refrigerator at 40 degrees Fahrenheit or below and a freezer at 0 degrees Fahrenheit or below, and refrigerating perishable food within 2 hours or within 1 hour above 90 degrees Fahrenheit.
- FoodSafety.gov, Cold Food Storage Chart. Used for soups and stews with vegetables or meat added keeping for 3 to 4 days in the refrigerator and 2 to 3 months in the freezer for best quality.
- United States Department of Agriculture, Food Safety and Inspection Service, Leftovers and Food Safety. Used for bacteria growing rapidly between 40 degrees Fahrenheit and 140 degrees Fahrenheit, refrigerating leftovers within 2 hours of cooking or 1 hour above 90 degrees Fahrenheit, cooling food rapidly in shallow containers, keeping leftovers for 3 to 4 days in the refrigerator, safe thawing in the refrigerator, cold water, or the microwave, and reheating leftovers to 165 degrees Fahrenheit as measured with a food thermometer, with sauces, soups, and gravies reheated by bringing them to a rolling boil and leftovers covered during reheating.
- Food and Drug Administration, Have Food Allergies? Read the Label. Used for the nine major food allergens: milk, egg, fish, crustacean shellfish, tree nuts, wheat, peanuts, soybeans, and sesame, and for the advice to read the entire ingredient list every time a product is bought because ingredients can change.


