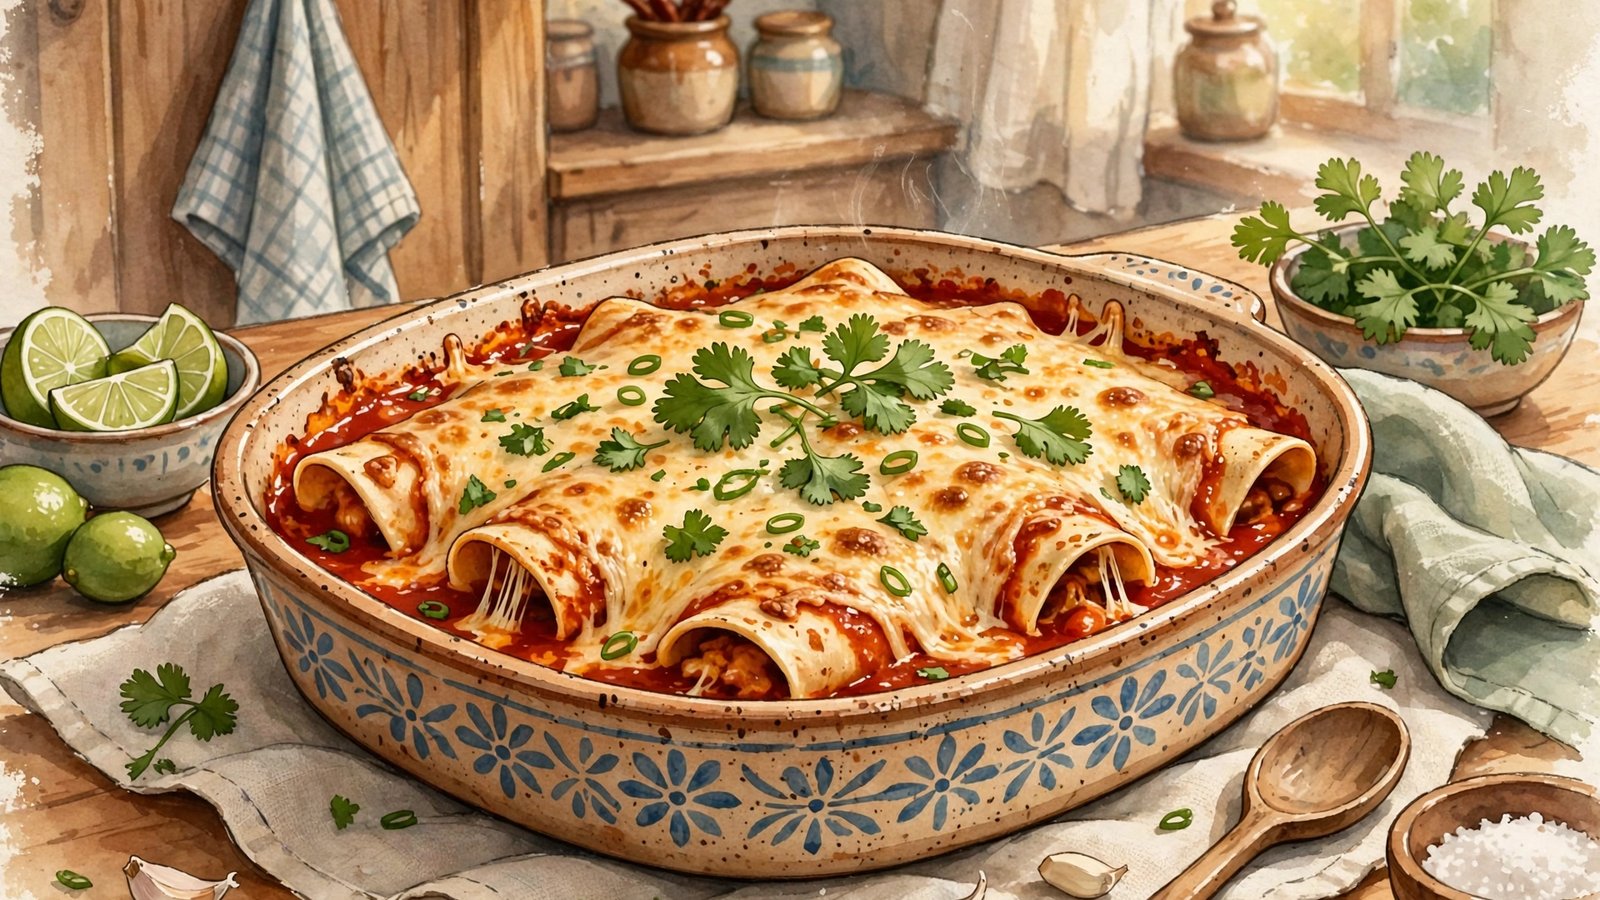
Short answer
- Heat the oven to 375 degrees Fahrenheit and grease a 9 by 13 inch baking dish. Stir 3 cups shredded cooked chicken with 1 can black beans, drained and rinsed, 1 can corn, drained, diced green chiles if using, cumin, chili powder, garlic powder and salt, plus 1 cup red enchilada sauce and 1 cup shredded cheese. Spread 1/2 cup sauce in the dish, layer half the torn tortillas, half the chicken mixture and 1 cup cheese, then repeat with the remaining tortillas and chicken mixture, pour the remaining 1 cup sauce over the top, and finish with the last 1 cup cheese. Bake covered with foil for 20 minutes, then uncovered for 12 to 15 minutes, until bubbling and lightly browned and the center reaches 165 degrees Fahrenheit on a food thermometer. Rest 10 minutes before slicing.
Introduction
A dump-and-bake enchilada casserole keeps the flavors people want on a busy night, the chili seasoned sauce, the tender filling and the melted cheese, and drops the two jobs that make rolled enchiladas slow: cooking a filling on the stove and rolling tortillas one by one. Torn tortillas are layered in the dish with shredded cooked chicken, black beans, corn, enchilada sauce and cheese, and the oven does the rest. The tortillas soak up sauce as they bake, the cheese holds the layers together, and the finished dish slices into squares with a soft, saucy center and lightly browned edges.
One distinction governs the whole recipe, and it is stated plainly at the start because getting it wrong changes the safety of the dish. This version uses cooked chicken only, such as shredded rotisserie chicken or leftover roast chicken. It is not a raw chicken recipe. A layered casserole heats unevenly, with the center warming more slowly than the edges, so a method timed to reheat cooked chicken, beans and tortillas cannot be assumed to cook raw chicken evenly throughout. If the chicken you have is raw, cook it first, shred it, and then assemble the casserole.
This guide gives the full recipe for six servings, explains why the layering order and the foil covered start matter, and sets out make ahead, freezing, storage and reheating guidance checked against United States Department of Agriculture, FoodSafety.gov, Food and Drug Administration and Centers for Disease Control and Prevention guidance on 30 October 2026. It also covers tortilla and sauce choices, variations that do not break the method, allergy notes, and fixes for a watery, dry or flat tasting casserole.
At a Glance
| Item | Detail |
|---|---|
| Serves | 6 |
| Hands on time | About 15 minutes |
| Baking time | 20 minutes covered, then 12 to 15 minutes uncovered |
| Oven temperature | 375 degrees Fahrenheit |
| Dish | 9 by 13 inch baking dish |
| Chicken | Cooked chicken only, shredded |
| Center temperature | 165 degrees Fahrenheit, measured with a food thermometer |
| Rest | 10 minutes before slicing |
| Leftover window | 3 to 4 days in the refrigerator, reheated to 165 degrees Fahrenheit |
Why Dump-and-Bake Works for This Dish
Dump-and-bake cooking works here because almost every ingredient arrives ready to cooperate. The beans and corn are already cooked. The chicken is already cooked. The cheese needs only to melt. The tortillas need only to soften in sauce and warm through. The oven job is therefore narrower and more reliable than cooking a meal from raw: heat everything evenly to a safe serving temperature, let the sauce bubble into the tortilla layers, meld the seasoning through the filling, and brown the top.
That is also why the method fails if raw ingredients are quietly substituted. Raw chicken, raw sausage or raw ground meat would each need verified, even cooking to their own safe temperatures in a dish where the middle is insulated by tortillas, sauce and cheese. Raw vegetables that release a lot of water, such as raw zucchini, create a different problem: they can thin the sauce and leave the casserole soggy even when it is hot. Cook those ingredients first, or choose ingredients that are already cooked or quick to heat, and the short bake stays honest.
Enchilada casserole is not rolled enchiladas, and it does not need to pretend otherwise. Rolling gives neat individual portions. Layering gives speed, easy serving, and slices that hold together after a short rest. For a weeknight, a potluck dish that must travel in one pan, or a make ahead dinner, the trade is usually worth it.
Ingredients
This recipe serves six, in a 9 by 13 inch baking dish. Amounts for the sauce and cheese are divided in the method, so measuring them out before you start makes assembly calm.
- 3 cups shredded cooked chicken, from rotisserie chicken or leftover roast chicken
- 1 can (15 ounces) black beans, drained and rinsed
- 1 can (15 ounces) corn, drained, or 1 1/2 cups frozen corn, thawed and drained
- 2 cans (10 ounces each) red enchilada sauce, about 2 1/2 cups total
- 12 corn tortillas, torn into large pieces, or 8 flour tortillas, torn
- 3 cups shredded Monterey Jack or Mexican blend cheese, divided
- 1 teaspoon ground cumin
- 1 teaspoon chili powder
- 1/2 teaspoon garlic powder
- 1/2 teaspoon kosher salt
- 1 can (4 ounces) diced green chiles, drained, optional
- Cooking spray or oil, for the dish
- Toppings for serving: sour cream, diced avocado or guacamole, chopped cilantro, sliced green onions, lime wedges and hot sauce
Taste the filling before you assemble the dish. Sauces and cheese blends vary widely in salt and heat, so the 1/2 teaspoon of added salt is a starting point, not a promise. If your sauce is already salty, reduce the added salt. If it is mild and you want more warmth, keep hot sauce for the table rather than raising the heat for everyone in the pan.
A note on tortillas
Corn tortillas hold their texture better in a baked casserole. They soften in sauce but still give the layers some definition when sliced. Flour tortillas soften more and make a denser casserole, closer in texture to a savory bread pudding, which some people prefer. Either works in this method; the difference is texture, not success.
Do not assume a corn tortilla product is right for someone who must avoid gluten or wheat just because corn is the headline ingredient. Check the label on the exact product you buy. The Food and Drug Administration notes that a gluten free claim is voluntary and must meet a defined standard for gluten content when it is used. The allergy section below explains the label check in full.
Method, Step by Step
Step 1: Heat the oven and prepare the dish
Preheat the oven to 375 degrees Fahrenheit, with a rack in the center. Lightly grease a 9 by 13 inch baking dish with cooking spray or oil. Glass, ceramic and metal dishes all work. Let the oven reach temperature before the dish goes in, so the covered bake starts with steady heat.
Wash your hands with soap and water for at least 20 seconds before you start. Keep cooked chicken and ready to eat toppings separate from any raw meat, poultry, seafood or eggs. That separation habit, part of the four steps described by FoodSafety.gov and the Centers for Disease Control and Prevention as clean, separate, cook and chill, matters even when the main protein arrives cooked.
Step 2: Mix the filling
In a large bowl, combine the shredded chicken, black beans, corn, green chiles if using, cumin, chili powder, garlic powder and salt. Stir in 1 cup of the enchilada sauce and 1 cup of the shredded cheese.
Mixing sauce and cheese into the filling, rather than leaving them only on top, does two jobs. It seasons every bite instead of only the top layer, and the cheese inside the filling helps the casserole hold together when sliced. Drain the beans and corn well before they go into the bowl. Liquid left in the cans is uncounted liquid, and it is one of the most common reasons a casserole that followed the recipe still comes out watery.
Step 3: Layer the casserole
Spread 1/2 cup of enchilada sauce over the bottom of the prepared dish. Arrange half of the torn tortillas in an even layer, overlapping slightly so there are no large bare gaps. Spoon half of the chicken mixture over the tortillas and spread it evenly. Sprinkle with 1 cup of cheese.
Repeat with the remaining tortillas and the remaining chicken mixture. Pour the remaining sauce, about 1 cup, evenly over the top, covering the top tortilla pieces where you can. Finish with the last 1 cup of cheese. Press gently with a spatula so the layers settle.
The order is deliberate. Sauce on the bottom prevents sticking and keeps the lowest tortillas from drying. Cheese between layers binds the filling. Sauce over the top tortillas keeps them from turning dry and crackery. Cheese on top browns and seals the dish.
Step 4: Bake covered, then uncovered
Cover the dish tightly with foil and bake for 20 minutes. The foil traps steam, which softens the tortillas and helps the center heat through without drying the top. Remove the foil and bake for another 12 to 15 minutes, until the cheese is melted and bubbling, the edges are lightly browned, and the casserole is steaming hot throughout.
Color and bubbling are supporting signs, not proof. Check the center with a food thermometer. FoodSafety.gov lists 165 degrees Fahrenheit as the safe minimum internal temperature for casseroles, for all poultry, and for leftovers of any type. Because this dish is built from cooked chicken and other cooked ingredients being reheated together as a casserole, 165 degrees Fahrenheit in the center is the target to use. Push the thermometer into the middle of the dish, away from the hot edge, and check more than one spot if the first reading is close to the line. If the top browns before the center is hot, cover the dish loosely with foil again and continue baking until the center bubbles and reaches temperature.
Step 5: Rest before slicing
Let the casserole rest for 10 minutes before cutting. The rest lets the layers set so slices hold their shape instead of sliding apart, and it lets the temperature even out across the dish. Cut into squares and serve with your chosen toppings, added at the table so each person can control heat, acidity and richness. Start the leftover clock from the end of cooking, not from the end of a long meal: perishable food should not sit out while the table slowly clears.
Choosing Sauce and Controlling Heat
Red enchilada sauce gives the classic version: a chili based sauce with a warm, slightly earthy flavor that suits black beans, corn and Monterey Jack. Green enchilada sauce, usually salsa verde based, gives a brighter and more tangy casserole. Swapping red for green does not change the method, the layering or the baking time. It changes only the flavor profile, and it pairs especially well with pepper Jack in place of Monterey Jack if you want more heat.
Heat is controlled in three places. The sauce may be mild, medium or hot, and labels differ between brands. The green chiles may be mild or hot. Hot sauce and pepper Jack at the table raise heat for only the people who want it. For a mixed table, the reliable pattern is a mild to medium pan and heat at the table. Still serve lime wedges, because acidity brightens a rich, spicy casserole in a way that more chili powder does not.
If the finished casserole tastes flat, it usually needs salt or acid rather than more spice. Taste the filling before assembly and adjust the salt then, when you can still change it evenly. Finish servings with lime. If it tastes too salty, look first at the sauce and cheese: some enchilada sauces and cheese blends are heavily salted, and reducing or omitting the added salt in the filling compensates next time.
Variations That Still Work
The filling is flexible as long as two rules hold: replacement proteins are cooked before they go in, and watery additions are drained or cooked first so they do not thin the sauce.
Cooked pork or turkey. Swap the chicken for the same amount of shredded cooked pork or leftover cooked turkey, shredded. The method, sauce amount and baking time stay the same, and the center still needs to reach 165 degrees Fahrenheit.
Vegetarian, with beans doing the work. Leave the meat out and add a second can of beans, either black beans or pinto beans, drained and rinsed. The casserole will be a little softer, so the full 10 minute rest matters even more. Check cheese and sauce labels if the vegetarian version is for someone with other dietary needs, and do not assume a product is suitable from its name alone.
Fajita style peppers and onions. Add a layer of peppers and onions that you have already cooked until softened. Cooked ahead is the key phrase: raw peppers and onions added in quantity release water and stay firmer than the rest of the dish in this short bake. Fold the cooked vegetables into the filling rather than adding a separate wet layer.
Chunkier, with tomatoes. Add a can of drained diced tomatoes to the filling for a chunkier texture, and reduce the enchilada sauce slightly, by about 1/4 cup, so the casserole does not become watery. Drain the tomatoes well for the same reason you drain the beans and corn.
Green version. Use green enchilada sauce instead of red, keep the same total amount, and swap the Monterey Jack for pepper Jack if you want more heat, or keep Monterey Jack for a milder green casserole.
None of these variations changes the foil covered start, the layering order or the temperature check. If a variation adds dense filling, give the covered bake a few extra minutes and judge doneness by the thermometer, not the clock.
Make Ahead, Storage, Freezing and Reheating
This casserole is a strong make ahead candidate within a clear limit. Assemble it up to a day in advance, cover it tightly, and refrigerate it promptly. Do not assemble it and leave it at room temperature for hours. Bake it straight from the refrigerator, adding about 10 minutes to the covered baking time, and check that the center is hot, bubbling and at 165 degrees Fahrenheit before serving. The extra time is a starting guide for a cold dish, not a substitute for the thermometer.
After cooking: the clock that governs leftovers
Refrigerate leftovers within 2 hours of cooking, or within 1 hour if the surrounding temperature is above 90 degrees Fahrenheit, such as at a summer picnic or in a hot car. That limit comes from United States Department of Agriculture Food Safety and Inspection Service and Food and Drug Administration guidance, and the Centers for Disease Control and Prevention gives the same 2 hour and 1 hour limits. Bacteria grow rapidly between 40 degrees Fahrenheit and 140 degrees Fahrenheit, the range the Food Safety and Inspection Service calls the danger zone, so the goal after serving is to get the food out of that range promptly.
Divide the casserole into shallow containers so it cools rapidly, cover or seal them in airtight packaging, and keep the refrigerator at 40 degrees Fahrenheit or below and the freezer at 0 degrees Fahrenheit or below. Check with an appliance thermometer if you are unsure, and do not crowd the refrigerator so air cannot circulate. Hot food can go directly into the refrigerator in small, shallow portions.
Eat refrigerated leftovers within 3 to 4 days. FoodSafety.gov cold storage guidance gives the same 3 to 4 day refrigerator window for cooked meat or poultry leftovers, and the Food Safety and Inspection Service gives 3 to 4 days for leftovers generally. When in doubt, throw it out. Food can make you sick even when it does not look, smell or taste spoiled, because the bacteria that cause foodborne illness are different from spoilage bacteria, so appearance and smell are not safety tests.
Freezing and thawing
Freezing works well for the baked casserole. Cool it promptly as above, cut it into portions, and pack portions in freezer safe containers or wrap them tightly. The Food Safety and Inspection Service notes that leftovers can be frozen for 3 to 4 months for best quality under its general leftovers guidance, while FoodSafety.gov gives cooked meat or poultry leftovers 2 to 6 months in the freezer. Those freezer figures are about quality. Food kept continuously frozen at 0 degrees Fahrenheit or below remains safe for longer, but it loses moisture and flavor over time. Label each container with the contents and the date frozen, and use the shorter window for a casserole you want to enjoy at its best.
Safe ways to thaw frozen leftovers are the refrigerator, cold water and the microwave. Refrigerator thawing takes the longest but keeps the food safe the whole time, and thawed food should be used within 3 to 4 days or refrozen. Cold water thawing needs a leak proof package, and food thawed that way should be cooked before refreezing. Never thaw on the counter. It is also safe to reheat frozen leftovers without thawing, though it takes longer.
You can freeze the unbaked casserole as well. Assemble it in a freezer safe dish, wrap it tightly, and freeze it. Thaw it in the refrigerator before baking, never on the counter, and add extra baking time as needed to reach a hot, bubbling center at 165 degrees Fahrenheit.
Reheating
Reheat leftovers to 165 degrees Fahrenheit throughout, measured with a food thermometer. Cover the portion while reheating so it heats all the way through and the top does not dry out. In a microwave, cover and rotate the food, arrange it evenly in a microwave safe dish, check the temperature in several places because microwaves leave cold spots, and allow a short resting time before checking again. Bring any extra sauce you reheat separately to a rolling boil, following the Food Safety and Inspection Service advice for sauces, soups and gravies.
For buffet or potluck serving, perishable food should not sit out for more than 2 hours, or 1 hour above 90 degrees Fahrenheit. Keep a hot casserole hot at 140 degrees Fahrenheit or above if it is held before serving, and discard food left out beyond the limit rather than refrigerating it for later.
Allergy and Ingredient Notes
This dish, as written, contains milk, in the cheese and in any dairy toppings such as sour cream. It contains wheat if you use flour tortillas. Other allergens depend on the exact sauce, cheese, tortilla and topping products you buy, which is why the label check below is part of the recipe, not an extra.
The Food and Drug Administration lists nine major food allergens in the United States: milk, egg, fish, Crustacean shellfish, tree nuts, peanuts, wheat, soybeans and sesame. Sesame became the ninth major allergen, with labeling required from 1 January 2023. Federal labeling rules require the food source of a major allergen to be identified on most packaged foods, either in the ingredient list or in a contains statement next to it. The Food and Drug Administration advises reading food labels every time you buy a product, because ingredients can change.
Apply that here in three places. Check the enchilada sauce, because brands differ in wheat and soy content and recipes change. Check the tortillas, for wheat in flour tortillas and for any allergen or gluten statement that matters for your table. Check the cheese blend, because blends can include ingredients beyond plain cheese. If you are cooking for someone with a food allergy, ask that person what they need rather than guessing.
Troubleshooting
The casserole is watery. The likeliest causes are undrained beans or corn, too much sauce, or slicing before the rest. Drain canned ingredients well, measure the sauce to the divided amounts, and give the full 10 minute rest.
The top browns before the center is hot. Cover the dish loosely with foil and continue baking until the center bubbles and reaches 165 degrees Fahrenheit. Keep the dish on the center rack, and remember that a cold, make ahead casserole needs extra covered time.
The top tortillas are dry and crackery. They were not covered with enough sauce. Next time, pour the top sauce evenly over the whole surface before adding the final cheese, especially at the corners and edges.
The slices slide apart. The casserole was cut too soon, or the filling had too little cheese inside it to bind. Keep the 1 cup of cheese inside the filling, not just on top, and rest the full 10 minutes.
The flavor tastes flat or too salty. Flat usually means salt or acid, not more chili powder: adjust the salt before assembly, and serve lime wedges. Too salty usually traces back to the sauce and cheese, so reduce the added salt next time.
Frequently Asked Questions
Can I use raw chicken in this casserole?
No, not in this recipe. The method is designed for cooked chicken so the casserole heats evenly in the stated time to 165 degrees Fahrenheit in the center. A layered casserole insulates its middle, so the short bake that reheats cooked chicken cannot be assumed to cook raw chicken evenly throughout. Cook raw chicken first, shred it, and then assemble the casserole as written.
Corn tortillas or flour tortillas?
Both work. Corn tortillas hold more texture and give the layers more definition when sliced. Flour tortillas make a softer, denser casserole. Choose by the texture you prefer and by dietary needs: flour tortillas contain wheat, and any tortilla product should be checked on its label for the allergen and gluten information that matters for your table.
Can I freeze the unbaked casserole?
Yes. Assemble it in a freezer safe dish, wrap it tightly, and freeze it. Thaw it in the refrigerator before baking, never on the counter, and add extra baking time if needed so the center is hot, bubbling and at 165 degrees Fahrenheit. For the most reliable texture, many cooks will prefer freezing the baked casserole in portions, as described in the storage section, and reheating portions as needed.
How long do leftovers last, and how should I reheat them?
Refrigerate leftovers within 2 hours of cooking, or within 1 hour above 90 degrees Fahrenheit, in shallow covered containers in a refrigerator at 40 degrees Fahrenheit or below, and eat them within 3 to 4 days. Reheat a portion to 165 degrees Fahrenheit as measured with a food thermometer, covering it so it heats through, and check the temperature in several places if you use a microwave.
Is this dish spicy?
It depends on the sauce and chiles you choose. Mild enchilada sauce and mild green chiles make a gentle version. A hotter sauce, hot green chiles, pepper Jack and hot sauce at the table raise the heat. Because the pan feeds everyone, the most flexible approach is a mild to medium pan with extra heat offered at serving.
Can I make this vegetarian?
Yes. Omit the chicken and add a second can of beans, black beans or pinto beans, drained and rinsed, keeping the same sauce, tortilla and cheese amounts and the same layering and baking method. The casserole will be softer, so rest it the full 10 minutes before slicing, and check sauce and cheese labels for any other dietary needs at your table.
Keep reading: Dump-and-Bake Chicken Broccoli Rice Casserole: The No-Stir Supper That Earns Its Place
Keep reading: Slow-Cooker Vegetarian Chili: Set It in the Morning, Serve It at Night
Keep reading: Make-Ahead Freezer Breakfast Burritos: A Better Morning, Made on Sunday
Keep reading: Crock-Pot Chicken Tortilla Soup
Sources & references
- U.S. Department of Agriculture, Food Safety and Inspection Service, Leftovers and Food Safety. Used for bacteria growing rapidly between 40 degrees Fahrenheit and 140 degrees Fahrenheit, hot food being kept at 140 degrees Fahrenheit or warmer, refrigerating leftovers within 2 hours and within 1 hour above 90 degrees Fahrenheit, dividing large amounts of food into shallow containers and cutting large items into smaller portions to cool rapidly, hot food being placeable directly in the refrigerator, covering leftovers or sealing them in airtight packaging, leftovers keeping 3 to 4 days in the refrigerator or 3 to 4 months frozen, safe thawing in the refrigerator, cold water or microwave, thawed food being used within 3 to 4 days, reheating frozen leftovers without thawing being safe but slower, reheating leftovers to 165 degrees Fahrenheit as measured with a food thermometer, bringing sauces, soups and gravies to a rolling boil, covering leftovers to reheat, and covering and rotating microwaved food and checking temperature in several places.
- FoodSafety.gov, Cook to a Safe Minimum Internal Temperature. Used for casseroles, meat and meatless, having a safe minimum internal temperature of 165 degrees Fahrenheit, for all poultry having the same 165 degrees Fahrenheit temperature, for leftovers of any type being 165 degrees Fahrenheit, and for always using a food thermometer.
- FoodSafety.gov, 4 Steps to Food Safety. Used for the four steps clean, separate, cook and chill, washing hands for at least 20 seconds before, during and after preparing food and after handling raw meat, poultry, seafood or eggs, washing surfaces and utensils with hot, soapy water, using separate cutting boards and plates, keeping food hot at 140 degrees Fahrenheit or above, bacteria multiplying rapidly between 40 degrees Fahrenheit and 140 degrees Fahrenheit, refrigerator at 40 degrees Fahrenheit or below and freezer at 0 degrees Fahrenheit or below, refrigerating perishable food within 2 hours and within 1 hour above 90 degrees Fahrenheit, placing leftovers in shallow containers, and never thawing or marinating food on the counter.
- FoodSafety.gov, Cold Food Storage Chart. Used for cooked meat or poultry leftovers keeping 3 to 4 days in the refrigerator and 2 to 6 months in the freezer, for the chart note that freezer times are for quality only because frozen foods stored continuously at 0 degrees Fahrenheit or below can be kept indefinitely, and for refrigerator storage at 40 degrees Fahrenheit or below and freezer storage at 0 degrees Fahrenheit or below.
- U.S. Food and Drug Administration, Are You Storing Food Safely? Used for refrigerating or freezing perishables right away under the two hour rule with one hour above 90 degrees Fahrenheit, refrigerator at or below 40 degrees Fahrenheit and freezer at 0 degrees Fahrenheit checked with appliance thermometers, not crowding the refrigerator so air can circulate, using ready to eat foods as soon as possible, food being able to make you sick even when it does not look, smell or taste spoiled, food properly handled and stored at 0 degrees Fahrenheit remaining safe indefinitely while quality decreases, freezing stopping bacteria from growing without killing most of them, and leftovers being stored in tight containers.
- U.S. Food and Drug Administration, Food Allergies: What You Need to Know. Used for the nine major food allergens being milk, eggs, fish, Crustacean shellfish, tree nuts, peanuts, wheat, soybeans and sesame, for sesame being declared the ninth major allergen with the change effective on 1 January 2023, for labels identifying the food source of a major allergen in the ingredient list or in a contains statement, and for always reading food labels.
- U.S. Food and Drug Administration, Gluten-Free Labeling of Foods. Used for gluten free being a voluntary label claim that must meet a defined standard for gluten content when used, and for the final rule defining gluten free for food labeling issued on 2 August 2013.
- Centers for Disease Control and Prevention, Preventing Food Poisoning. Used for the four steps clean, separate, cook and chill, washing hands for at least 20 seconds, washing utensils, boards and countertops with hot, soapy water, rinsing fresh fruits and vegetables under running water, raw chicken not needing to be washed, cooking being judged by a food thermometer rather than color and texture, reheating microwaved food to 165 degrees Fahrenheit, bacteria multiplying rapidly between 40 degrees Fahrenheit and 140 degrees Fahrenheit, never leaving perishable food out for more than 2 hours or 1 hour above 90 degrees Fahrenheit, refrigerator at 40 degrees Fahrenheit or below and freezer at 0 degrees Fahrenheit or below, packaging hot food into several clean, shallow containers, and thawing safely in the refrigerator, in cold water or in the microwave and never on the counter.


