Short answer
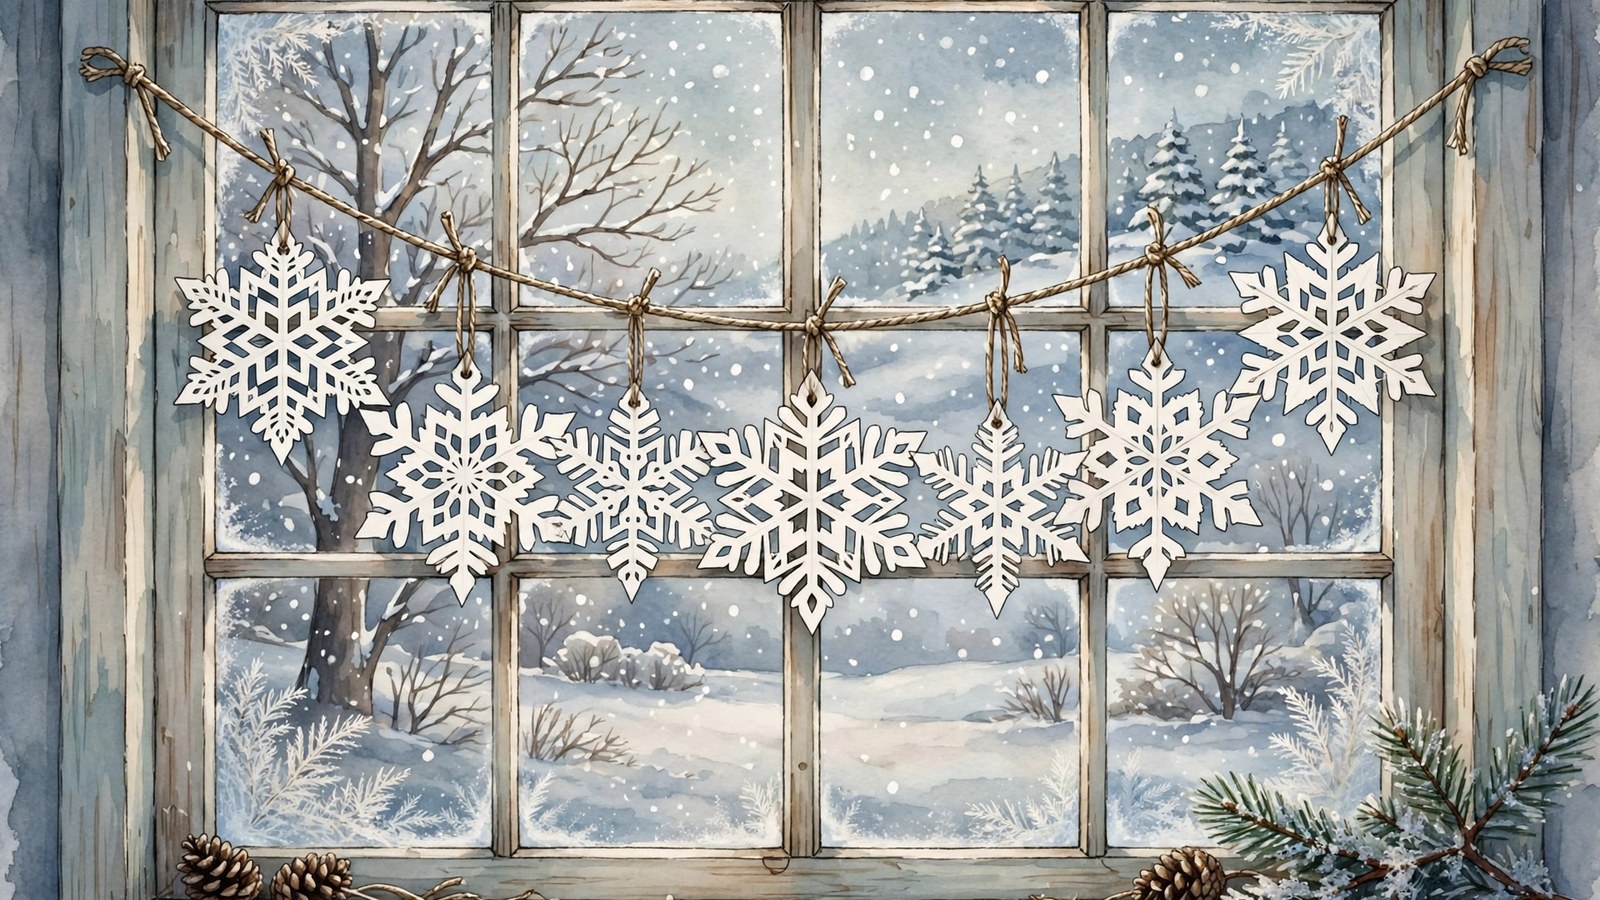
- Start with a true square of ordinary printer paper. Fold it in half diagonally, fold it in half again, then fold it into thirds and trim the top straight across to make a thick wedge. Cut small triangles, curves, and diamonds from the folded edges without cutting all the way through a fold, then unfold slowly, one fold at a time, and press the flake flat. Make a set of flakes in the same paper and a similar size, spacing them about six to eight inches apart on cotton string, twine, or thin ribbon, and secure each flake with tape, glue, punched holes, or stitching so it cannot slide. Hang the finished garland indoors in daylight, well away from candles, heaters, and open flame. Children must use child safe scissors with rounded tips, cut sitting down at a table under adult supervision, and keep scissors pointed away from their bodies and from others. Store the garland flat and dry so you can reuse it next winter.
Introduction
Paper snowflakes stay popular because they combine surprise with simplicity. You fold a sheet of paper, cut a few shapes, unfold it, and a symmetrical pattern appears that you could not quite have predicted. Strung together into a garland, those individual surprises become a winter decoration that fills a window, a mantel, or a hallway with light, airy pattern for the cost of a few sheets of paper and some string.
This guide shows how to make a garland, not just single snowflakes, and that changes the planning. A garland needs flakes that are sturdy enough to hang, consistent enough in size to look balanced, and attached securely enough that they do not slide into a clump at the lowest point of the string. You will learn a reliable folding method for a six point flake, cutting patterns for different skill levels, stringing techniques that keep flakes spaced, and storage methods that let you reuse the garland next winter.
The project suits a wide range of makers. Adults can make elegant, intricate garlands from white or pale blue paper, while children, with safety scissors and supervision, can make cheerful, bold garlands from colored paper. It works well as a group project for a classroom, a family afternoon, or a community gathering, because everyone can cut a flake and the garland grows as more flakes are added, which makes the finished length a shared achievement.
Why a Garland Works Better Than Single Flakes
Single paper snowflakes taped to a window are charming, but they are fragile, hard to store, and easy to lose. A garland solves those problems by giving the flakes a structure: they hang from a string, and they can be taken down and stored flat as one piece. A garland also fills a space more effectively, because it creates a line of pattern that the eye follows across a window or along a wall.
A garland is forgiving in a way that a single perfect flake is not. If one flake is less intricate than its neighbors, it reads as variety, not as a flaw, and the overall effect depends on the rhythm of the whole string rather than on any one piece. That makes garland making a good project for mixed ages and abilities, because a simple flake and an intricate flake can hang side by side and both look right.
Choosing Paper for a Garland That Hangs Well
Ordinary printer paper or copy paper is the best starting point, because it is inexpensive, folds crisply, cuts cleanly, and holds its shape when hung. Heavier cardstock makes sturdier flakes but is harder to fold and harder for children to cut, while tissue paper makes delicate, translucent flakes that tear easily. For a garland that will be handled and stored, printer paper or light construction paper is the practical choice.
Size matters for balance. Flakes made from standard letter size paper end up about six to seven inches across, which is a good size for a garland in a normal room. Smaller flakes suit a small window, and larger flakes suit a high mantel or a large window. Mixing two sizes, alternating large and small, gives a pleasing rhythm, but keep the size difference modest.
Tools and Materials
You will need paper, sharp scissors, a ruler, a pencil, and string, twine, or thin ribbon, plus a way to attach flakes to the string, such as small dots of glue, tape, or a needle and thread. Child safe scissors are essential if children are cutting, and adult scissors should be sharp, because dull scissors tear paper and make cutting less controlled.
For stringing, choose a string that is strong enough to hold the flakes without stretching, but thin enough not to dominate them. Cotton string, baker twine, and thin ribbon all work. You will also need small hooks, removable adhesive hooks, or a tension rod for hanging, and a measuring tape to plan the length before you start cutting.
Optional extras include glitter glue for sparkle, used sparingly and kept away from eyes and mouths, especially with children, and small beads threaded between flakes for spacing. A hole punch can make neat hanging holes, and a bone folder or ruler edge helps make crisp folds. Keep extras optional for a first garland.
Folding a Six Point Snowflake
The classic paper snowflake has six points for a real reason. The National Oceanic and Atmospheric Administration explains that a snowflake begins when an extremely cold water droplet freezes onto a pollen or dust particle, creating an ice crystal, and that water vapor then freezes onto it and builds the six arms of the snowflake. Smithsonian Magazine explains that as water freezes, bonded water molecules crystallize into a six ring or hexagonal structure, and that shape persists as the snowflake grows. A six point fold therefore copies the six fold symmetry of a real snow crystal.
Step 1: Make a true square
Start with a square of paper. If your paper is rectangular, fold one corner over to meet the opposite edge, forming a triangle, and trim off the extra strip. Open the triangle and you have a square. Take a moment to get a true square, because an uneven square gives an uneven flake.
Step 2: Fold in half, then in thirds
Fold the square in half diagonally to make a triangle, pressing the fold firmly. Fold that triangle in half again, bringing the two short corners together, to make a smaller triangle. Then fold the triangle into thirds: fold one side over by about a third, then fold the other side over it, so the triangle is divided into three roughly equal sections. Uneven thirds give a flake with uneven arms, which looks lopsided when unfolded.
Step 3: Trim and press
Trim the top of the folded triangle straight across, removing the uneven points and leaving a flat top edge. This trimmed edge becomes the outer edge of the flake, so a straight trim gives a round, balanced flake, while a pointed trim gives a star like flake. Press all folds firmly with a ruler edge or a fingernail, because crisp folds make cutting easier and make the flake unfold cleanly. You now have a small, thick wedge, ready to cut.
Cutting Patterns for Every Level
Cutting is where the surprise happens, and the rules are simple: cut shapes out of the folded edges, but never cut all the way through a fold, or the flake will fall apart when unfolded. Cut triangles, curves, diamonds, and small notches from the sides and the top edge, and leave enough paper between cuts that the flake holds together. A flake with too many cuts, or cuts too close together, tears when unfolded, so restraint is part of the skill.
For beginners, and for children, simple shapes work best: small triangles along the sides, a few curves along the top edge, and one or two diamond cutouts in the middle. These give a clear, bold pattern that reads well from a distance and is sturdy enough to hang. For intermediate makers, add smaller and more varied shapes, such as tiny circles, half moons, and narrow slits, leaving bridges of paper between them. For advanced makers, intricate lace like patterns give a delicate flake, but they need sharp scissors, patience, and gentle unfolding.
Unfold the flake slowly, opening one fold at a time, and press it flat under a heavy book for a few minutes if it curls. Hold the flake up to the light and notice which cuts created which shapes, because that is how you learn to predict what a notch on the fold will become. A small tear can often be repaired with a tiny piece of tape on the back.
Making a Balanced Set of Flakes
A garland needs a set of flakes, not just one, so plan the number before you start cutting. Measure the space where the garland will hang, and decide the spacing: flakes spaced about six to eight inches apart look balanced, with a little extra string at each end for hanging. Divide the hanging length by the spacing to estimate how many flakes you need, and make a few extra, because some flakes will tear and extras let you choose the best ones.
Vary the patterns across the set, but keep a family resemblance: use the same paper, or the same two colors, and a similar size, so the garland looks cohesive even though no two flakes are alike. That balance mirrors nature. Individual snowflakes follow slightly different paths to the ground and encounter slightly different conditions, so they tend to look unique, while still sharing the same six sided structure. In a garland, one or two repeated motifs, such as a diamond center or a scalloped edge, provide the shared structure.
Work in batches: fold several wedges, cut them one after another, then unfold them together. Batching is faster, and it lets you compare patterns and adjust your cutting as you go. With children, batching lets everyone cut at the same time, with an adult helping with unfolding, where fragile flakes most need gentle hands. Lay finished flakes flat between sheets of plain paper, not in a loose pile where edges catch and tear.
Stringing the Garland So Flakes Stay Spaced
Lay the finished flakes flat and arrange them in the order they will hang. Alternate bold and delicate flakes, and large and small flakes if you made two sizes, so the garland has rhythm. Mark the order lightly in pencil on the back of each flake if the garland is long.
There are three reliable ways to attach flakes to string. The simplest is to lay the string across the back of each flake and secure it with a small piece of tape or a dot of glue at the center. A sturdier method is to thread the string through two small holes punched near the center of each flake. A third method, sewing flakes onto string with a needle and a few stitches through the center, is the most durable, but adults should handle any needlework.
Space flakes evenly along the string and secure each one so it does not slide. Tape and glue attachments naturally stay put, while threaded flakes may need a small knot or a small bead on each side of the flake. Leave extra string at each end for hanging, at least twelve inches, so you can tie the garland to hooks or a rod without pulling the end flakes out of position. Check the spacing again after a day, because string can stretch slightly.
Hanging and Displaying Safely
Hang the garland where light can reach it: across a window, where daylight shines through the flakes, along a mantel, or across a doorway, where they move gently as people pass. A window garland looks best fairly taut, while a mantel garland can drape slightly. Avoid hanging paper garlands outdoors, where rain, wind, and damp will destroy them, and avoid hanging them directly above a radiator or stove.
Use hooks that suit the surface: picture hooks for walls, removable adhesive hooks for rented walls, and a tension rod for a window frame. Test hooks with the garland weight before leaving it unattended, though a paper garland is light. Do not block windows and doors that serve as exits.
Fire safety is not optional here. Keep paper garlands away from candles, heaters, tree lights and open flame. Paper is flammable, and a garland above candles is a fire risk. The National Fire Protection Association advises keeping lit candles away from decorations and other things that can burn, choosing decorations that are flame resistant or flame retardant where possible, and blowing out lit candles when you leave the room or go to bed. It also notes that more than one third of home decoration fires are started by candles and that more than two of every five decoration fires happen because decorations are placed too close to a heat source. If candles are part of the display, hang the garland well away from them, or use flameless candles instead. If lights are part of the display, use LED lights only near paper, keep any light string and its cord out of reach of young children, and replace a string that has a worn or broken cord or loose bulb connections. Never hang a paper garland where it can blow into a flame or a hot surface.
Variations and Embellishments
Once the basic garland works, variations are easy. Flakes in graduated sizes, large in the middle and smaller toward the ends, look elegant on a mantel. Beads between flakes, in white, silver, or pale blue, add sparkle and help spacing. Flakes in different whites, from bright white to cream to pale gray, give subtle depth in a room with neutral decor.
Glitter adds sparkle but needs restraint. A light application of glitter glue along the edges, or a very light dusting of fine glitter on a thin coat of glue, gives a frosty shimmer without making the flake heavy. Avoid heavy glitter, which weighs flakes down, sheds, and can irritate eyes. If children are involved, use glitter glue rather than loose glitter, and keep glitter, glue, and small beads away from toddlers and away from eyes and mouths.
Troubleshooting Common Problems
If flakes tear when unfolded, the cuts were probably too close together, or the paper was unfolded too quickly. Next time, leave wider bridges between cuts, use sharper scissors, and unfold slowly, one fold at a time. A torn flake can often be repaired with tape on the back, and a repaired flake is perfectly usable in a garland.
If flakes look lopsided, the folding was uneven, especially the thirds fold. Practice folding a few wedges without cutting, checking that the sections are roughly equal, before cutting a batch. A slightly lopsided flake still looks charming in a garland, so use the best ones in prominent positions and the less perfect ones toward the ends.
If flakes slide together on the string, the attachment method needs securing. Add a knot, a bead, or a dot of glue on each side of each flake, or switch to taping the string to the back of each flake, which naturally prevents sliding. Check the garland after hanging for a day, because flakes can settle as the string stretches slightly, and adjust spacing once after that first day.
Safety Notes for Children and for Fire
Paper snowflake garlands are a wonderful children project, with safety rules that must be followed exactly as written. Children should use child safe scissors with rounded tips, cut sitting down at a table, and keep scissors pointed away from their bodies and from others. Children must never run with scissors, wave scissors, or point scissors at another person. Adults should handle sharp adult scissors, hole punches that require force, and any needlework, and should supervise cutting at all times, especially when children are learning to cut through several layers of folded paper, which requires more force and can slip.
That supervision rule matches primary safety guidance. The United States Consumer Product Safety Commission advises adults to supervise young children closely, teach children how to use items properly and safely, and select items to suit the age, skills, and abilities of the individual child, noting that items too advanced may pose safety hazards. Nemours KidsHealth advises keeping knives, forks, scissors, and other sharp utensils out of reach of small children, for example in a drawer with a safety latch. In practice, adult scissors are put away out of reach the moment cutting pauses.
Keep small cut paper pieces away from very young children, who may put them in their mouths, and keep glitter, glue, and small beads away from toddlers. The Consumer Product Safety Commission warns that for infants, toddlers, and children who still mouth objects, small parts may pose a fatal choking hazard. A garland hung low enough for a toddler to pull down can bring hooks and string within reach, and long strings can be a strangulation hazard. The Commission warns to avoid strings or cords seven inches or longer for infants because they may cause strangulation. Hang garlands out of reach of cots and beds where small children sleep, and keep garland string short, secured, and out of reach where toddlers play.
Fire safety matters for any paper decoration, without exception. Keep paper garlands away from candles, heaters, tree lights and open flame. Keep them away from fireplaces, stoves, and heaters, and never hang a paper garland where it can blow into a flame or a hot surface. Paper garlands are indoor decorations for a season, not permanent fixtures, and they should be taken down and stored safely when the season ends.
Storage for Next Winter
A paper garland can last several winters if it is stored well. Take it down carefully, supporting flakes as you unhook the string, and lay it flat. Fold or roll it gently, with tissue paper between layers if flakes are delicate, and place it in a flat box or a large envelope, rather than stuffing it into a bag where flakes will crush and tear.
Store the box in a dry place, following the preventive logic archives use for paper. The Library of Congress Preservation Directorate advises a cool environment at room temperature or below, relatively dry at about thirty five percent relative humidity, clean and stable, avoiding attics and basements, with minimal light exposure and distance from radiators and vents. At home that means an interior closet or drawer, flat, dry, and dark. The National Archives, publishing National Park Service mold guidance, notes that paper is particularly susceptible to microorganism growth, that spore germination is less likely at forty five to fifty five percent relative humidity, and that relative humidity should be kept below sixty five percent. Damp storage makes paper limp and can encourage mold.
Label the box with the garland length and the year it was made. Check the garland when you take it out next year, replacing flakes that have torn or faded and adding a few new ones. If any flake smells musty, shows staining, or feels damp, discard it rather than rehanging it with clean flakes.
Frequently Asked Questions
What paper is best for snowflakes?
Ordinary printer or copy paper is best for a first garland, because it folds crisply, cuts cleanly, and holds its shape. Heavier cardstock makes sturdier but harder to cut flakes, and tissue paper makes delicate, translucent flakes that are beautiful in a window but fragile. Start with printer paper, and experiment with other papers once you know the folding method.
Why do my snowflakes fall apart when I unfold them?
You probably cut through a fold, or cut shapes too close together, leaving no paper to hold the flake together. Leave bridges of paper between cuts, avoid cutting across a folded edge completely, and unfold slowly. A flake that falls apart is a lesson in restraint, not a failure, and the next one will be stronger if you cut less, not more.
Can children make snowflake garlands?
Yes, with child safe scissors, supervision, and simple patterns. Children should use child safe scissors with rounded tips, cut sitting down at a table, and keep scissors pointed away from their bodies and from others. Adults must supervise cutting at all times, handle sharp adult scissors, hole punches, and any needlework themselves, and handle unfolding of delicate flakes. Simple triangle and curve patterns give children satisfying results without frustration, and their flakes look wonderful in a mixed garland.
How long will a paper garland last?
Indoors, away from damp, heat, and flames, a paper garland can last a season easily and several seasons if stored flat and dry. Colored paper fades in sunlight over time, and flakes become more fragile with handling, so check the garland each year and replace worn flakes. Paper garlands are not outdoor decorations, and they will not survive rain or strong wind.
Can I use a snowflake garland more than once?
Yes, if it is stored flat in a dry box with tissue paper between layers. Take it down carefully, label the box, and next year inspect it, repair or replace damaged flakes, and add a few new ones to refresh it.
Are paper snowflakes safe near lights and candles?
No, not close to heat or flame. Keep paper garlands away from candles, heaters, tree lights and open flame, and keep paper away from hot bulbs. Use LED lights only near paper, and keep a clear gap between paper and any light source that generates heat. Keep light strings and their cords out of reach of young children. Flameless candles are a safer choice near any paper decoration, and a garland should never hang where it can blow into a flame. Blow out lit candles when you leave the room or go to bed.
Sources & references
- National Oceanic and Atmospheric Administration, How Do Snowflakes Form? Get the Science Behind Snow. Used for a snowflake beginning when an extremely cold water droplet freezes onto a pollen or dust particle and creates an ice crystal, water vapor freezing onto the primary crystal to build the six arms of the snowflake, ice crystals being symmetrical because they reflect the internal order of water molecules as they arrange themselves to form a six sided snowflake, temperature and humidity determining the basic shape of the ice crystal, and individual snowflakes following slightly different paths and encountering slightly different atmospheric conditions so they tend to look unique.
- Smithsonian Magazine, Smithsonian Institution, Snowflakes May Have Different Designs, But They Always Have Six Sides. Used for snowflake patterns almost always having six sides, water molecules bonding via hydrogen bonding into a tetrahedral shape and then crystallizing into a six ring or hexagonal structure as water freezes, and that hexagonal shape persisting as the snowflake grows.
- National Fire Protection Association, Winter Holiday Safety tip sheet. Used for choosing decorations that are flame resistant or flame retardant, keeping lit candles away from decorations and other things that can burn, replacing light strings with worn or broken cords or loose bulb connections and reading manufacturer instructions, using clips not nails to hang lights, keeping decorations away from windows and doors, blowing out lit candles when leaving the room or going to bed and turning off light strings before leaving home or going to bed, keeping children and pets away from lit candles, more than one third of home decoration fires being started by candles, and more than two of every five decoration fires happening because decorations are placed too close to a heat source.
- United States Consumer Product Safety Commission, Toy Safety Tips for the Holidays. Used for selecting items to suit the age, skills, interests, and abilities of the individual child, items too advanced posing safety hazards to younger children, avoiding small parts for infants, toddlers, and children who still mouth objects because they may pose a fatal choking hazard, avoiding strings or cords seven inches or longer for infants because they may cause strangulation, avoiding sharp points or edges for children under eight years, supervising young children closely, and teaching children how to use items properly and safely.
- Nemours KidsHealth, Preventing Cuts, for Parents, medically reviewed February 2019. Used for keeping knives, forks, scissors, and other sharp utensils in a drawer with a safety latch, keeping paper shredders out of reach of small children, and keeping nail scissors and other sharp personal or grooming instruments out of reach.
- Library of Congress, Preservation Directorate, Care, Handling and Storage of Works on Paper. Used for a cool environment at room temperature or below, relatively dry at about thirty five percent relative humidity, clean and stable, avoiding attics, basements, and other locations with high risk of leaks and environmental extremes, minimal exposure to all kinds of light with no exposure to direct or intense light, distance from radiators and vents, and supportive protective enclosures.
- National Archives and Records Administration, Mold and Mildew: Prevention of Microorganism Growth in Museum Collections, National Park Service Conserve O Gram Number 3/4, revised July 1993, hosted by the National Archives. Used for mold being a growth caused by fungi especially in the presence of dampness, cellulose based materials such as paper being particularly susceptible to direct attack by microorganisms, temperatures not exceeding seventy five degrees Fahrenheit and relative humidity not rising above sixty five percent as maximum levels that only reduce the potential for growth, spore germination being less likely if relative humidity is controlled between forty five and fifty five percent but relative humidity should be kept below sixty five percent, and microorganisms permanently damaging materials and producing foxing stains on paper.


