Short answer
- What are some easy pumpkin carving ideas for beginners? Start with a classic smiling face, a cat face, a ghost, a crescent moon with stars, or the word BOO in block letters. Use big triangle or round eyes, a simple nose, and a wide mouth. Keep every cut at least as wide as a finger where possible, leave thick rind between shapes so nothing breaks, and light the pumpkin with a battery operated light or glow stick. Adults should do the cutting. Children can draw the design, scoop out the inside, and help with display. These are easy pumpkin carving ideas for beginners because they use few cuts, forgiving shapes, and a strong glow.
If you want easy pumpkin carving ideas that still look good on a porch at night, start simple. A first pumpkin does not need a detailed scene, a portrait, or a pattern with thin lines that snap. It needs big shapes, thick bridges of rind between the cuts, and a light that can shine through cleanly. That is the whole secret behind most simple pumpkin carving ideas that beginners finish without frustration.
This guide explains how to choose a pumpkin, transfer a design, carve safely, and light the result. It covers easy pumpkin carving designs for faces, animals, letters, and night sky shapes, plus templates, stencils, and fixes when a cut goes wrong.
Pumpkin Carving Ideas Easy Simple Enough for a First Pumpkin
Pumpkin carving ideas easy simple enough for a first pumpkin share three traits. First, the shapes are large. A large triangle eye is easier to cut than a small detailed eye, and it glows more clearly from the sidewalk. Second, the design has few separate pieces. Every separate piece is another chance for a thin bridge to break. Third, the lines are mostly straight or gently curved. Sharp points and narrow zigzags are harder to follow with a small saw and are more likely to tear.
Simple pumpkin carving ideas easy to judge before you cut pass a quick test. Can you draw the design on paper in under a minute, and can you point to the rind that will stay in place between each cut shape? If a shape is so thin that you cannot see the rind that holds it, widen it or drop it.
How to Pick a Pumpkin and Set Up Safely
Pick a pumpkin that sits still
University of Nevada, Reno Extension advises choosing pumpkins with a firm stem 1 to 2 inches long, a hard, dull, and blemish free shell that is not easily punctured by a fingernail, and no soft spots, mold, wrinkles, or cuts. For carving, it also advises making sure the pumpkin sits well on a flat surface before purchase, and not carrying a pumpkin by its stem. A pumpkin that rolls will fight you at every cut, so test it on a flat surface and turn it slowly to find the flattest, smoothest side for the face.
A tall pumpkin suits a long face, and a round pumpkin suits a classic face. A lopsided pumpkin is not a failure: turn an odd bump into a cheek or a moon.
Safety first, especially with children
The United States Consumer Product Safety Commission advises leaving pumpkin carving to adults, while child helpers can scoop with a spoon or trace a design with a marker. It advises battery operated lights or glow sticks rather than an open flame candle, keeping open flames away from combustibles, and never leaving burning candles unattended. The Commission reported an annual average of 3,200 Halloween related injuries treated in United States hospital emergency departments over the prior three years, with 55 percent related to pumpkin carving. Work in good light, on a dry and stable surface, with dry hands, and cut away from your body.
The National Fire Protection Association gives similar advice. Its Halloween fire safety tips, as reproduced by the Connecticut Commission on Fire Prevention and Control, say it is safest to use a glow stick or battery operated candle in a jack-o-lantern, and advise extreme caution and supervision if a real candle is used. A battery light has a second advantage: University of Nevada, Reno Extension notes that heat from traditional candles can cook the pumpkin flesh and shorten its life.
Tools and workspace
You do not need a large kit: a small serrated carving saw, a sturdy spoon or scoop, a marker, paper and tape for a template, and a towel for the table. Keep tools in one place, wipe slippery pulp from your hands often, and never reach into the pumpkin while someone else is cutting. Scoop before carving the face, and scrape the face side wall thinner from the inside, but not so thin that it flexes or cracks.
A Simple Step by Step Method
This method works for almost every design in this guide, from easy pumpkin carving faces to letter designs.
- Wash and dry the outside of the pumpkin, then set it on a towel on a stable surface.
- Draw or tape your design on the flattest side. If you use a paper template, tape it flat and poke small holes along the lines, or trace the lines with a marker, then remove the paper.
- Cut the opening. Many carvers cut a lid around the stem, angled slightly inward so the lid does not fall inside. Others cut an opening in the back or bottom and set the pumpkin over the light. Either choice works. If children are helping, an adult makes this cut.
- Scoop out seeds and stringy pulp. Save seeds only if you plan to rinse and roast them promptly from a freshly carved pumpkin, and follow a tested roasting method. Do not plan to eat a pumpkin that has been carved and left on display.
- Scrape the face side wall thinner from the inside.
- Carve from the center outward, starting with the smallest shapes first. Small shapes are easier to cut while the surrounding rind is still strong. Cut slowly, with short saw strokes, away from your hands.
- Push cut pieces out from the inside, wipe the edges, and test the light in a dark room before display. Widen any shape that looks dim or muddy.
If a piece breaks, do not throw the pumpkin away. Change the design: a broken triangle eye becomes a round eye, and a cracked mouth becomes a wider grin. Treat the first pumpkin as practice.
Easy Pumpkin Carving Faces
Easy pumpkin carving faces are the best place to start because a face reads clearly from a distance. Among pumpkin carving ideas easy face options, a single large face beats a small detailed scene every time for a first pumpkin. Start with one easy pumpkin carving idea. The eyes, nose, and mouth do all the work, and the viewer fills in the rest.
Pumpkin carving ideas easy face designs to try first include:
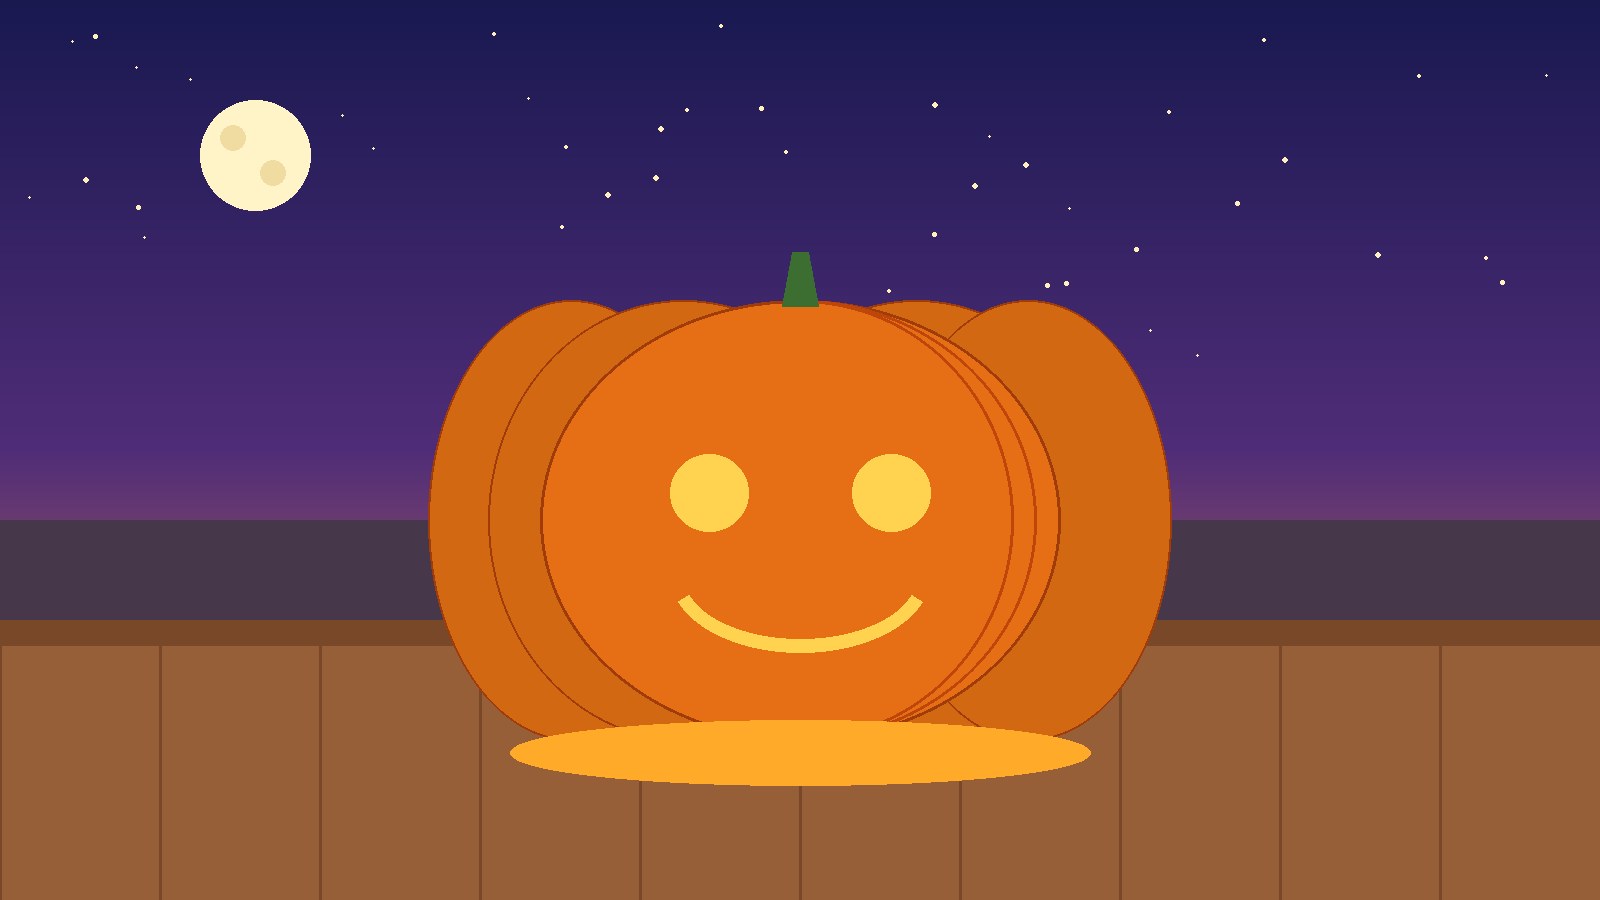
Classic smile. Two triangle eyes, a triangle nose, and a wide crescent grin with two small square teeth left as uncut rind in the middle of the mouth. Carve the mouth as one wide shape, then leave two small rind blocks standing in it.
Sleepy face. Two downward curved eyes, like upside down U shapes, a small round nose, and a small round mouth. This face suits a smaller pumpkin and reads as friendly rather than scary.
Winking face. One round eye, one eye drawn as a downward curve, and a lopsided grin. Asymmetry hides small mistakes well, so it is a good rescue design when one eye cuts wider than planned.
Monster face. Two uneven eyes, one larger than the other, and a wide mouth with blunt rather than sharp points. Blunt points cut cleanly and are less likely to snap.
Carving pumpkins ideas easy faces like these work because the viewer recognizes a face in seconds. On a first try, pick one extra feature at most, such as eyebrows or teeth, and leave the rest of the rind alone.
Easy Pumpkin Carving Designs Beyond Faces
Once a classic face feels comfortable, the same rules produce many other easy pumpkin carving designs, all with big shapes and few cuts.
Ghost. A simple ghost outline with two round eyes and a round mouth, cut all the way through or shown by the eyes and mouth alone. A ghost suits a tall, narrow pumpkin.
Cat face. Two triangle ears, two round or slanted eyes, a small triangle nose, and a wide mouth with whisker lines scraped shallowly rather than cut through, for a softer glow.
Crescent moon and stars. A large crescent moon cut through, with three or four small stars around it, kept well apart so the rind between them stays strong.
Haunted house. A simple house outline with a pointed roof, one square door, and two square windows, all with thick lines. Squares and straight lines are the most forgiving shapes to cut.
Letters and words. Block letters are among the most reliable easy pumpkin carving designs. BOO, EEK, HI, and a single initial all work in thick block capitals with no thin serifs. The inside of an O or a B must stay attached by a wide bridge, or the center will fall out, so test this on paper first.
Carving Pumpkins Ideas Easy Dog Design
Carving pumpkins ideas easy dog designs deserve their own section because a dog face is popular and easy to get wrong. The mistake is adding too much detail: ears, eyes, nose, mouth, spots, and a collar in one design. A dog face needs only four elements.
Start with two floppy ear shapes on the sides, drawn as wide triangles or rounded flaps that stay attached at the top. Add two round eyes, a large oval or heart shaped nose in the center, and a simple mouth shaped like a wide W or a small smile below the nose. Keep the ears wide at the base. Narrow ears snap, and ears that are cut too close to the edge of the face can split the rind.
For a second pass at carving pumpkins ideas easy dog faces, try scraping spots shallowly instead of cutting them through. The scraped spots glow softly while the cut through eyes and nose glow brightly. Do not try to copy a real pet exactly. Pick one recognizable feature, such as floppy ears or a patch over one eye, and keep everything else simple.
The same approach works for other animals. A cat needs ears and whiskers. An owl needs big eyes. A dog needs ears and a nose. One strong feature plus a simple face beats a detailed portrait every time for easy carved pumpkins.
Pumpkin Carving Ideas Easy Creative Variations
Pumpkin carving ideas easy creative does not mean harder. It means changing one variable: light, surface, or arrangement.
Etched designs. Instead of cutting all the way through, scrape away only the outer skin in a pattern. The scraped area glows softly when lit from inside, while cut through areas glow brightly. Nothing is cut through, so no piece can fall out, and the pattern is also visible in daylight.
Drilled dot designs. Small round holes made carefully by an adult create stars, constellations, or a dotted border. Keep dots at least a finger width apart.
Carving pumpkins ideas easy creative variations follow the same rule as faces: change one thing at a time.
Easy Pumpkin Carving Templates and Stencils
Easy pumpkin carving templates, easy pumpkin carving stencils, and a freehand drawing are three ways to get a design onto a pumpkin. The words are often used interchangeably, but it helps to separate them. A template is usually a full pattern printed or drawn at the size you plan to carve, including the outline of every shape to cut. A stencil is a pattern with bridges built in, so the cut out shapes stay connected and the pattern can be reused. For a beginner, the practical difference is small: use a printed pattern with thick lines and wide bridges, whatever it is called.
Pumpkin carving ideas easy templates work best when sized to the pumpkin before printing. Measure the flattest side, then size the pattern to fit inside that area with rind to spare on all sides. A pattern that wraps around a curve will distort. Tape the pattern flat, poke holes along the lines with a pin or tracing tool, then remove the paper and join the dots with a marker.
Pumpkin carving ideas easy stencils work best when the design has few enclosed shapes. As a rule, pumpkin carving ideas easy stencils should be judged by bridge width, not by how pretty the pattern looks on paper. If a stencil looks detailed on paper, simplify it before carving: join small shapes into larger ones, drop the smallest details, and widen every bridge. You can always add a scraped detail later.
If you draw your own design, draw it on paper first, not directly on the pumpkin. Paper lets you test whether the center of an O stays attached and whether the mouth is wide enough to glow.
Simple Pumpkin Carving Ideas for a Calm Evening
Simple pumpkin carving ideas are not only about the design. They are also about pacing. A calm evening has one pumpkin, one design, and no deadline beyond display night.
Simple pumpkin carvings ideas for a relaxed session include a single moon and stars, a single ghost, a single word in block letters, or a single animal face. Each uses one main shape and a few supporting shapes, which is why they make such reliable easy carved pumpkins.
Pumpkin carve ideas simple enough for a short session include a face with only eyes and a mouth, with no nose at all. The same pumpkin carve ideas simple test applies to letters: one word, thick capitals, and no small details. For pumpkin carve ideas easy enough for a first evening, a crescent moon alone, or stars alone, is also a complete display, with no second shape required. A nose is optional. Many classic faces read perfectly with two eyes and a grin. Dropping the nose also removes one cut and one chance of a mistake. Similarly, pumpkin carve ideas easy enough for a first evening include a pumpkin with only a crescent moon and no stars, or only stars and no moon. One strong shape, lit well, is a complete display.
Carving pumpkins ideas simple enough for a group work best when each person has a role, and carving pumpkins ideas simple in general share that trait: one job, one design, and no mid carve redesign: one adult cuts, one person scoops, one person draws or tapes the template, and one person tests the light. Agree on the design before the first cut. Simple pumpkin carvings ideas also work well as a group plan, since each person can finish one small pumpkin instead of sharing one large, complex design.
No Carve and Artificial Pumpkin Options
Not every pumpkin needs a blade. A no carve pumpkin, decorated with paint, markers, or attached shapes, lasts longer than a carved pumpkin because the rind stays intact. This suits very young children, pumpkins displayed for weeks, or a pumpkin with a soft spot that would not survive cutting.
Artificial pumpkins, sometimes called dummy pumpkins in search listings, are another option. An artificial pumpkin, made of foam or a similar material, can be carved and kept from year to year because it does not rot like a fresh pumpkin. Use the same approach: a simple design, slow cuts, large shapes, and thick bridges. Work outdoors or in a well ventilated space if cutting foam creates dust, and use a battery light inside. Test the light before display and widen shapes that look dim, since artificial material may glow less evenly than fresh rind.
How Long a Carved Pumpkin Lasts and When to Carve
A carved pumpkin is a cut fruit, so its display life is limited. Heat, sun, and rain shorten it, while cool, dry, shaded conditions help it last longer. University of Nevada, Reno Extension advises keeping pumpkins off the ground, storing uncarved pumpkins in a cool, dry place with good air circulation, coating cuts with petroleum jelly, and using battery operated candles, since heat from traditional candles can cook the flesh.
For planning, carve close to the night you want to display the pumpkin, especially in warm weather. If you carve several days early, keep it in a cool, shaded spot and check it daily for soft spots or mold. When it softens, leaks, or smells strongly, compost it or dispose of it according to local guidance, and do not eat it. University of Nevada, Reno Extension notes that carved pumpkin decorations can be composted, or used as livestock feed where that is appropriate, as alternatives to landfill.
Do not try to save a carved pumpkin by sealing it with a product you have not checked for safety around children, pets, or food contact surfaces. The simplest preservation steps are timing, shade, cool air, and a battery light.
A Short History: From Turnips to Pumpkins
In a Library of Congress Folklife Today transcript, folklorist Jack Santino notes that in Britain, people carved turnips and rutabagas and other large produce into jack-o-lanterns, while in America people carved pumpkins, which Santino notes were introduced to colonists by Native Americans. The transcript tells one version of the Jack story as a traditional folktale with various versions, not as a settled historical record. The practical point is that the tradition began with whatever large produce could be hollowed and lit, and the pumpkin became familiar in the United States because it was large, available, and easier to carve than a dense turnip.
Troubleshooting Common Beginner Problems
A bridge breaks. Widen the shapes on either side, or change the design so the broken area becomes part of a larger shape.
A piece falls inside. Push it out from the inside if you can reach it, or leave it out and widen the opening.
The glow is uneven. Scrape the dim side thinner from the inside, and check that the light sits centered and upright.
The design looks muddy at night. Widen the shapes, or remove one detail so the remaining shapes have more rind between them.
The pumpkin leans. Turn it to find a flatter base, and do not carve the face on a side that tilts downhill.
The lid falls in. Cut the next lid with an inward angle, so the top of the opening is wider than the bottom, or cut a bottom opening and set the pumpkin over the light.
A Beginner Checklist
Use this checklist, from choosing to display.
- Choose a pumpkin that sits flat, with a firm stem and no soft spots.
- Pick one design with big shapes and thick bridges.
- Size a template or stencil to the flat side of the pumpkin, and test it on paper.
- Let an adult do all cutting. Children can draw, scoop, and help display.
- Carve from the center outward, starting with the smallest shapes.
- Test the light in a dark room, widen dim shapes, and use a battery light or glow stick.
- Keep the lit pumpkin away from curtains, decorations, and walkways, and never leave a flame unattended.
- Display close to Halloween night in warm weather, keep the pumpkin cool and shaded, and compost or dispose of it when it softens.
Pumpkin carving ideas beginners can finish in one evening are the ones that respect this checklist. Choose one easy pumpkin carving idea and finish it in one evening. In short, pumpkin carving ideas beginners enjoy most are finished designs, not ambitious designs left half cut at bedtime. That is also the test for simple pumpkin carving ideas easy enough to repeat next year: big shapes, thick bridges, and a light you can test before dark.
Frequently Asked Questions
What are some easy pumpkin carving ideas for beginners?
What are some easy pumpkin carving ideas for beginners? A classic smiling face, a cat face, a ghost, a crescent moon with stars, and the word BOO in block letters are the most reliable starting points. Each uses big shapes, few cuts, and thick rind between shapes. Simple pumpkin carving ideas like these also make good group projects, since one adult can cut while others draw, scoop, and test the light.
Are easy pumpkin carving templates better than drawing freehand?
Easy pumpkin carving templates help when you want a symmetrical face or a word in even block letters. Freehand drawing helps when the pumpkin is lopsided and the design needs to follow its shape. For a first pumpkin, a template is usually easier, because you can test and size it on paper first.
What is the difference between easy pumpkin carving stencils and templates?
Easy pumpkin carving stencils are patterns designed with bridges so the pattern stays connected and can be reused. Easy pumpkin carving templates are full size patterns for a single design, whether or not they are reusable. Judge a pattern by its shapes instead: large shapes, wide bridges, and few enclosed centers mean an easier carve.
How do I make easy pumpkin carving faces glow more clearly?
Make easy pumpkin carving faces glow clearly by scraping the face side wall thinner from the inside, keeping shapes large and well separated, and centering the light. Test in a dark room before display, and widen muddy shapes rather than adding detail.
What are some carving pumpkins ideas easy faces for children to help with?
Carving pumpkins ideas easy faces for children to help with include a smiling face, a sleepy face, and a surprised face. Children can draw the face, scoop with a spoon, and place the battery light, while adults do all cutting. A no carve painted face suits very young children.
Can I use pumpkin carving ideas easy templates on a small pumpkin?
Pumpkin carving ideas easy templates can work on a small pumpkin if the design is simplified first to two or three shapes, such as two eyes and a mouth. A small pumpkin has less rind to spare, so every bridge matters more. If the template still looks crowded, switch to a painted or scraped design.
What should I do if my pumpkin carving ideas easy creative design breaks?
If a pumpkin carving ideas easy creative design breaks, change the design rather than forcing the original. Widen the broken area into a larger shape, or turn a broken detail into a scraped detail. Carving pumpkins ideas easy creative projects often improve after a repair, because the repair forces a simpler, bolder design.
Are carving pumpkins ideas easy dog faces hard for beginners?
Carving pumpkins ideas easy dog faces are not hard if you limit the design to ears, eyes, a nose, and a mouth, with ears wide at the base and spots scraped rather than cut through. A dog face with spots, a collar, and detailed fur in one design is not a beginner design.
How long before Halloween should I carve?
Carve close to display night, especially in warm weather, and keep the carved pumpkin cool, shaded, and off damp ground. University of Nevada, Reno Extension advises a cool, dry place with good air circulation, keeping pumpkins off the ground, and using battery operated lights to avoid heat damage.
Can I eat a carved pumpkin afterward?
Do not eat a pumpkin that has been carved and left on display. University of Nevada, Reno Extension discusses cooking with whole carving or pie pumpkins, but a displayed jack-o-lantern has been cut open and exposed to air, hands, and weather. The displayed pumpkin should be composted or disposed of when finished.
Sources & references
- United States Consumer Product Safety Commission, Halloween safety tips release: adults should do pumpkin carving, children can scoop or trace a design, battery operated lights or glow sticks are advised over open flame candles, and Halloween injury estimates including 55 percent related to pumpkin carving.
- National Fire Protection Association Halloween fire safety tips, as reproduced by the Connecticut Commission on Fire Prevention and Control: glow sticks or battery operated candles are safest in a jack-o-lantern, with extreme caution and supervision if a real candle is used.
- University of Nevada, Reno Extension, Decorating, Eating and Composting for a Sustainable Halloween: pumpkin selection checks, flat surface test, petroleum jelly on cuts, battery operated candles, keeping pumpkins off the ground, cool dry storage with air circulation, and composting as an alternative to landfill.
- Library of Congress Folklife Today, Spooky Stories for Halloween 2022 and the Jack Santino jack-o-lantern transcript: British carving of turnips, rutabagas, and other large produce, American carving of pumpkins, and the Jack story presented as a traditional folktale with various versions.


