Short answer
- Draw large, bold designs on shrink plastic sold for crafting, color a little lighter than the finished color you want, cut the shapes out with rounded corners, and punch the hanging hole before baking. Make a test piece first and measure it before and after baking, because shrinkage varies by brand. Bake on a lined sheet in a preheated oven at the temperature on your package, commonly 325 degrees Fahrenheit for Shrinky Dinks type sheets and 300 to 350 degrees Fahrenheit for Grafix film, for about 1 to 3 minutes until the pieces curl, then flatten, then stay in for about 30 seconds after flattening. An adult wearing oven mitts must handle the hot tray, ventilate the room, and let the charms cool untouched for several minutes. Once cool and hard, thread a jump ring through the hole and onto a split ring, close the ring with no gap, and seal the charm if you want extra protection. Never use a microwave, never use the broiler, never leave the oven unattended, and keep small hardware and finished keychains away from young children.
Introduction
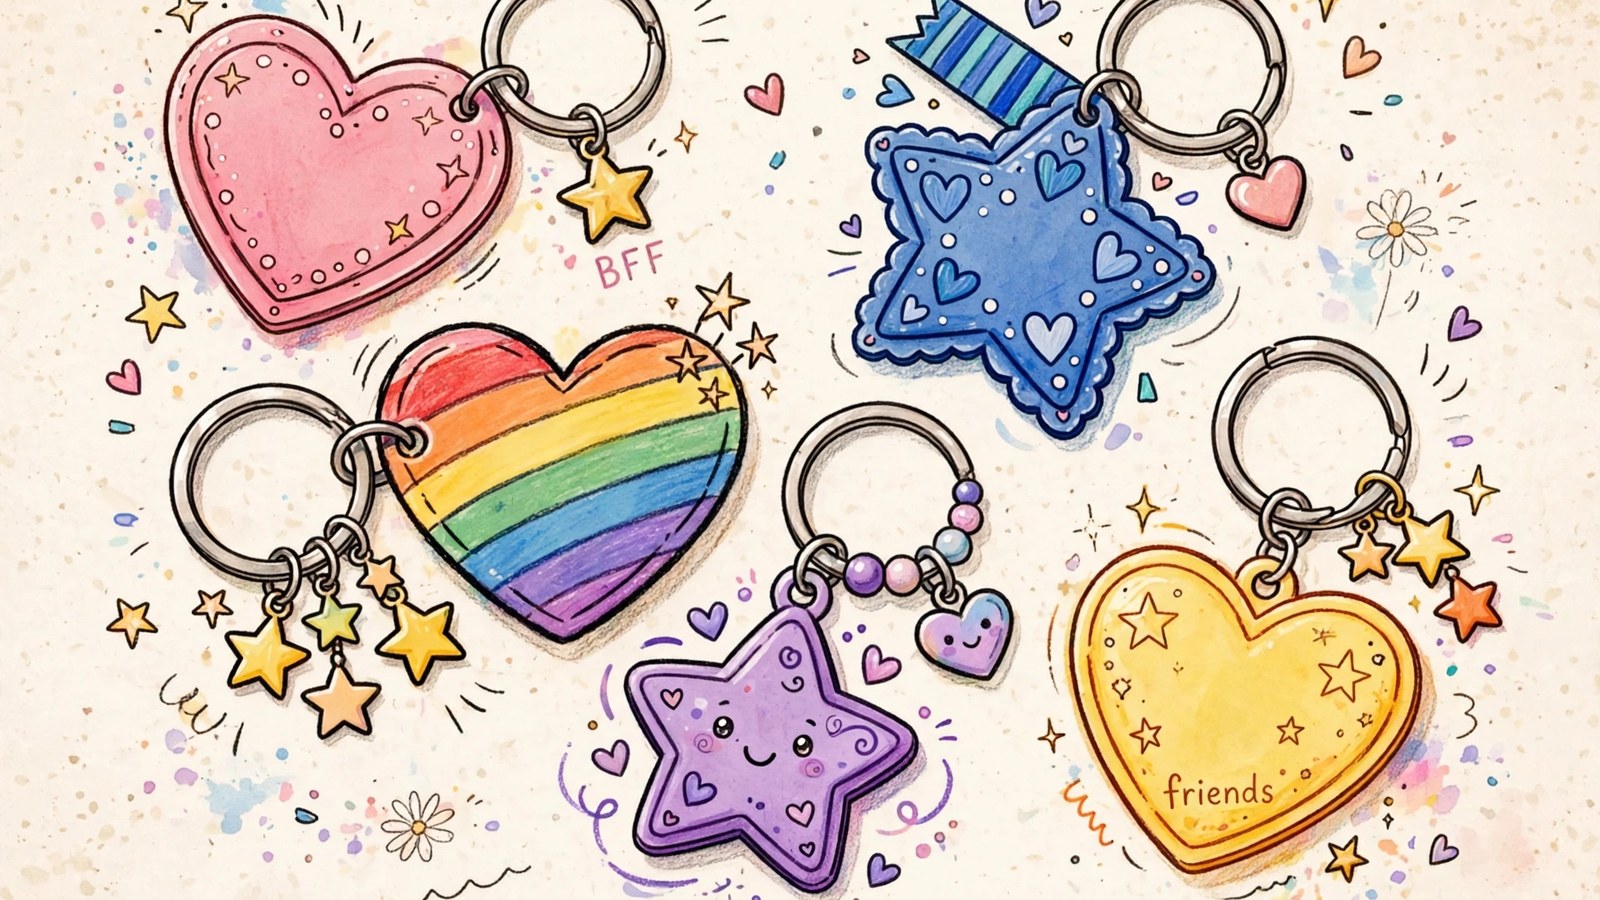
Friendship keychains made from shrink plastic start as large, hand drawn designs on a clear or frosted sheet. In a hot oven they curl and twist, then flatten again as small, thick, glossy charms with deeper colors and sharper lines, ready to hang from keys or a bag. Making a matching pair, or a set for a whole group, turns that transformation into a shared memory, because each person designs a charm and everyone watches the shrinking together.
This guide covers the whole process, from choosing shrink plastic and designing for shrinkage, through baking safely, to assembling keychains that survive daily use. One correction matters at the start. Shrinkage is not the same for every product. Carnegie Mellon University describes Shrinky Dinks brand sheets shrinking to approximately one third of their original size and becoming nine times thicker. Grafix, another manufacturer, says its Shrink Film generally shrinks to about 50 percent of its original size. Both can be right for their own product, and neither figure should be applied to the other brand without a test. Designing without shrinkage in mind gives charms that are too small, too dark, or too detailed to read. Designing with a measured test piece gives charms that look intentional and polished.
An adult should handle the oven for this project, and children should design, color, and assemble with supervision, while an adult manages all hot steps. That division keeps the project safe and fun, and it is worth stating plainly at the start, because the oven stage is the only part of the project that carries real risk, and it is easily managed with ventilation, oven mitts, and attention. Read the safety section before you start, and follow your specific shrink plastic package instructions, which take precedence over any general guide, including this one.
How Shrink Plastic Works
Shrink plastic is a sheet of polystyrene stretched during manufacturing. Carnegie Mellon University, in its Leonard Gelfand Center explainer, describes Shrinky Dinks as thin, flexible sheets of polystyrene that can be colored and cut before heating. During manufacture the raw polystyrene is melted, extruded, and stretched while above its glass transition point, then cooled quickly by chilled rollers, which holds the stretched shape.
When the sheet is heated again, the polystyrene chains return toward their more random, stable configuration. The sheet shrinks in length and width, its mass stays the same, and the lost area is compensated for by an increase in thickness. That is why a large, thin drawing becomes a small, sturdy charm. The process is quick, usually 1 to 3 minutes in a hot oven for the products described in the Sources, and it is dramatic to watch, as the sheet curls, twists, and then flattens again as it finishes shrinking.
CSIRO gives the same idea for recycled containers: polystyrene softens near its glass transition temperature, and a stretched shape cooled and held rigid will shrink back toward the sheet it was made from when heated again. Shrinking may not be even in every direction. Grafix gives the same warning: the film will not shrink perfectly proportionate, so allow for distortion. A circle can finish as a slight oval, so test any design that must stay round.
That thickening is what makes shrink plastic suitable for keychains. A finished charm is rigid and surprisingly durable for its size. It can be punched before baking for a jump ring, sealed, and carried on keys or a bag without bending. It is still plastic, though, and can crack if bent forcefully or dropped on a hard surface repeatedly.
Colors become darker and more saturated during shrinking, because the same pigment is concentrated into a smaller area. Light colors shrink to pleasant mid tones, while dark colors can become almost black in places. Grafix gives the same warning: color will intensify when shrunk. Color a little lighter than you think you need, and test first.
Choosing Materials
Buy shrink plastic made for crafting, in sheets that suit your coloring tools. Frosted or roughened sheets, often called frosted, matte, or sanded, work well with colored pencils, because the rough surface grips pencil pigment. Carnegie Mellon University gives the same pairing: colored pencils can be used on the frosted, pre-sanded product, while transparent, non-sanded sheets need permanent markers. Clear sheets work well with permanent markers, though markers can smear if handled too much before baking, so let marker designs dry fully. Grafix says permanent markers and pens work best on its non-inkjet Shrink Film, and that only the inkjet style should go through an inkjet printer. Never put shrink film in a laser printer or copier. Grafix warns that laser printers and copiers generate heat while they process, and putting Shrink Film in either could cause serious damage to the equipment.
Colored pencils are the most forgiving choice, giving soft, blendable color that darkens pleasingly on shrinking. Permanent markers give bold, bright color, but they can bleed on some sheets and their fumes need ventilation, so use them in a well ventilated area and cap them when not in use. Avoid crayons and water based markers for most shrink plastic, because they tend to smear, flake, or wash out during shrinking. Test any new pen, pencil, or paint pen on a scrap piece from the same package first.
You will also need keychain hardware: split rings, jump rings, and optionally small charms, beads, or tassels, plus pliers. A standard single hole punch used before baking makes the hanging hole. Carnegie Mellon University calls a standard size paper punch ideal for most projects, with the reminder that the hole will shrink, so make it large enough. Other supplies include scissors, a liner specified by your manufacturer, a baking sheet, oven mitts, and an optional sealant, used according to its instructions in a ventilated area.
A note on recycled plastic belongs here. Carnegie Mellon University notes that similar results can be obtained from polystyrene containers, recycled plastic number 6, especially clear clamshells. CSIRO gives the safety boundary: use rigid plastic carrying number 6, not foam, and get the right plastic, because other plastics will not work and may melt or emit unpleasant or toxic fumes. Code 6 identifies polystyrene. It does not by itself make an unidentified container safe to heat. For friendship keychains, especially with children, craft shrink plastic is the safer, more reliable choice. Never heat unidentified plastics.
Designing for Shrinkage
Design large, and design from your own test piece, not from a general ratio alone. Draw a measured shape, for example a 3 inch square with a punched hole and color swatches, bake it exactly as your package directs, let it cool, and measure it again. That result is the ratio for that package in your oven. If it shrinks to about one third, a charm to finish at about 1 and a half inches across should start at about 4 and a half inches across. If it shrinks to about one half, the same charm should start at about 3 inches across. Using the wrong ratio is the most common reason a set finishes too small to read.
Keep designs bold and simple. Fine detail, tiny text, and thin lines can blur or disappear when shrunk, while bold outlines, large shapes, and clear color blocks survive well. If you want text, make the letters large, bold, and well spaced, and test them first, because small text often becomes unreadable after shrinking. For friendship sets, a shared motif, such as matching halves of a heart or the same animal in different colors, gives the set its identity, while individual color choices give each charm personality.
Plan the hole position before you color. Punch the hole near the top, leaving enough plastic around it that the finished hole does not tear out under the weight of keys. A hole too close to an edge shrinks to a tiny, weak hole that tears easily. If you forget to punch before baking, an adult can drill a small hole in the finished charm, carefully and with eye protection, but punching before baking is far easier and safer. Grafix and Carnegie Mellon University both put punching before baking in their instructions.
Matching charms can be identical, complementary, or two halves of one design. Identical charms suit a group. Complementary charms, such as a sun and a moon, suit a pair with different tastes. Split designs are the most sentimental, but the halves must align after shrinking, which is harder than it sounds because shrinkage is not perfectly proportionate. Test a split design first, and accept a small misalignment as part of the handmade charm.
Round the corners. Carnegie Mellon University warns that edges become sharper after shrinking, so round corners a little. Sharp points become very pointy, can be uncomfortable on a keychain, and can catch and break. Make narrow parts, such as thin arms or tails, a little thicker than you think they need, because they are the weakest points and the most likely to snap.
Preparing and Coloring Designs
Draw or trace your design onto the rough side of frosted shrink plastic, or the side specified by your package, using a permanent marker for outlines if you want crisp edges, or a pencil for a softer look. Color with colored pencils, using firm, even strokes and layering gradually, rather than pressing hard in one pass. Leave white space where you want the finished charm to stay light, because uncolored areas shrink to a clear or frosted finish.
Cut out each design carefully with scissors, leaving a small margin if you want a border, or cutting close to the outline for a shaped charm. Smooth any sharp corners slightly. Children can cut with child safe scissors under supervision. An adult should handle any cutting that needs a craft knife, and no child should use a craft knife for this project.
Punch the hanging hole now, before baking. A standard hole punch hole, about a quarter inch across, usually shrinks to a hole large enough for a jump ring on a strongly shrinking sheet, but will finish larger on a sheet that shrinks less, so test with your brand. Punch all holes before baking any charms, so you do not forget one.
Make a color test sheet at the same time. Put a labeled swatch of every pencil or marker you plan to use on one scrap piece and bake it with the first batch. The shrunk swatches show the finished color, not the lighter unbaked color.
Baking Safely Step by Step
Preheat your oven to the temperature specified on your shrink plastic package. That package figure governs. For reference, Carnegie Mellon University gives 325 degrees Fahrenheit, which is 163 degrees Celsius, for Shrinky Dinks, and Grafix gives a preheat range of 300 to 350 degrees Fahrenheit for its Shrink Film, with a test scrap to determine the best temperature and time. Do not use wax paper in the oven, because it can melt or smoke. Do not use a microwave. Carnegie Mellon University states plainly that Shrinky Dinks do not work with microwave ovens, and a microwave does not shrink this plastic evenly. Do not use the broiler setting. Open a window or run the kitchen exhaust fan for ventilation, because heating plastic can produce a slight odor, and good airflow keeps the kitchen comfortable.
Line the baking sheet as your manufacturer directs. Grafix directs makers to use a cookie sheet lined with medium weight cardboard, a Teflon sheet, parchment paper, or vellum, and says do not bake on bare metal or on any stoneware. Carnegie Mellon University directs makers to use a tray or cookie sheet covered with foil or brown paper. Follow the liner instruction for the product you bought. Place a few designs on the lined sheet, colored side up, spaced apart so curling pieces cannot touch and fuse together.
An adult places the sheet in the preheated oven. Watch through the oven window, without opening the door, as the pieces curl, twist, and then flatten. Curling is normal. Grafix describes the same sequence: shrink film will curl up, then flatten back out, and that is simply part of the shrinking process. Baking typically takes 1 to 3 minutes. After the pieces lay flat, allow an additional 30 seconds, as Carnegie Mellon University directs. Follow your package for exact time, since brands vary.
When pieces have flattened, an adult wearing oven mitts should remove the sheet and let the pieces cool on the sheet, without touching them, for several minutes. Carnegie Mellon University gives about 3 to 5 minutes before handling, and CSIRO gives about 10 minutes for a tray and pieces to be cool enough to touch. Hot shrink plastic is hot enough to burn, and moving it while it is still soft can distort it. Grafix gives the same caution: use caution when handling before cooled, because the designs will be hot, and the film is still pliable when it comes out and can be flattened then by an adult. Never let children handle the hot sheet or the hot charms, and never leave the oven unattended while baking.
If a piece is still slightly curled after cooling, an adult can return it to the oven briefly, following package guidance, or press it flat while it is still warm. Grafix advises that if film curls and sticks to itself, remove it from the oven, unstick it with toothpicks, tweezers, or a spatula when slightly cooled, and return it to the oven, and that placing parchment paper or heavy vellum on top while shrinking can minimize curling and sticking. Do that with adult hands only, and never reach into a hot oven without oven mitts.
Check each cooled charm against your test piece. If colors are darker than expected, color more lightly next time. If charms are smaller than expected, start larger next time. A first batch is a learning batch.
Assembling Keychains
Once charms are cool and fully hard, assemble the keychains. Open a jump ring with pliers, using a twisting motion rather than pulling it apart sideways, which weakens the ring. Thread it through the charm hole and through a split ring, and close it firmly by twisting it back, checking that the ends meet neatly with no gap. A gap in a jump ring is how charms fall off keys, so test each closed ring by tugging it gently and by checking that it does not snag on fabric.
Add extras thoughtfully. A bead, tiny charm, or short tassel can personalize a keychain, but each extra adds weight and bulk. For friendship sets, a shared extra, such as the same bead color on every keychain, ties the set together.
Test the finished keychain on keys or a bag for a day before giving it as a gift. Check that the jump ring stays closed and that any sealant has fully cured and does not feel tacky.
Sealing for Durability
Sealing is optional. Grafix states that it is not necessary to seal finished shrink film pieces, but that pieces handled often can be protected with a polyurethane sealer. Keychains are handled constantly and keys rub against charms, so sealing is worth considering for this use, because unsealed pencil color can wear or smudge over time. A clear acrylic sealer, applied in thin coats according to its instructions, protects color and gives a glossy finish, while a thin coat of resin, cured according to its instructions, gives a thicker, glass like finish. Both should be used in a ventilated area, with gloves if the product instructions advise gloves, and allowed to cure fully before the keychain is used or given. Follow the sealant or resin manufacturer instructions, which govern mixing, curing, eye protection, and skin protection. Uncured resin can irritate skin, so keep it away from children and do not let children apply resin.
Apply sealant to both sides, letting each side dry or cure fully before sealing the other, and keep sealant out of the hanging hole, where it can block the jump ring. Thin coats are better than one thick coat, which can drip, pool, or stay tacky. Test a sealant on a scrap charm first.
Sealing does not make a charm unbreakable. A sealed charm still cracks if bent forcefully or dropped on a hard surface, and sealant can yellow over time in sunlight. Store keychains away from prolonged direct sunlight, and accept that a well loved keychain will show wear, which is a sign of use, not a failure.
Troubleshooting
If charms curl and stay curled, they may have been removed from the oven too soon, or the baking sheet may have been uneven. Return a curled charm to the oven briefly, following package instructions, and let it flatten fully before removing it, or press it flat with a heat safe object while still warm, with adult hands and oven mitts only. Persistent curling can also mean the oven temperature was too low, so check it with an oven thermometer if your oven is known to run cool. For larger or longer designs, Grafix advises heating at a lower temperature to slow the shrinking process and reduce distortion.
If charms stick together, they were placed too close and their curling edges touched and fused. Space pieces further apart next time, bake fewer at once, and use the liner your manufacturer specifies. Fused charms often break when separated, so prevention is better than repair.
If colors are much darker than expected, color more lightly next time, and test colors on a sample first. Dark blues, purples, and browns darken most, while light yellows, pinks, and pale blues shrink to pleasant mid tones. Your shrunk color test sheet prevents most surprises.
If a charm cracks or snaps, it may have had a narrow section, a sharp point, or a hole too close to an edge. Make narrow sections thicker, smooth sharp points, and leave a generous margin around holes. A cracked charm can sometimes be glued for display, but it should not be used as a keychain, because a glued crack can fail again under the weight of keys.
Safety Notes
Oven safety is the central safety issue for shrink plastic. An adult should preheat the oven, place and remove the baking sheet, and handle all hot plastic, wearing oven mitts and keeping children away from the hot oven and the hot sheet. Carnegie Mellon University states the rule as a safety note at the top of its procedure: adult supervision is required during cutting and baking. CSIRO states the same rule for its activity: this activity uses an oven, ask an adult to supervise, use oven mitts, and avoid touching hot surfaces. Ventilate the kitchen by opening a window or running the exhaust fan, never use a microwave for shrink plastic, never use the broiler setting, and never leave the oven unattended while baking. Follow your specific product package instructions, which take precedence over general guidance, including the temperature and time given in this guide.
Plastic safety matters too. Use only shrink plastic sold for crafting, or clean, clearly identified number 6 polystyrene if you are following a reliable recycled plastic project from a named source such as Carnegie Mellon University or CSIRO, and never heat unidentified plastics, which can release harmful fumes when heated. Do not use foam polystyrene for the recycled route: CSIRO specifies rigid number 6 plastic, not foam. Do not bake food at the same time as shrink plastic, do not use the same baking sheet for food and crafts without washing it thoroughly afterward, and keep children away from hot plastic and from small hardware such as jump rings and split rings, which can be choking hazards for young children.
Finished keychains are accessories, not toys, and they contain small metal parts. The United States Consumer Product Safety Commission advises keeping small balls and toys with small parts away from children younger than age 3, and following age guidance on packaging. Keep finished keychains away from very young children, check jump rings regularly for gaps or wear, and retire any keychain whose charm has cracked or whose hardware has loosened. Toddlers should not be given a keychain at all.
Cost, Time, and Gifting
Shrink plastic is inexpensive, and a single pack of sheets makes many charms, so the main costs are the plastic itself, coloring tools if you do not already own them, and keychain hardware, all modest. No exact price is promised here, because pack sizes and hardware counts vary widely. Making ten charms takes little more time than making two, once the oven is preheated and the designs are ready.
Time breaks down as designing and coloring, about half an hour to an hour, baking, a few minutes per batch, cooling, about ten minutes, and assembling, about ten minutes per keychain. Those times are planning guides, not guarantees. A group can design, bake in batches, and assemble the same day, with the oven stage managed by an adult throughout.
As gifts, friendship keychains work best presented as a set, with a note explaining the shared design and the care instructions: keep the charm away from forceful bending, check the jump ring occasionally, and enjoy the wear that comes with daily use. Pack each keychain in a small pouch or envelope, so it does not scratch other gifts.
Frequently Asked Questions
How much does shrink plastic shrink?
It depends on the product. Carnegie Mellon University describes Shrinky Dinks sheets shrinking to approximately one third of their original size and becoming nine times thicker. Grafix says its Shrink Film generally shrinks to about 50 percent of its original size. Test a small piece from your package, measuring it before and after baking, and use your measured ratio for real designs.
Can children use shrink plastic?
Yes, with adult supervision. The oven stage should always be handled by an adult. Children can design, color, cut with child safe scissors, and assemble cooled charms with help, while adults manage preheating, baking, removing hot sheets, and handling hot plastic. Keep small hardware away from very young children, and keep finished keychains away from toddlers and from children younger than age 3, in line with Consumer Product Safety Commission guidance on small parts.
What pens or pencils work best?
Colored pencils on frosted or sanded sheets give the most forgiving results, while permanent markers on clear sheets give bold color but can smear if handled before baking. Grafix says permanent markers and pens work best on its non-inkjet film, and Carnegie Mellon University pairs colored pencils with frosted sheets and permanent markers with transparent sheets. Avoid crayons and water based markers, test your tools on a sample first, and let marker designs dry fully before baking. Never use a laser printer for shrink film.
Why did my charm curl and not flatten?
Curling is a normal stage of shrinking, and pieces usually flatten if left in the oven long enough. If a piece is removed too soon, it may stay curled. Return it to the oven briefly, following package instructions, or press it flat while still warm with adult hands and oven mitts. Persistent curling can mean the oven temperature was too low.
Do I need to seal shrink plastic keychains?
No. Sealing is optional. Grafix states that finished pieces do not need to be sealed, but that a polyurethane sealer can protect pieces handled often. Use a sealer or resin only according to its own instructions, in a ventilated area, and allow it to cure fully before use.
Can I use recycled plastic instead of craft shrink plastic?
Some projects use clean, number 6 polystyrene containers, described by both Carnegie Mellon University and CSIRO. Results are less predictable, shrinkage can be uneven, and only clearly identified rigid number 6 plastic, not foam, should ever be heated. Never heat unidentified plastics. For friendship keychains, especially with children, craft shrink plastic is the safer, more reliable choice.
Can I bake shrink plastic in a microwave or under the broiler?
No. Do not use a microwave, and do not use the broiler setting. Carnegie Mellon University states that Shrinky Dinks do not work with microwave ovens. Use a conventional or toaster oven as your package directs, with an adult handling every hot step.
Sources & references
- Carnegie Mellon University, Leonard Gelfand Center, Shrinky Dinks. Used for Shrinky Dinks consisting of thin, flexible sheets of polystyrene, shrinking to approximately one third of their original size and becoming nine times thicker and more rigid while retaining the colored design, the extrusion and biaxial stretching explanation and the return of polystyrene chains to a more random configuration on heating with mass staying the same, obtaining the same result from polystyrene containers, recycled plastic number 6, especially clear clamshells, adult supervision being required during cutting and baking, colored pencils on the frosted pre-sanded product and permanent markers on transparent non-sanded sheets, edges becoming sharper after shrinking so corners should be rounded, punching a hole before baking with a standard size paper punch being ideal and the hole shrinking so it must be made large enough, baking in a toaster oven or conventional oven at 325 degrees Fahrenheit, 163 degrees Celsius, for 1 to 3 minutes, Shrinky Dinks not working with microwave ovens, placing pieces colored side up on a tray or cookie sheet covered with foil or brown paper, allowing an additional 30 seconds after pieces lay flat, and allowing pieces to cool about 3 to 5 minutes before handling.
- Grafix, How to Use Shrink Art Films, and Grafix Product FAQs, Shrink Film Instructions and Helpful Hints. Used for drawing or tracing a design on the film, decorating with permanent inks, markers, and rubber stamps, cutting with regular or decorative scissors, punching holes with a paper punch prior to baking, preheating the oven between 300 and 350 degrees Fahrenheit and testing with a scrap piece to determine the best baking temperature and time, placing the design on a cookie sheet lined with medium weight cardboard, a Teflon sheet, parchment paper, or vellum and not baking on bare metal or any stoneware, heating for approximately 2 to 3 minutes until flat or shrinking has stopped, baking in conventional or toaster ovens or using an embossing tool, covering a design with parchment paper or vellum to minimize curling and sticking, unsticking curled film with toothpicks, tweezers, or a spatula and reheating, the film still being pliable when removed from the oven, using caution when handling before cooled because the designs will be hot, heating larger or longer designs at a lower temperature to slow shrinking and reduce distortion, the film not shrinking perfectly proportionate, permanent markers and pens working best on non-inkjet film, sealing not being necessary but a polyurethane sealer protecting pieces handled often, never putting Shrink Film in a laser printer or copier because the heat generated could cause serious damage to the equipment, film thickness of 0.010 inches prior to baking, and Shrink Film generally shrinking to about 50 percent of its original size and becoming thicker.
- CSIRO, Double Helix, Shrinking Plastic. Used for the safety statement that the activity uses an oven, an adult should supervise, oven mitts should be used, and hot surfaces should not be touched, using plastic containers with recycling number 6 and not foam, recycling number 6 being the symbol for polystyrene, selecting rigid plastic carrying the number 6, getting the right plastic being very important because other plastics will not work and may melt or emit unpleasant or toxic fumes, lining a baking tray with baking paper, using oven mitts to put the tray in and take it out, waiting a few seconds after opening the oven door for fumes to blow away, about 10 minutes for the tray and pieces to be cool enough to touch, polystyrene softening near its glass transition temperature and shrinking back toward the sheet it was made from, and pictures not shrinking evenly in every direction because of unevenness in manufacturing.
- United States Consumer Product Safety Commission, Toys. Used for following age guidance and other safety information on toy packaging and choosing toys that match a child interest and abilities, keeping small balls and toys with small parts away from children younger than age 3, keeping deflated balloons away from children younger than age 8, discarding plastic wrappings and other packaging once gifts are open, and toys having to carry age labels if the toy is a choking hazard for children under 3 years old.


