Short answer
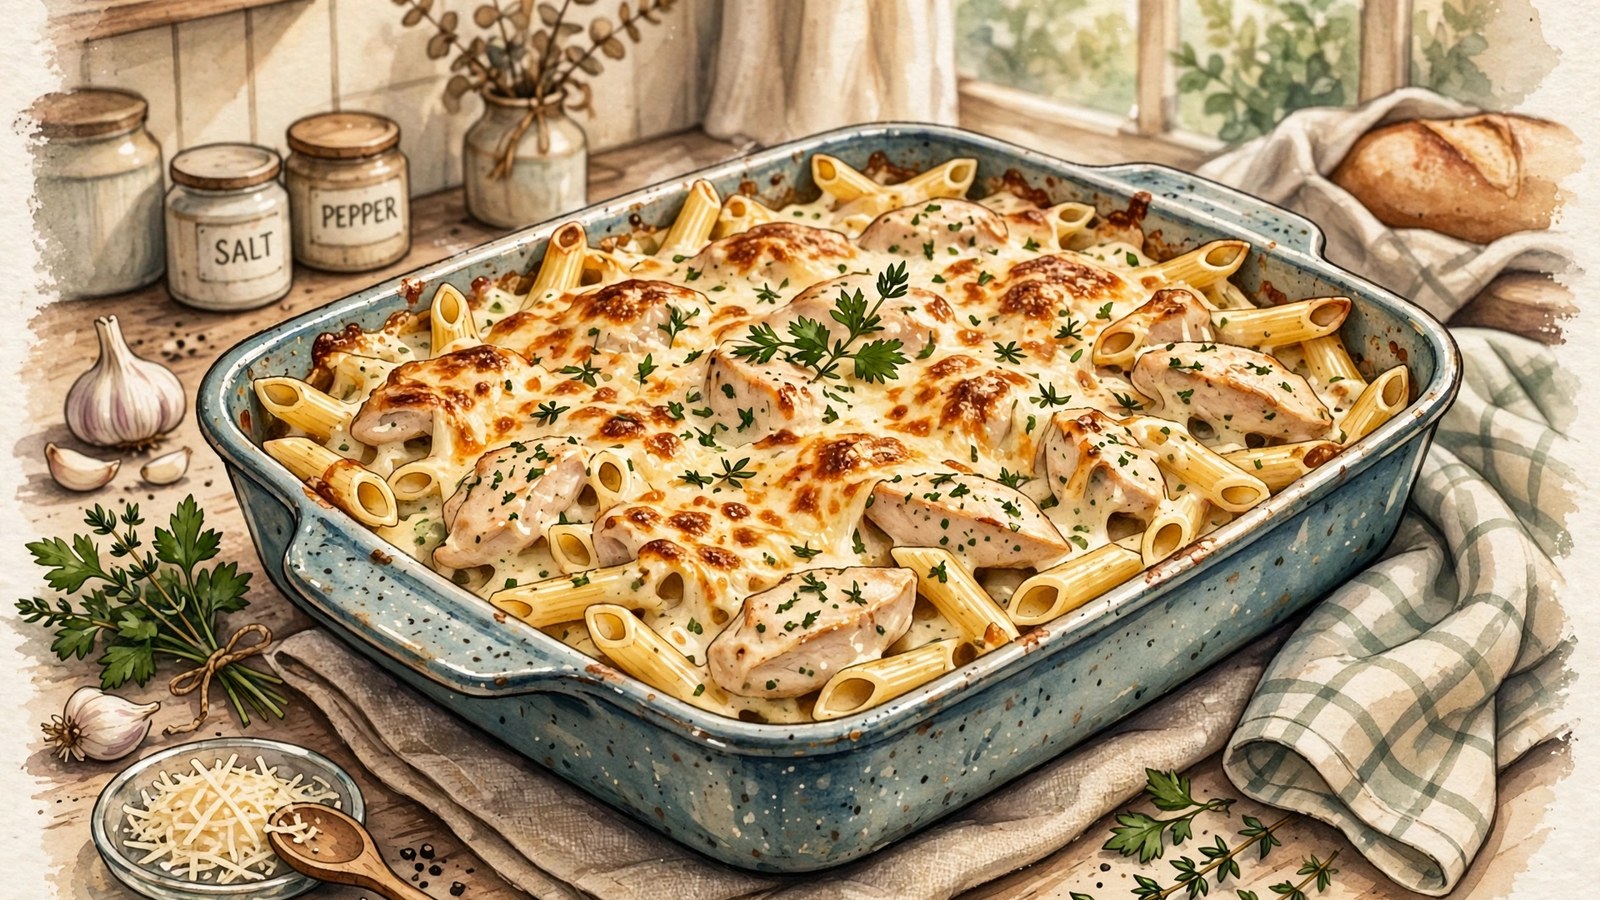
- Cut boneless, skinless chicken into even 1 inch pieces. Stir uncooked penne, the chicken, heavy cream, chicken broth, milk, butter, garlic, and seasonings together in a 9 by 13 inch baking dish, with every piece of pasta and chicken pushed below the liquid. Stir in part of the Parmesan and mozzarella, cover tightly with foil, and bake at 375 degrees Fahrenheit for 40 minutes without lifting the cover. Stir, then check several chicken pieces, including pieces from the center, with an instant read thermometer. FoodSafety.gov lists all poultry and casseroles at a safe minimum internal temperature of 165 degrees Fahrenheit. If any piece is below that, re-cover and bake 10 minutes more and check again. Only when the chicken reads 165 degrees Fahrenheit and the pasta is tender, add the remaining cheese, bake uncovered for 10 to 15 minutes until golden, rest for 10 minutes, and serve. Refrigerate leftovers within 2 hours, use them within 3 to 4 days, and reheat them to 165 degrees Fahrenheit.
Introduction
Dump-and-bake cooking makes a bold promise: put uncooked pasta, sauce, and chicken into one dish, cover it, bake it, and dinner comes out creamy, tender, and ready to serve, with no pot of boiling water and no separate sauce pan. This chicken Alfredo pasta bake can keep that promise, but only if three rules are respected. The pasta must be fully submerged in liquid. The dish must stay tightly covered for most of the cooking time. And the chicken must reach 165 degrees Fahrenheit throughout, checked with a food thermometer in several pieces, not judged by color.
Alfredo sauce, in its classic form, is butter, cream, and Parmesan cooked into a smooth, glossy coating. In a dump-and-bake version, that sauce is assembled from pantry and refrigerator staples and poured over the pasta raw, so the pasta absorbs liquid and flavor as it bakes. The starch released by the pasta thickens the sauce naturally, which is part of why the result tastes so creamy. The chicken cooks gently in the sauce, staying moist in a way that grilled or pan fried chicken sometimes does not. A golden, bubbling cheese topping at the end adds texture and makes the dish feel finished rather than merely assembled.
This is a practical dinner for busy evenings and for anyone who wants comfort food without a sink full of pans. It is also a forgiving template: the pasta shape, the cheese blend, and the added vegetables can all change, as long as the liquid ratio and the covering rule stay intact. This article explains why the method works, gives the full recipe, shows how to verify the chicken is safe, and covers variations, storage, and troubleshooting. The food safety guidance was checked against FoodSafety.gov and the United States Department of Agriculture Food Safety and Inspection Service on 31 October 2026.
Why Dump-and-Bake Works, and When It Does Not
Pasta normally cooks in a large pot of boiling, salted water, where it absorbs water and releases starch into the pot, which is then drained away. In a dump-and-bake, the pasta absorbs the sauce itself, so no flavor is drained away and the starch stays in the dish, thickening the sauce. That is the method’s great advantage. It is also its great risk. If there is not enough liquid, the pasta on top dries out and stays hard. If the dish is uncovered, liquid evaporates and the same thing happens. The solution is generous liquid, a tight cover, and patience: lifting the cover repeatedly lets steam escape and slows the process.
Oven temperature matters too. A moderate oven, around 375 to 400 degrees Fahrenheit, cooks the pasta through without scorching the sauce at the edges. A very hot oven risks drying the sauce before the pasta softens. A very cool oven stretches the cooking time so long that the sauce can separate and the food spends longer passing through the temperature range where bacteria grow quickly. The method below uses 375 degrees Fahrenheit for the covered stage, and a short uncovered stage at the end to brown the top.
Chicken choice is the other critical decision, and it is where a casual version of this recipe can become unsafe. Boneless, skinless chicken breasts or thighs, cut into small, even pieces of about 1 inch, cook through reliably in the covered bake. Large, whole breasts are not suitable for this method: the outside can overcook while the center is still underdone, and cutting into a finished bake to check is messy and unreliable. Do not substitute whole breasts and keep the same timing. Small pieces also distribute through the pasta, so every serving has chicken in it. Thighs are more forgiving than breasts because their slightly higher fat content keeps them moist; breasts work well too, provided they are cut small and the bake is not overcooked.
Ingredients
This recipe makes about six servings as a main course, or eight with generous sides and salad.
- 12 ounces penne, rigatoni, or ziti pasta, uncooked
- 1 pound boneless, skinless chicken breasts or thighs, cut into 1 inch pieces
- 2 cups heavy cream
- 2 cups low sodium chicken broth
- 1 cup whole milk
- 4 tablespoons unsalted butter, cut into small pieces
- 4 cloves garlic, minced
- 1 teaspoon Italian seasoning
- 1/2 teaspoon onion powder
- 3/4 teaspoon kosher salt, plus more to taste
- 1/2 teaspoon black pepper
- 1/4 teaspoon ground nutmeg, optional
- 1 1/2 cups freshly grated Parmesan cheese, divided
- 1 1/2 cups shredded mozzarella cheese, divided
Optional additions:
- 2 cups baby spinach, roughly chopped
- 1 cup sliced mushrooms, or 1 cup broccoli florets
- 1/2 teaspoon red pepper flakes, for warmth
To serve:
- Extra grated Parmesan
- Chopped fresh parsley
- Black pepper
- A simple green salad or steamed vegetables, to balance the richness
A few notes help the dish work the first time. Short, sturdy pasta shapes with ridges or tubes hold sauce and cook evenly, while long shapes tangle and very small shapes can turn mushy. Freshly grated cheese melts more smoothly than pre-shredded cheese, which is coated to prevent clumping and can make the sauce grainy. Low sodium broth is recommended because Parmesan is salty and the sauce concentrates as it bakes. Keep added vegetables to about 2 cups total, and avoid large amounts of watery vegetables such as zucchini, which thin the sauce.
Equipment
You need a 9 by 13 inch baking dish, preferably ceramic or glass, aluminum foil, a knife, a cutting board, and an instant read thermometer. The dish size matters: too small and the pasta piles too deep to cook evenly; too large and the liquid spreads thin and evaporates. If your dish is a different size, adjust quantities rather than forcing this recipe into it.
Foil must seal tightly. A loose cover lets steam escape, which is the most common cause of hard, undercooked pasta in a dump-and-bake. Press the foil firmly around the edges, and if your foil is thin, use two layers. The thermometer is not optional: because the chicken is mixed into a creamy pasta, its color is hidden and its doneness cannot be judged by looking at it.
Method: Step by Step
Step 1: Heat the oven and prepare the dish
Preheat the oven to 375 degrees Fahrenheit. Lightly butter or oil the baking dish, and position a rack in the center of the oven. While the oven heats, cut the chicken into even, 1 inch pieces, and keep raw chicken separate from other ingredients and utensils. Do not wash the raw chicken, because splashing can spread germs around the sink. Wash your hands for at least 20 seconds, and wash the knife and cutting board thoroughly after handling raw chicken.
Step 2: Combine the sauce ingredients
In the baking dish or a large bowl, whisk together the heavy cream, chicken broth, and milk. Stir in the garlic, Italian seasoning, onion powder, salt, pepper, and nutmeg if using. This liquid is what the pasta will absorb, so taste it before adding the pasta: it should taste well seasoned, even slightly more seasoned than you think necessary, because the plain pasta will dilute the flavor as it cooks. Add the butter pieces and stir.
Step 3: Add the pasta and chicken
Add the uncooked pasta and stir until every piece is coated and submerged in liquid. If any pasta pokes above the surface, push it down; exposed pasta will not cook and will stay hard. Scatter the chicken pieces evenly through the pasta, pressing them gently into the liquid so they are submerged and not piled in one spot. Sprinkle in 1 cup of the Parmesan and 1 cup of the mozzarella, and stir lightly. If using spinach, mushrooms, or broccoli, add them now, pressing leafy additions below the surface so they do not dry out.
Step 4: Cover tightly and bake
Cover the dish tightly with foil, pressing it firmly around all edges. Bake for 40 minutes without lifting the cover. Resist the urge to peek: every lift releases steam and heat, and the pasta needs that trapped moisture to soften. During this stage, the pasta absorbs liquid, the chicken cooks, and the starch thickens the sauce. The dish will be bubbling when the cover is removed, but bubbling alone does not prove the chicken is done.
Step 5: Check the chicken and the pasta, then add the topping
After 40 minutes, remove the dish from the oven and carefully lift the foil away from you, so the steam escapes away from your face and hands. Stir the pasta thoroughly, scraping the edges and bottom. Then check the chicken with an instant read thermometer, in the thickest part of several pieces, including pieces from the center of the dish. Every piece checked should read 165 degrees Fahrenheit. Taste a piece of pasta: it should be tender with just a slight bite. If the pasta is still firm, or if any chicken piece is below 165 degrees Fahrenheit, re-cover the dish and return it to the oven for 10 more minutes, then check again. Do not move to the topping stage, and do not serve the dish, until the chicken has reached temperature. If the pasta is tender and the chicken is at temperature, sprinkle the remaining 1/2 cup Parmesan and 1/2 cup mozzarella evenly over the top.
Step 6: Brown the top and rest
Return the uncovered dish to the oven for 10 to 15 minutes, until the cheese is melted, bubbling, and golden in spots, and the sauce is thick and creamy. If the top browns before the sauce thickens, cover loosely with foil for the remaining time. Let the dish rest for 10 minutes before serving: the sauce thickens as it cools slightly, the pasta finishes absorbing liquid, and the bake becomes much easier to serve in neat portions. Garnish with extra Parmesan, parsley, and black pepper.
Timing at a Glance
Total time is about 65 to 70 minutes, but hands-on time is only about 10 to 15 minutes. Assembly takes roughly 10 minutes, the covered bake takes 40 minutes, the uncovered browning takes 10 to 15 minutes, and resting takes 10 minutes. Dense vegetables such as broccoli may add about 5 minutes to the covered stage. Times are guidance, not a safety guarantee: rely on the thermometer and the pasta taste test rather than the clock alone. The bake is done when the pasta is tender, the chicken reads 165 degrees Fahrenheit in several places, and the sauce coats the pasta thickly.
How to Tell When the Chicken Is Done
This is the most important section in the recipe, because the common shortcuts do not work here. Chicken mixed into a creamy sauce cannot be judged by the color of its surface, by clear juices, or by the absence of pink. Sauce coats the pieces, and color is not a reliable measure of temperature in any case.
Use a food thermometer. FoodSafety.gov states that food is safely cooked when its internal temperature is high enough to kill germs that can cause food poisoning, and advises placing the thermometer in the thickest part of the food. Its chart lists chicken, turkey, and other poultry, in all forms, at 165 degrees Fahrenheit, and it lists casseroles, both meat and meatless, at the same 165 degrees Fahrenheit. This dish is both, so 165 degrees Fahrenheit is the figure from every direction.
In practice, that means checking more than one piece. Push the probe into the thickest part of a large piece near the center of the dish, then check a piece near an edge and another from a different corner. The center cooks slowest, so a single edge reading is not enough. If any piece is below 165 degrees Fahrenheit, the whole dish goes back, covered, for 10 more minutes, and the check is repeated. The browning stage and the rest come after the temperature check, and they are not a substitute for passing the check first.
Never use frozen chicken in this method. Frozen pieces will not cook through reliably in the covered bake time and can spend too long in the temperature range where bacteria multiply rapidly. Thaw chicken fully in the refrigerator, and never thaw it on the counter.
Variations That Keep the Method Intact
For a lighter version, replace half the heavy cream with additional milk or broth, but expect a thinner sauce; an extra 1/4 cup of Parmesan helps thicken it. For a richer version, use all cream and no milk, and add an extra handful of cheese. For a vegetable packed version, add spinach, mushrooms, broccoli, peas, or sun dried tomatoes, keeping the total added volume to about 2 cups. Peas are best stirred in during the last uncovered stage so they stay bright. For a spicy version, add red pepper flakes and a pinch of cayenne.
If you use a different short shape, keep the weight the same, 12 ounces, and check doneness at 40 minutes, since some shapes absorb liquid faster than others. Whole wheat pasta absorbs more liquid and may need an extra 1/4 to 1/2 cup of broth and a few extra minutes. Pecorino Romano can replace part of the Parmesan for a sharper flavor, but use a little less, since it is saltier. Fontina or provolone can replace part of the mozzarella.
Cooked chicken can be used: about 3 cups shredded, added at assembly, with the covered bake reduced to about 30 minutes, since the chicken only needs to heat through to 165 degrees Fahrenheit while the pasta absorbs liquid.
On making the bake ahead: the best approach is to prepare the components ahead, then assemble and bake on the day. If you assemble the full dish ahead, cover it tightly, refrigerate it promptly, and keep it refrigerated, not at room temperature. Add about 10 to 15 minutes to the covered stage for the cold start, and check the chicken temperature especially carefully.
Serving Ideas
This is a rich, filling dish, so balance it with something fresh and light. A green salad with a lemon vinaigrette cuts through the creaminess, as do steamed green beans or broccoli with a squeeze of lemon. Garlic bread is a natural companion, though it adds more richness, so serve it in modest portions. Serve from the dish at the table with extra Parmesan and parsley on the side, but do not leave the bake sitting out for a long grazing period, for the storage reasons explained below.
Storage, Reheating, and Food Safety
FoodSafety.gov organizes home food safety into four steps: clean, separate, cook, and chill. Clean and separate govern the raw chicken work at assembly, cook governs the 165 degree check, and chill governs leftovers. Refrigerate perishable food within 2 hours of cooking, or within 1 hour if the food has been exposed to temperatures above 90 degrees Fahrenheit. Bacteria that cause food poisoning multiply quickest between 40 degrees Fahrenheit and 140 degrees Fahrenheit, so do not leave the cooked bake on the counter while the kitchen is cleaned, and throw away perishable food left out longer than those limits.
Keep your refrigerator at 40 degrees Fahrenheit or below, and cool leftovers rapidly in shallow, covered containers. The United States Department of Agriculture Food Safety and Inspection Service states that leftovers can be kept in the refrigerator for 3 to 4 days or frozen for 3 to 4 months, although frozen leftovers lose moisture and flavor, and a cream sauce may be slightly thinner after freezing.
When reheating, bring leftovers to 165 degrees Fahrenheit throughout, measured with a food thermometer. Covering leftovers helps them heat through. Pasta bakes reheat best in the oven: cover the portion with foil and warm at 350 degrees Fahrenheit until at temperature, adding a splash of milk or broth if the sauce has thickened too much. The microwave works for single portions, but stir halfway through and check the temperature in more than one place, since microwaves heat unevenly and leave cold spots. Thaw frozen leftovers safely in the refrigerator, in cold water in a leak proof bag, or in the microwave, never on the counter.
Troubleshooting
If the pasta is still hard after the covered bake, the most likely causes are insufficient liquid, a loose foil cover, or peeking during cooking. Make sure all pasta is submerged, seal the foil tightly, and do not lift it until the full 40 minutes have passed. If the pasta is hard only on top, the top layer was exposed. If the pasta is mushy, it was overcooked; check at 40 minutes and remove it promptly when tender.
If the sauce is thin, it may simply need the resting time, which thickens it considerably. Let the bake rest the full 10 minutes before judging, and if it is still thin, return it uncovered to the oven for a few more minutes. If the sauce is grainy, the cheese was likely pre-shredded or the oven was very hot; freshly grated cheese and a moderate oven help. If the sauce separated or looks oily, a gentle stir during the resting period can often bring it back together.
If the chicken is undercooked, do not serve the dish or pick pieces out: re-cover it and bake longer, then check again. The usual causes are pieces that were too large or uneven, or pieces piled in one spot. If the top is not browning, move the dish to a higher rack for the final minutes, or briefly use the broiler while watching closely, since cheese goes from golden to burnt quickly under a broiler.
Dump-and-Bake Versus Stovetop Alfredo
Stovetop Alfredo gives you more control: you can adjust the sauce thickness in real time, cook the pasta to an exact texture, and sear the chicken separately for better browning. It also creates more washing up and demands attention at the stove. Dump-and-bake trades control for convenience: one dish, minimal active time, and a result that is very good, though rarely as precisely textured as a carefully made stovetop version. For a weeknight family dinner, the convenience usually wins. For a dinner where the sauce itself is the star, the stovetop method is the better choice.
Allergen and Dietary Notes
This section is factual information for planning and serving, not medical advice. This dish contains milk, in the cream, milk, butter, and cheeses, and wheat, in the pasta. Milk and wheat are both major food allergens in the United States. Chicken broth varies by brand, so check its label each time you buy it for allergens and sodium, because recipes can change. The dish is not suitable for people with milk or wheat allergy, or for vegans, without substantial changes.
If you are cooking for someone with a milk allergy, cook their portion separately in a clean dish with clean utensils to avoid cross contact, and do not share serving spoons between dishes. Do not assume that picking the cheese out of a shared bake makes the remaining pasta safe for an allergic guest, because every component cooked in the same sauce.
For a gluten free version, use certified gluten free pasta and check that the broth, Italian seasoning, and cheese are gluten free; gluten free pasta may need extra liquid and a few extra minutes, so check doneness carefully and keep the chicken temperature check unchanged. For a dairy free version, the sauce changes fundamentally, since cream, butter, and cheese are central; simply swapping in dairy free cheese often gives a thinner result, so test a small batch first rather than serving an untested version to guests.
Frequently Asked Questions
Can I use frozen chicken?
No, not in this method. Frozen chicken will not cook through reliably in the covered bake time and may spend too long in the range between 40 degrees Fahrenheit and 140 degrees Fahrenheit, where bacteria multiply rapidly. Thaw chicken fully in the refrigerator before using it, and never thaw it on the counter.
Can I use whole chicken breasts instead of pieces?
No, not with this timing. Whole breasts are too thick for the center to be relied on in a covered pasta bake, and the outside overcooks first. Cut the chicken into even 1 inch pieces, distribute them through the pasta, and check several pieces with a thermometer for 165 degrees Fahrenheit.
Is it safe to eat if the chicken looks done but I did not check the temperature?
Appearance is not a reliable guide, especially for chicken mixed into a creamy sauce. Always check with a thermometer: 165 degrees Fahrenheit in the thickest part of several pieces, including pieces from the center. Color alone, including the absence of pink, does not guarantee safety.
Can I assemble the bake ahead of time?
Prepare the components ahead instead where you can. If you assemble the full dish ahead, cover it tightly and refrigerate it promptly, keep it refrigerated until baking, add about 10 to 15 minutes to the covered stage for the cold start, and check the chicken temperature carefully. Do not assemble raw chicken and pasta and leave it at room temperature while you wait.
Can I use rotisserie chicken instead?
Yes. Use about 3 cups of shredded cooked chicken, add it at assembly, and reduce the covered bake to about 30 minutes, since the chicken only needs to heat through. The sauce still needs time for the pasta to absorb liquid, so do not shorten the bake too much, and make sure the finished dish is steaming hot throughout and at 165 degrees Fahrenheit.
Why did my pasta absorb all the sauce?
Pasta continues absorbing liquid as it sits, especially in a hot dish. The resting time is part of the design, but if the bake sits for a long time before serving, it will thicken considerably. Serving promptly after the rest, and adding a splash of warm milk or broth when reheating, keeps the sauce creamy.
Can I halve the recipe?
Yes, use a smaller baking dish, such as an 8 by 8 inch dish, and halve all ingredients. The covered time will be slightly shorter, so check at 30 minutes, and keep the chicken temperature check exactly the same. Do not halve the recipe into the same large dish, because the shallow layer will dry out.
How long do leftovers keep, and how should I reheat them?
Refrigerate leftovers promptly in shallow covered containers, within 2 hours of cooking or within 1 hour if the room is above 90 degrees Fahrenheit. Keep the refrigerator at 40 degrees Fahrenheit or below and use the leftovers within 3 to 4 days, or freeze them for 3 to 4 months with some loss of quality. Reheat to 165 degrees Fahrenheit throughout, measured with a food thermometer, checking in more than one place.
Sources & references
- FoodSafety.gov, Cook to a Safe Minimum Internal Temperature. Used for the safe minimum internal temperature chart, last updated 21 November 2024: all chicken, turkey, and other poultry at 165 degrees Fahrenheit, casseroles, meat and meatless, at 165 degrees Fahrenheit, leftovers of any type reheated to 165 degrees Fahrenheit, and the instruction to always use a food thermometer to check whether food has reached a safe minimum internal temperature.
- FoodSafety.gov, 4 Steps to Food Safety. Used for the four steps clean, separate, cook, and chill, washing hands with plain soap and water for at least 20 seconds, washing surfaces and utensils with hot soapy water after raw poultry, using separate cutting boards and plates for produce and for raw meat and poultry and separate plates and utensils for cooked and raw foods, not washing meat or poultry, cooking with a food thermometer placed in the thickest part of the food, keeping food hot at 140 degrees Fahrenheit or above after cooking, keeping a refrigerator at 40 degrees Fahrenheit or below and a freezer at 0 degrees Fahrenheit or below, bacteria multiplying quickest between 40 degrees Fahrenheit and 140 degrees Fahrenheit, refrigerating perishable food within 2 hours or within 1 hour above 90 degrees Fahrenheit, placing leftovers in shallow containers, and never thawing or marinating food on the counter, with refrigerator thawing as the safest method.
- United States Department of Agriculture, Food Safety and Inspection Service, Leftovers and Food Safety. Used for cooking food to a safe minimum internal temperature measured with a food thermometer, bacteria growing rapidly between 40 degrees Fahrenheit and 140 degrees Fahrenheit, refrigerating leftovers within 2 hours of cooking or 1 hour above 90 degrees Fahrenheit, cooling food rapidly in shallow containers, covering and sealing leftovers, keeping leftovers in the refrigerator for 3 to 4 days or frozen for 3 to 4 months with loss of moisture and flavor over longer freezer storage, safe thawing in the refrigerator, cold water, or the microwave, reheating leftovers to 165 degrees Fahrenheit as measured with a food thermometer with sauces, soups, and gravies brought to a rolling boil and leftovers covered during reheating, checking microwave reheated food in several places because of cold spots, and refreezing food remaining after reheating previously frozen leftovers to 165 degrees Fahrenheit.


