Short answer
- Wash and dry firm oranges, slice them evenly about a quarter of an inch thick, and pat the slices dry. Dry them slowly with heat, dry air, and air movement. The National Center for Home Food Preservation says dehydrators are efficiently designed to dry foods fast at 140 degrees Fahrenheit, and Penn State Extension finishes fruit in a dehydrator at 135 to 140 degrees Fahrenheit after an initial hour at 145 degrees Fahrenheit. For oven drying, Penn State Extension says it works well if you can set the oven to 140 to 150 degrees Fahrenheit. Cool a slice completely before you judge it, then check that no beads of moisture form when it is pressed. Thread twine through a small hole near the top edge and hang the slice near light. Treat every finished ornament as a decoration, not food, once it has been handled, glued, sealed, or hung on a tree. Store ornaments cool, dry, and dark, inspect them each season, and discard any that are soft, darkened, or moldy.
Introduction
Few decorations earn their place on a tree as quietly as a dried orange slice. When light shines through it, the slice glows amber, its segments show like stained glass, and it brings a warm citrus look to a room. Unlike plastic baubles, it costs almost nothing, it can be made from ordinary fruit, and it suits almost any tree style, from a rustic farmhouse tree to a simple modern tree with only a few natural decorations.
This guide is about individual ornaments, not garlands. That distinction matters, because an ornament needs to hang flat, face outward, and survive being lifted on and off a branch season after season, while a garland only needs to drape. You will learn how to slice oranges evenly, dry them slowly until they are truly dry, and finish each slice as a single ornament with a loop, a spice accent, or a simple embellishment that does not overwhelm the fruit itself.
The work is unhurried. Slicing takes minutes, drying takes hours at a low temperature, and assembling takes an afternoon. Start a few days before you plan to decorate, so the slices have time to cool, be checked for hidden moisture, and rest before they are hung. The drying and storage guidance was checked against the National Center for Home Food Preservation, Penn State Extension, the University of California Master Food Preserver Program, FoodSafety.gov, and the United States Department of Agriculture Food Safety and Inspection Service on 31 October 2026.
Why Dried Orange Ornaments Endure
Oranges were once a seasonal winter treat, so their color became tied to the holiday season. Drying preserves that color in a light, flat form that is easy to store, and a dried slice does not shatter if it falls, which matters in a house with children or pets.
A few translucent slices also solve a decorating problem. Trees can look overloaded with shiny decorations. Orange slices break up the shine, add natural texture, and give the eye somewhere calm to rest. They pair well with wooden beads, cinnamon sticks, and plain lights, and look especially good near lights, where the glow passes through the fruit.
Drying uses energy for several hours, so it is not a zero impact project, but it uses whole fruit and avoids buying new plastic decorations. Unsealed slices that fade or break can be composted. Sealed slices cannot, so decide about sealing first.
Choosing and Preparing Oranges
Choose firm, heavy oranges with smooth, unblemished skin. Blemishes show more clearly once a slice dries. Navel oranges are reliable, with a good size and neat round shape, while blood oranges give a deeper, rosier color. Clementines dry faster but make tiny ornaments that can get lost on a large tree, so save them for a tabletop tree.
Start clean. FoodSafety.gov groups home food safety into four steps, clean, separate, cook, and chill, and its clean step governs this preparation. Wash your hands with plain soap and water, scrubbing the backs of your hands, between your fingers, and under your nails for at least 20 seconds, rinse, and dry with a clean towel. Wash boards, utensils, and countertops with hot, soapy water after each use. Rinse fruit under running water without soap, bleach, or produce washes, scrub firm produce with a clean brush, and dry it with a paper towel or clean cloth towel. Penn State Extension adds: wash produce by rinsing, gently rubbing, or scrubbing under cold running water, and do not soak produce in water.
Dry the oranges thoroughly. Do not peel them. The peel is part of the ornament, giving it a firm rim that holds its shape and a dark edge that frames the glowing center.
Slice with a sharp knife on a stable board, aiming for even slices about a quarter of an inch thick. Evenness matters more than exact thickness. Penn State Extension notes that pieces of the same size, shape, and thickness will dry evenly. Slices of different thicknesses dry at different rates, so thin ones may scorch while thick ones are still damp in the middle. Discard end pieces and any slices that are mostly pith or broken, and pat slices gently with a clean cloth or paper towel to remove surface juice.
Tools and Materials
You will need oranges, a sharp knife and a cutting board, baking sheets lined with parchment paper or fitted with wire cooling racks, an oven or a food dehydrator, a timer, and tongs or a fork for flipping. For hanging, gather twine, string, or ornament hooks. For embellishing, gather cinnamon sticks, whole star anise, small wooden beads, and a hot glue gun or craft glue, used with care.
Wire racks inside baking sheets are the best oven setup, because air can circulate around both sides of each slice. Parchment lined sheets work too, but slices need flipping more often so the underside does not stay damp. Place pieces without touching or overlapping, as Penn State Extension directs, because touching slices dry unevenly and can fuse as they shrink. Keep scissors, a thick needle or skewer for holes, and a clean, dry box nearby.
Drying in the Oven, Step by Step
Low and slow is the whole secret, and the primary sources are specific. The University of California Master Food Preserver Program describes the three things needed to dry food at home as heat hot enough to force out moisture at 140 degrees Fahrenheit but not hot enough to cook the food, dry air to absorb the released moisture, and air movement to carry the moisture away. Penn State Extension says oven drying works well if you can set your oven to 140 to 150 degrees Fahrenheit, and that you should open the oven door 2 to 3 inches to allow moisture to escape. A convection oven works well in that guidance because it combines low heat with a fan to move the air.
Many home ovens cannot be set as low as 140 to 150 degrees Fahrenheit, and their lowest setting may be around 170 degrees Fahrenheit. If that is your oven, use its lowest setting, open the door as described, and check earlier and more often, because a hotter oven browns slices before the centers dry. Do not use 200 degrees Fahrenheit for this project. At too high a temperature the outer surface hardens and prevents moisture escaping from the center. Penn State Extension names that fault case hardening.
Arrange slices in a single layer, leaving space between them. After the first hour, flip each slice with tongs or a fork, rotate sheets if your oven heats unevenly, and repeat every hour or so. Remove thinner slices as soon as they finish, because they can scorch if left.
Total time varies with thickness, variety, oven, and humidity, so any range here is a planning range, not a guarantee. Allow several hours, and longer for thick slices. A slice is judged done by the cool dryness test below, not by the clock. If unsure, give it more time at low heat. A slightly over dried slice is still usable, while an under dried slice is a mold risk in storage.
Using a Food Dehydrator
A dehydrator is the most hands off method if you already own one. The National Center for Home Food Preservation describes it as an appliance with an electric element, a fan, and vents for air circulation, says dehydrators are efficiently designed to dry foods fast at 140 degrees Fahrenheit, and advises looking for an enclosed thermostat from 85 to 160 degrees Fahrenheit and a dial for regulating temperature. Follow your machine instructions where they differ.
Arrange slices in a single layer without touching or overlapping. Penn State Extension sets the starting point this way: place trays in a preheated dehydrator, set the temperature initially at 145 degrees Fahrenheit when there is surface moisture on the fruit, and after one hour reduce it to 135 to 140 degrees Fahrenheit to finish drying. The University of California program gives a nearby range for most fruits and vegetables, 125 to 135 degrees Fahrenheit, so a fruit setting around 135 to 140 degrees Fahrenheit is consistent with the primary guidance as a whole. Check every few hours and rotate trays if your machine heats unevenly. As a planning range, allow about six to twelve hours depending on thickness and humidity. Follow your machine instructions about unattended use and never cover its vents. For a small batch of a dozen ornaments, the oven is usually simpler.
How to Tell When a Slice Is Truly Dry, and Conditioning
Do not rush this test, and do not test warm. Penn State Extension describes dried fruit as dry when it is pliable and no beads of moisture form when pressed between your fingers, and it warns that when warm or hot, fruits seem more soft, moist, and pliable than they actually are, so pieces should cool to room temperature before testing. For an ornament, which must hold shape and store without molding, look after cooling for no soft, damp, or sticky spot in the center, no moisture beads on pressing, and no flop when the slice is held by one edge. If a slice fails, return it for more drying.
The National Center for Home Food Preservation adds a step called conditioning. Home dried fruit should be about 20 percent moisture, but remaining moisture may not be distributed equally among pieces. Conditioning equalizes it and reduces mold risk. Pack cooled fruit loosely in plastic or glass jars, seal, and let them stand for 7 to 10 days. Shake daily and check for condensation. If condensation develops, return the fruit for more drying. Use this same check before you glue, seal, or pack slices away. A slice that produces condensation is not ready, however dry its surface felt.
Turning Slices into Ornaments
Once slices are cool, fully dry, and have passed the conditioning check, decide how each will hang. The simplest method is to thread twine through the slice itself. Use a thick needle or skewer to make a small hole near the top edge, thread a loop of twine through, and knot it. This keeps the ornament flat and lets light pass through the whole slice. Alternatively, loop twine around the top and knot it behind, which avoids a hole but can slip if loose, so knot firmly and test it from a finger first.
Ornament hooks work well too. Hook one end through a small hole and the other over the branch. Keep loops short enough that ornaments hang close to the branch rather than dangling into the branch below.
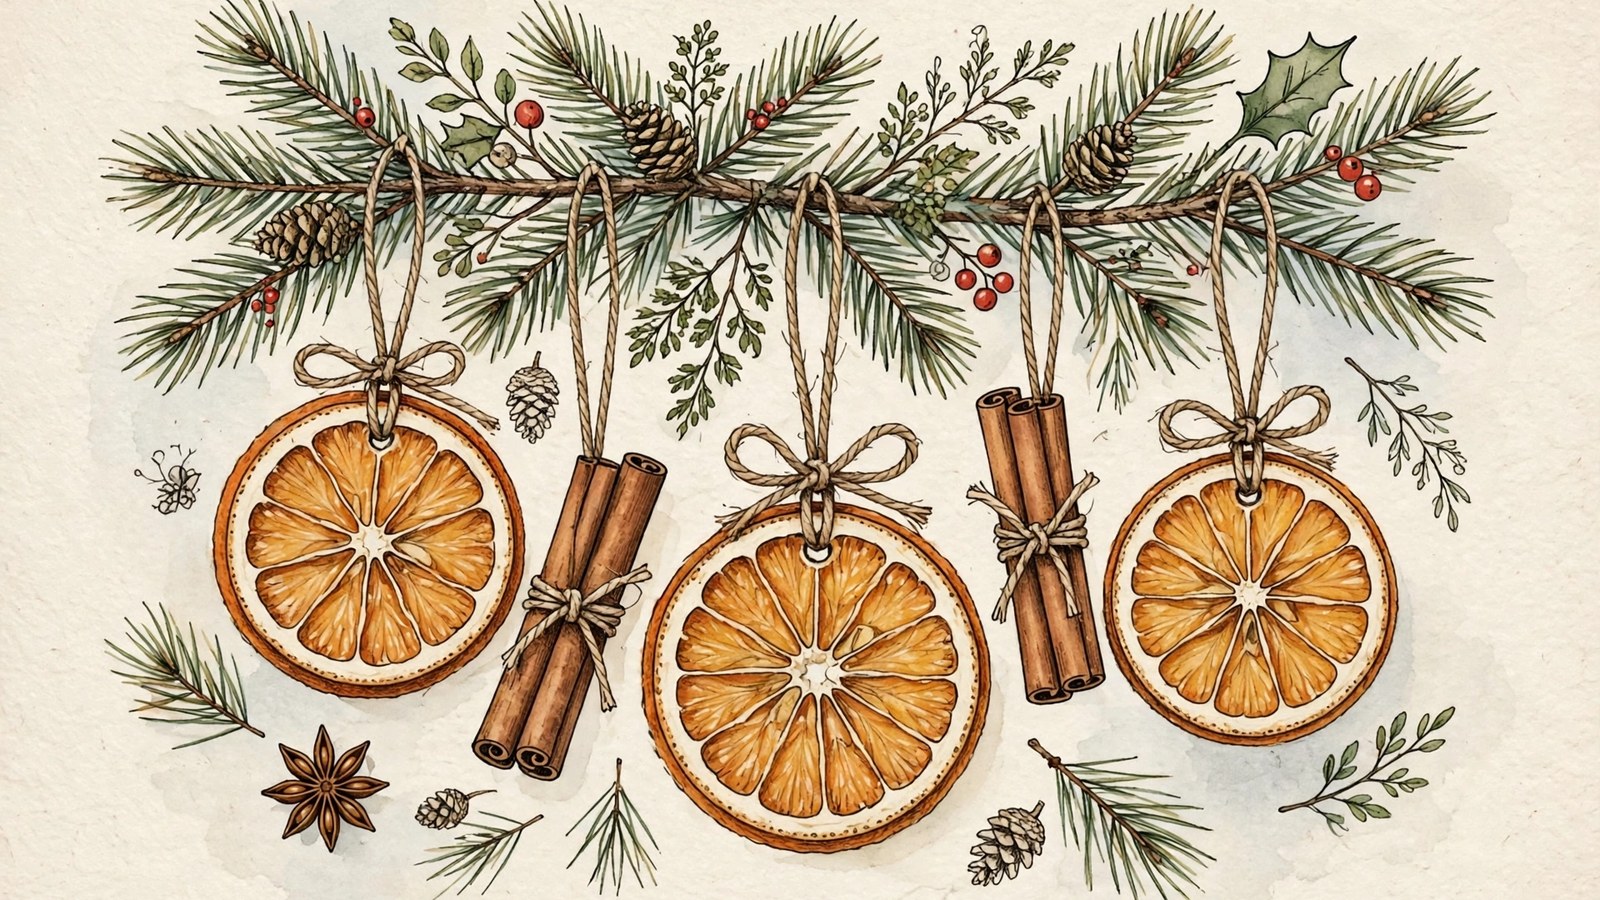
Embellish sparingly. A cinnamon stick glued across the bottom, a star anise at the center, or two wooden beads on the hanging loop add charm without hiding the fruit. Use glue on the back or edge where possible, and only a small amount. Too much glue darkens the slice and makes it stiff. With a hot glue gun, work on a protected surface, keep fingers away from the nozzle, and let each ornament cool fully before handling it.
Design Ideas for the Whole Tree
A tree decorated only with orange slices can look serene, especially with warm white lights. More often, slices work best as one element among a few. Mix them with wooden ornaments, plain baubles in one or two colors, and pinecones, limit the palette to two or three accent colors besides orange, and repeat each element in several places so the tree looks balanced.
Place slices where light reaches them, near branch tips and slightly forward of the foliage, not buried deep inside the tree. Space them evenly and step back often to check the effect. For a tabletop tree, use smaller oranges and keep embellishments simple and firmly attached. For a large tree, use larger slices and sturdier twine. On a real tree, check occasionally for damp or mold and remove any slice that softens or darkens unexpectedly.
Finishing for Longer Life
Some makers seal slices with clear craft sealer against humidity and handling. Sealing gives a slight sheen, makes the slice a little darker, and the ornament is no longer compostable. If you seal, apply a thin coat to both sides, let it dry completely in a dust free spot, and test one slice first.
An unsealed slice, kept dry, can still be reused, and many makers prefer the matte look. Sealing does not rescue an under dried slice. If the center is damp, sealing traps moisture inside and makes mold more likely. Dry first, complete the conditioning check second, decide about sealing third, and never seal a slice that is still warm, sticky, or soft.
Dried slices lose most fragrance as they dry. A cinnamon stick glued to the ornament gives a gentle spice scent. Avoid spraying ornaments with fragrance oils, which can stain the slice, attract dust, and irritate sensitive noses.
Storage Between Seasons
Storage follows the principles the National Center for Home Food Preservation gives for dried foods, adapted to a brittle decoration. First, cool completely. The Center warns that warm food causes sweating, which could provide enough moisture for mold to grow, and that dried foods are susceptible to insect contamination and moisture reabsorption. Pack ornaments in a clean, dry, rigid box or tin, with tissue paper between layers so slices do not rub and break. Do not pack them tightly, because pressure snaps brittle slices. Label the box clearly.
Keep the box cool, dry, and dark. The Center gives recommended storage times for dried foods of 4 months to 1 year, and notes most dried fruits keep for 1 year at 60 degrees Fahrenheit and 6 months at 80 degrees Fahrenheit, because higher temperatures shorten storage time. Ornaments are not stored for eating, and some makers keep them for several seasons, but no longer life is guaranteed. Inspect within that first year and at the start of every season, avoid damp basements and hot attics, and look in the box once mid year, as the Center advises checking dried foods frequently to see if they are still dry.
At the start of the next season, inspect each ornament before it goes on the tree. Discard any that are soft, darkened, moldy, or broken, and compost unsealed slices that are past their best. A slice that has merely softened in a damp box and shows no mold can be dried again gently and cool tested before use, but a moldy ornament is finished.
Troubleshooting
If slices brown too much, the oven was too hot or the slices were left too long without flipping. Next time, lower the temperature toward the primary range, flip more often, and remove thinner slices as soon as they finish. Browned slices are still usable on a rustic tree, but they will not glow as beautifully as golden ones.
If slices curl badly, they dried unevenly, with one side drying faster than the other. Flipping regularly helps, as does using racks. A curled slice can often be flattened under a heavy book for a day or two once fully dry, though very curled slices may crack if forced flat. A slight curl is not a flaw.
If slices harden outside while staying damp inside, that is case hardening, the fault Penn State Extension describes when food is dried at too high a temperature. The outer surface hardens and prevents moisture escaping from the center. Lower the temperature next time and allow more time. A case hardened slice that is still damp in the center is not ready for storage.
If slices mold in storage, they were not fully dry when packed, or the storage spot was damp. The National Center for Home Food Preservation states the rule plainly: moldy foods should be discarded. The United States Department of Agriculture Food Safety and Inspection Service explains why cutting mold away is not a rescue: with heavy mold growth, root threads have invaded deeply, poisonous substances are often contained in and around those threads, and moldy foods may also have invisible bacteria growing with the mold. Discard the slice, clean the container, check the rest, and do not sniff moldy food closely, because that can cause respiratory trouble.
If slices stick to the sheet, they were probably placed on foil or an unlined sheet, or not flipped often enough. Parchment and racks prevent most sticking, and flipping every hour breaks any bond before it sets. If a slice does stick, let it cool and ease it off gently with a thin spatula rather than pulling it, which tears the fruit.
Safety and Food Notes
Dried orange ornaments are decorations, not food, once they have been handled, glued, sealed, or hung on a tree. Even unembellished slices that have sat on a tree for weeks have collected dust and should not be eaten. Make this clear if children are helping, and keep the project separate from any slices you dry for eating or for drinks, using different trays and different storage so the two never get mixed up.
Knife safety matters, because slicing oranges needs a sharp blade and a firm grip. Cut on a stable board, curl your fingers away from the blade, and keep the knife sharp; a dull knife slips more easily than a sharp one. If children help, give them slices to thread and embellish rather than the knife, and let an adult do all the slicing and all the oven work. A mandoline, if used, should be used only by an adult, with its guard, and with full attention. A mandoline gives very even slices, but it is a sharp tool that demands respect, a guard, and full attention, so use a knife if you are not confident with a mandoline.
Oven safety is straightforward but worth stating without softening: use oven mitts when handling hot sheets, and do not leave the oven running unattended for long periods without checking it. Keep flammable items away from the oven, and remember that parchment paper is oven safe at low temperatures but should never touch a heating element or an open flame. If you smell burning, check the slices immediately and lower the temperature. With a hot glue gun, work on a protected surface and keep fingers away from the nozzle until the glue and the ornament have cooled fully.
Small embellishments need the same plain caution. Beads and other small detachable pieces can be a choking hazard for small children and pets if they fall off the tree. Hang ornaments securely, check them occasionally, and keep small, detachable pieces out of reach. If a pet chews an ornament, remove it and check for small parts.
Cost, Time, and Gifting
The cost is little more than a few oranges and some twine, especially if you already own baking sheets and parchment. As a planning guide, a batch of twelve to eighteen ornaments typically needs three to four large oranges, and the only other purchases might be cinnamon sticks, star anise, or wooden beads. That makes this one of the most affordable tree decorations, and a good choice for a large tree without a large budget.
Time is mostly drying time. As planning guides, slicing takes about fifteen minutes, flipping takes a few minutes each hour, and assembling takes about an hour for a dozen. The conditioning check adds days of waiting, not work. Plan the project for a day when you will be home.
Ornaments make lovely gifts in sets of three or six, tied with twine and packed in tissue paper. Add a note explaining that they are decorations, not food, and should be stored dry. They also work as gift toppers tied to a present with twine.
Frequently Asked Questions
How thick should orange slices be?
About a quarter of an inch is a good target, with evenness more important than exact thickness. Penn State Extension notes that pieces of the same size, shape, and thickness will dry evenly. Thinner slices dry faster and can become brittle, while thicker slices take much longer and may stay damp in the middle.
What temperature should I use in the oven and in a dehydrator?
Use the low range the primary sources recommend. For a dehydrator, the National Center for Home Food Preservation says dehydrators are efficiently designed to dry foods fast at 140 degrees Fahrenheit, and Penn State Extension finishes fruit at 135 to 140 degrees Fahrenheit after an initial hour at 145 degrees Fahrenheit. For oven drying, Penn State Extension says it works well if you can set the oven to 140 to 150 degrees Fahrenheit and open the door 2 to 3 inches to allow moisture to escape. If your oven cannot go that low, use its lowest setting and check earlier and more often, because too high a temperature causes case hardening.
Can I dry oranges in a microwave?
No, not well. A microwave heats unevenly and can cook or scorch the fruit before it dries, giving poor color and texture. A low oven or a food dehydrator are the reliable methods, and both reward patience with a much better result.
How do I know a slice is dry enough to store?
Cool it completely first, because warm fruit seems more soft and moist than it actually is. Then press it between your fingers. Penn State Extension describes dried fruit as dry when it is pliable and no beads of moisture form when pressed. For an ornament, also check that there is no soft, damp, or sticky spot in the center. Then use the conditioning check: pack cooled slices loosely in a sealed plastic or glass jar for 7 to 10 days, shake daily, and if condensation develops, return the slices for more drying.
How long do dried orange ornaments last?
No fixed life is guaranteed. The National Center for Home Food Preservation gives recommended storage times for dried foods of 4 months to 1 year, with most dried fruits stored for 1 year at 60 degrees Fahrenheit and 6 months at 80 degrees Fahrenheit. Ornaments kept fully dry in a cool, dry, dark place may be reused beyond a first season, and some makers keep them for several seasons, but inspect every slice each season and discard any that are soft, darkened, moldy, or broken.
Can I use other citrus fruits?
Yes. Lemons, limes, and grapefruit all dry in the same way, though lemons and limes make smaller ornaments and grapefruit makes larger ones. Blood oranges give a deeper color, and mixing citrus types on one tree adds variety. Adjust drying time for size and thickness, keep slices in one batch to a similar thickness, and test each type separately if you dry several kinds at once.
Why did my slices turn dark?
Darkening usually means the oven was too hot, the slices were too thin in places, or they were left too long. Lower the temperature toward the primary range next time, flip more often, and remove slices as soon as they are dry and cool tested. Some darkening is normal as slices age, and darker slices still look attractive on a rustic tree.
Are dried orange ornaments safe around pets and small children?
Treat them as decorations, not toys or food. Slices should not be eaten once they have been handled, glued, sealed, or hung on a tree, and small embellishments such as beads can be a choking hazard if they fall off the tree. Hang ornaments securely, check them occasionally, and keep small, detachable pieces out of reach. If a pet chews an ornament, remove it and check for small parts.
Sources & references
- National Center for Home Food Preservation, Food Dehydrators. Used for a dehydrator having an electric element for heat and a fan and vents for air circulation, dehydrators being efficiently designed to dry foods fast at 140 degrees Fahrenheit, and features including an enclosed thermostat from 85 to 160 degrees Fahrenheit, a fan or blower, and a dial for regulating temperature.
- National Center for Home Food Preservation, Packaging and Storing Dried Foods. Used for dried foods being susceptible to insect contamination and moisture reabsorption, cooling completely before packing because warm food causes sweating which could provide enough moisture for mold to grow, storing dried foods in cool, dry, dark areas, recommended storage times of 4 months to 1 year, most dried fruits being stored for 1 year at 60 degrees Fahrenheit and 6 months at 80 degrees Fahrenheit, checking dried foods frequently during storage, moldy foods being discarded, and conditioning by packing cooled dried fruit loosely in plastic or glass jars, sealing and letting them stand for 7 to 10 days, shaking daily, and returning fruit for more drying if condensation develops, to equalize moisture at about 20 percent and reduce the risk of mold growth.
- Penn State Extension, Lets Preserve: Drying Fruits and Vegetables (Dehydration). Used for oven drying working well if the oven can be set to 140 to 150 degrees Fahrenheit, opening the oven door 2 to 3 inches to allow moisture to escape, a convection oven combining low heat with a fan, washing hands and produce and not soaking produce, pieces of the same size, shape, and thickness drying evenly, placing pieces on drying racks without touching or overlapping, setting a dehydrator initially at 145 degrees Fahrenheit when there is surface moisture and reducing after one hour to 135 to 140 degrees Fahrenheit to finish, case hardening when food is dried at too high a temperature, fruits being dry when pliable and no beads of moisture form when pressed, and warm fruit seeming more soft and moist than it actually is so dryness is tested after cooling.
- University of California Master Food Preserver Program of Orange County, Dehydration. Used for the three things needed to dry food at home, heat hot enough to force out moisture at 140 degrees Fahrenheit but not hot enough to cook the food, dry air, and air movement, for most fruits and vegetables being dried in a dehydrator at 125 to 135 degrees Fahrenheit, for conditioning by shaking a container daily and returning food to the dehydrator if moisture appears, and for storing dehydrated food in an airtight container in a cool, dark place.
- FoodSafety.gov, 4 Steps to Food Safety. Used for the four steps clean, separate, cook, and chill, washing hands with plain soap and water and scrubbing the backs of hands, between fingers, and under nails for at least 20 seconds, washing cutting boards, dishes, utensils, and countertops with hot, soapy water after each use, and rinsing fruits and vegetables under running water without soap, bleach, or commercial produce washes, scrubbing firm produce with a clean produce brush, and drying produce with a paper towel or clean cloth towel.
- United States Department of Agriculture, Food Safety and Inspection Service, Molds on Food: Are They Dangerous? Used for some molds causing allergic reactions and respiratory problems and a few producing mycotoxins, poisonous substances that can make people sick, for visible mold being only part of the growth because root threads can invade food deeply, for heavy mold growth meaning root threads have invaded deeply and poisonous substances are often contained in and around those threads, for moldy foods possibly having invisible bacteria growing along with the mold, and for not sniffing moldy food because that can cause respiratory trouble.


