Short answer
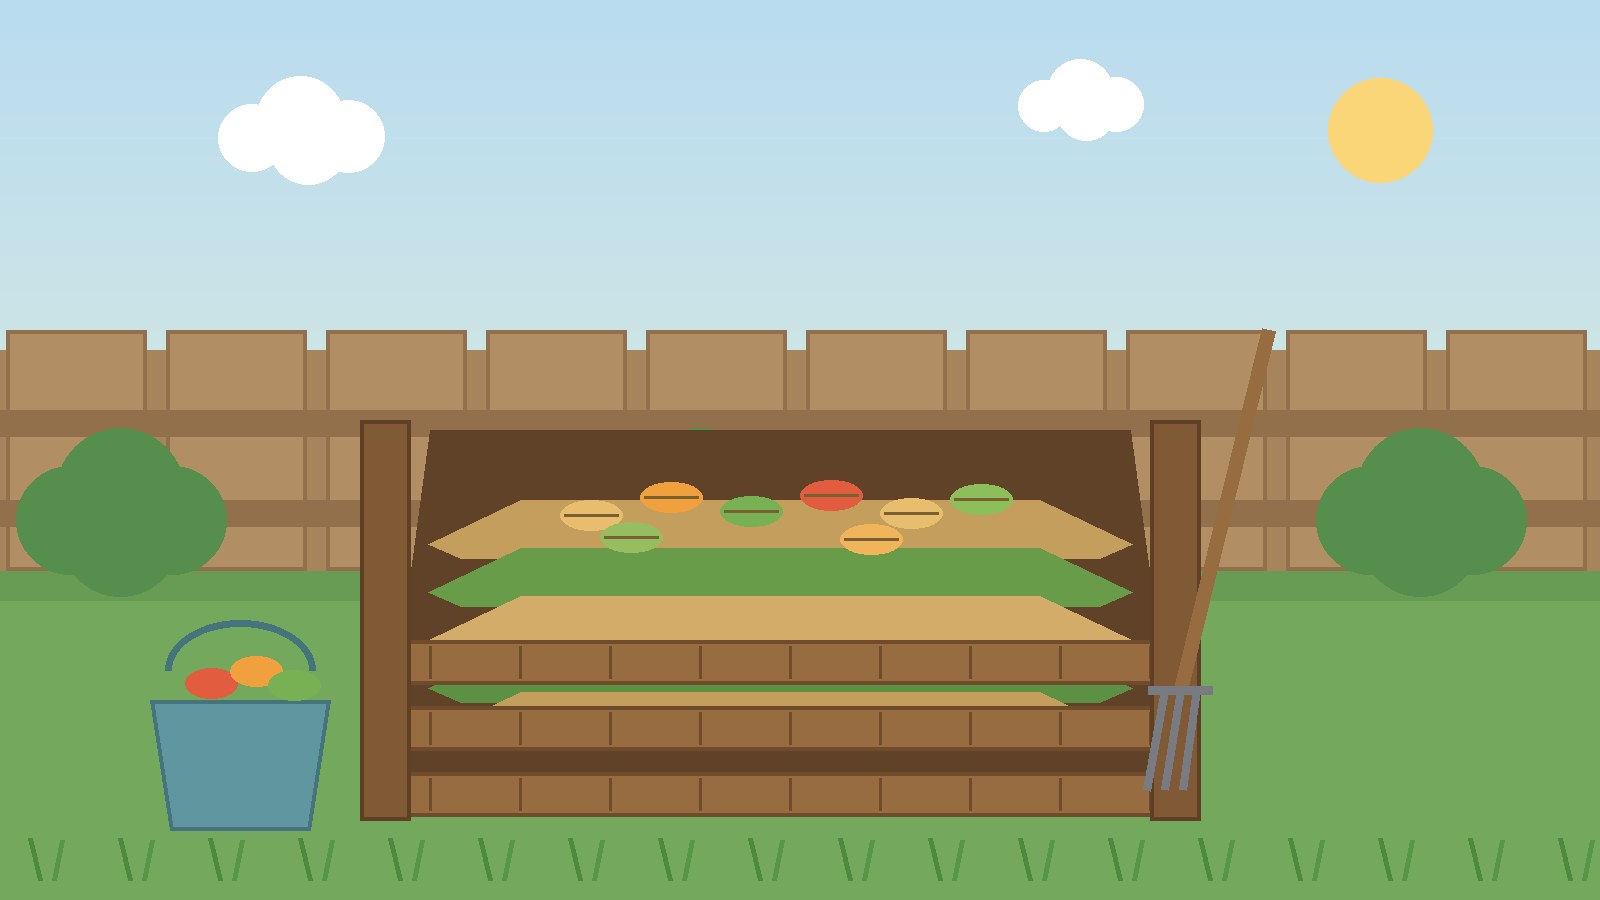
- To start a compost bin, pick a level, well drained spot that you can reach all year, set the bin on bare soil where possible, and build the pile in layers. Start with a four to six inch layer of coarse browns such as twigs or wood chips for airflow at the base, then alternate greens and browns, adding about two to three parts browns by volume for every one part greens. Cover every addition of food scraps with four to eight inches of browns, keep the pile as moist as a wrung out sponge, and turn it from time to time so air reaches the center. A well maintained backyard pile usually produces finished compost in about three to five months, while a pile left untended may take up to a year, according to the United States Environmental Protection Agency (EPA). Finished compost looks dark, loose, and crumbly, smells like fresh soil, and shows no recognizable food scraps. You do not need special starters, expensive equipment, or a large yard to begin. What matters is the balance of four ingredients: carbon rich browns, nitrogen rich greens, water, and air. Get those roughly right, keep food scraps buried, and leave meat, dairy, fats, treated wood, and pet waste out of a backyard pile.
What Composting Actually Does
Composting is the managed, aerobic decomposition of organic materials by microorganisms. That definition comes from the EPA, and each word in it matters for a beginner. “Managed” means you control the mix, moisture, and air rather than simply letting a heap rot. “Aerobic” means the process needs oxygen, which is why turning matters and why a soggy, compacted pile smells bad. The microorganisms doing the work need carbon and nitrogen to grow, water to digest materials, and oxygen to breathe. The end product is compost, a dark, biologically stable soil amendment that improves soil structure and helps soil hold moisture and nutrients. It is not fertilizer in the usual sense, and this guide does not repeat the nutrient science covered in the companion guide on organic fertilizer.
Two styles of composting shape everything that follows. Hot composting means building a large pile all at once, turning it regularly, and letting the center heat up, which speeds decomposition and reduces weed seeds and pathogens. Cold composting means adding materials gradually as they become available, turning rarely or not at all, and waiting longer. Most beginners practice a version of cold composting, adding scraps week by week. It simply takes longer, and the pile may not heat enough to kill weed seeds, so keep seeding weeds and diseased plants out.
Choosing a Bin Type
Your bin choice should match how much material you produce, how much space you have, and how much turning you are willing to do. All of these types work. None of them is required, since an open pile also composts, but a bin keeps the pile neat, holds heat and moisture better, and helps keep animals out.
Open pile
An open pile is the simplest option: a heap on bare soil, optionally ringed with wire or boards to hold it together. It costs nothing, handles large volumes of leaves and garden trimmings, and is easy to turn with a fork. Its weaknesses are exposure to rain, drying wind, and animals, and it looks untidy, which matters in a small or visible yard. If you choose an open pile, keep it at least three feet on each side once built up, because smaller piles struggle to hold heat.
Stationary bin
A stationary bin is a fixed container with an open bottom, made from wood slats, wire mesh, cinder blocks, or molded plastic, often with a lid and a small hatch at the base for removing finished compost. It suits most beginners with a yard. Material goes in the top, and finished compost is scooped from the bottom or the pile is lifted out when it is done. Turning inside a stationary bin takes a fork and some effort, since you must lift material out and fork it back in. Choose a bin with ventilation gaps and a lid that closes tightly, and check that there are no holes or gaps larger than one quarter inch if rodents are a concern, following EPA guidance.
Tumbler
A tumbler is a closed drum mounted on a frame that you rotate by hand or crank. Turning becomes a matter of spinning the drum, which makes tumblers attractive for gardeners who want faster, easier aeration. Tumblers work in batches: you fill the drum, stop adding, and let that batch finish, so many tumbler owners keep a second container for fresh scraps while a batch cures. Tumblers hold less than a large stationary bin, dry out faster in hot weather, and can be heavy to spin when full.
Three bin system
A three bin system, usually built from wood and wire, gives each stage its own bay: one filling, one actively composting, one curing. This is the best setup for a gardener with a large volume of material who wants a steady supply of finished compost, but it takes the most space and the most turning effort. Beginners do not need to start here. A single bin, run well for a season, teaches everything the three bin system formalizes.
Worm bin
Worm composting, or vermicomposting, uses red wriggler worms in a container of moist bedding, works indoors or in a small shaded outdoor space, and produces worm castings in about three to six months. It suits apartments and small spaces, but it handles only modest amounts of food scraps, needs a suitable worm species rather than garden earthworms, and needs temperatures roughly between 59 and 77 degrees Fahrenheit (15 to 25 degrees Celsius). If you have no yard at all, a worm bin may be a better first step than an outdoor bin.
Choosing a Location
Location affects how often you actually use the bin, so convenience matters as much as composting science. Put the bin somewhere you can reach easily all year, including in wet weather and winter, because a bin at the far end of a muddy garden gets neglected. Keep it close enough to the kitchen that carrying scraps is not a chore, and close to a water source, since you will sometimes need to dampen a dry pile.
Pick a level spot with good drainage. Standing water starves a pile of air and invites odor. Setting the bin directly on bare soil is preferred for an open pile or stationary bin, because worms and microbes migrate in from below and excess moisture drains away. On concrete or paving, add a few shovelfuls of garden soil with the first layers to introduce microorganisms.
Sun or shade both work: the EPA notes that a pile breaks down in sun or shade. Partial shade is often the easiest compromise, since full sun dries a pile faster in summer and deep shade keeps it cold and slow in winter. Leave working room around the bin for turning and for a store of browns. Avoid placing the bin right up against a fence, where air cannot circulate and turning becomes awkward. Finally, check local rules before you build. Some towns and cities set minimum distances from property lines, commonly ten to twenty feet, according to Colorado State University Extension.
What to Put In and What to Keep Out
A compost pile needs only two kinds of material, plus water and air. Greens supply nitrogen. Browns supply carbon. Knowing which is which is the single most useful skill in composting.
Greens: nitrogen rich materials
Greens are moist, soft, and often green in color, although not all of them are literally green. Suitable greens include fruit and vegetable scraps, grass clippings, coffee grounds and paper filters, crushed eggshells, paper tea bags with staples removed, and fresh plant trimmings. Coffee grounds are a useful beginner green because they are widely available and break down quickly.
Browns: carbon rich materials
Browns are dry, bulky, and carbon rich. Suitable browns include dry leaves, plant stalks and twigs, untreated wood chips, straw, shredded paper that is non glossy and uncolored, shredded brown bags, and shredded cardboard with no wax coating, tape, or glue. Keep a store of browns beside the bin at all times, because every addition of greens needs a covering of browns, and running out of browns is the most common reason a new pile starts to smell.
What to keep out
The EPA lists the following materials to avoid in a backyard pile: meat, fish, and bones; cheese and dairy products; fats, oils, and grease; herbicide treated plants and grass; aggressive weeds and weeds with seeds; diseased and pest infested plants; treated or painted wood; pet waste and cat litter; dryer lint; glossy paper; and produce stickers. Meat, dairy, and greasy foods attract animals, and backyard piles generally do not reach high enough temperatures to fully decompose them. Cooked food is also best avoided except in small amounts, for the same reason. Treated wood can carry chemicals you do not want in garden soil. Pet waste can carry parasites that survive home composting temperatures, so it never belongs in a pile that will feed a food garden. Screen finished compost before use and return anything that did not break down, such as pits, eggshells, and stickers, to the active pile.
| Greens (nitrogen rich) | Browns (carbon rich) |
|---|---|
| Fruit and vegetable scraps | Dry leaves |
| Grass clippings | Plant stalks and twigs |
| Coffee grounds and paper filters | Shredded paper, non glossy and uncolored |
| Crushed eggshells | Shredded cardboard, no wax coating, tape, or glue |
| Paper tea bags, staples removed | Untreated wood chips |
| Fresh plant trimmings | Straw |
Building the First Pile, Step by Step
You do not need to buy anything beyond the bin itself, a kitchen caddy with a lid for collecting scraps, a garden fork, and a water source. Compost starters and inoculants are not needed: the microbes that cause decomposition already live on plant wastes, according to Colorado State University Extension.
- Collect and store your materials before you start. Keep a closed container on the kitchen counter, under the sink, or in the fridge or freezer for fruit and vegetable scraps, and keep a pile or bag of browns beside the bin outdoors.
- Set the bin in place on bare soil where possible, level, with working room around it and a water source nearby.
- Lay the base. Start with a four to six inch layer of bulky browns such as twigs and wood chips. This layer absorbs extra liquid, lifts the pile off the ground, and lets air circulate at the base.
- Add greens, then cover them. Add a layer of greens, then cover it completely with browns, using about two to three times the volume of browns as greens. Think of layering like lasagna: greens, browns, greens, browns, with no food exposed at any point. Always finish with browns on top, four to eight inches deep over any food scraps.
- Chop bulky material as you go. Break up corn cobs, broccoli stalks, and other tough scraps, and shred cardboard and woody stems. Smaller pieces have more surface area for microbes and break down faster. Branches thicker than about one quarter inch in diameter will be very slow unless chipped or shredded first.
- Dampen as you build. Add a little water if materials are dry, aiming for the moisture of a wrung out sponge: damp to the touch, but not dripping.
- Keep adding in the same pattern. Each time you add greens, cover them with browns. Do not worry about exact layers once the pile is established; the ratio and the covering matter more than neat stripes.
- Turn the pile from time to time. Use a garden fork to move the outside material inward and the center material outward, which reintroduces oxygen and mixes dry and wet pockets. Turning every one to two weeks speeds things up, but even turning once a month helps. A tumbler is turned by spinning the drum instead.
Greens and Browns Balance
The balance between greens and browns is the control that matters most, and it is easier than it sounds. The EPA recommends adding at least two to three times the volume of browns as greens, and always covering food scraps with four to eight inches of browns. That volume rule is the one to use at the bin, because weighing materials is impractical for a home composter.
Behind the volume rule sits a chemistry ratio. Soil microbes need carbon for energy and nitrogen for growth, and decomposition runs fastest when the carbon to nitrogen ratio of the pile is roughly 30 to 1, a figure given by the EPA, Cornell Composting, and the University of Massachusetts Amherst. A pile made mostly of browns has too much carbon and decomposes slowly. A pile made mostly of greens has too much nitrogen, heats fast, and then smells of ammonia as excess nitrogen escapes.
Two practical consequences follow. First, stockpile browns. Autumn leaves, shredded cardboard, and straw are free in most neighborhoods, and a bag of dry leaves beside the bin is the difference between a sweet smelling pile and a smelly one. Second, treat grass clippings with care. Fresh grass is a potent green, and a thick layer of clippings mats together, squeezes out air, and turns slimy. Mix clippings with browns as you add them, never dump a deep layer of grass on its own.
Moisture and Turning
Moisture and air are the two routine jobs, and both are checked by hand. Squeeze a handful of material from the center of the pile. It should feel like a wrung out sponge: damp, holding together loosely, releasing no more than a drop or two of water. If it feels dry and crumbly, sprinkle water over the pile while turning it so moisture reaches the center rather than running off the surface. If water drips out freely, the pile is too wet, and it needs browns and turning to restore air spaces.
Turning does three jobs at once: it supplies oxygen, redistributes moisture, and moves cooler outside material into the warm center. A pile that is never turned still composts, but slowly and unevenly, with the center finishing long before the edges. A pile turned every week or two during the warm season finishes fastest. Turn less often in winter, when each turning loses heat.
Heat is a useful signal, not a requirement. A well maintained backyard pile can reach 130 to 160 degrees Fahrenheit (54 to 71 degrees Celsius) in the center, and those temperatures help reduce pathogens and weed seeds, according to the EPA. A smaller or cold composted pile may never get that hot and still produces usable compost, given enough time. Do not chase temperature readings in a first bin; judge the pile by smell, moisture, and visible breakdown instead. One caution from Colorado State University Extension is worth noting: weed seeds may survive if the pile does not heat to about 145 degrees Fahrenheit (63 degrees Celsius), which is another reason to keep seeding weeds out of a cold pile.
Troubleshooting
Most compost problems have one of four causes: too wet, too dry, too little air, or the wrong green to brown balance. The table below pairs each symptom with its likely cause and fix.
| Problem | Likely cause | Fix |
|---|---|---|
| Rotten or sour smell | Too wet, compacted, or starved of air | Turn the pile, add dry porous browns, and loosen matted layers |
| Ammonia smell | Too much nitrogen, too few browns | Mix in browns and turn; cover exposed greens |
| Pile not heating up | Too small, too dry, too little nitrogen, or cold weather | Add greens, water while turning, build the pile to at least three feet on each side, and be patient in winter |
| Pile not breaking down | Too dry, too little nitrogen, or pieces too large | Water while turning, add greens, and chop or shred bulky material |
| Fruit flies around the bin | Exposed food scraps | Bury scraps under four to eight inches of browns and keep the lid closed |
| Rats or mice | Exposed food, gaps in the bin, or meat and dairy in the pile | Remove any meat or dairy, bury all food, close gaps larger than one quarter inch, and fit a lid and, where practical, a base |
| Pile too wet and soggy | Rain exposure or too many wet greens | Cover the bin, add browns, turn to introduce air, and check drainage underneath |
| Pile too dry | Sun, wind, or too many browns | Water while turning until the pile feels like a wrung out sponge |
| White mold or fungus | Normal fungal activity in a dry or undisturbed pile | Usually harmless; turn the pile and adjust moisture, and wash hands after handling |
A few notes on pests deserve emphasis, because they worry beginners most. A well constructed and maintained home compost pile should not attract pests or rodents, according to the EPA. The three habits that prevent most trouble are burying food scraps, keeping meat and dairy out, and keeping the bin sound. Flies arrive when food sits exposed; the fix is covering, not chemicals. Rats are attracted by accessible food and shelter, so a bin with a tight lid, no gaps larger than one quarter inch, and no exposed scraps removes most of the invitation. If rats persist despite those steps, stop adding food scraps for a while and consider a fully enclosed bin or tumbler.
Odor problems follow a similar logic. A healthy pile smells earthy, like forest soil. A rotten smell means the pile has gone anaerobic, usually from excess moisture, compaction, or fine particles packing together. Turning and adding coarse browns restores air. An ammonia smell means excess nitrogen, so browns are the fix, not water.
When Compost Is Ready to Use
Finished compost announces itself. It looks dark brown to black, feels loose and crumbly, smells like fresh soil, and contains no recognizable food scraps. The pile stops heating up even after turning, and it shrinks considerably during curing. The EPA notes that a pile allowed to cure shrinks to about one third of its original size.
Timing depends on how actively you managed the pile. Compost in a well maintained pile is finished and ready in about three to five months. Left untended, a pile may take a year to decompose. When the pile no longer heats after mixing and no food scraps remain visible, let it cure for at least four weeks before use. Curing can happen in place, by simply stopping additions to that pile and starting a second one, or by moving the oldest material to a separate curing area.
To harvest, scoop finished compost from the base hatch of a stationary bin, empty a tumbler when its batch is done, or fork the finished material out of an open pile. Screen or sift it through one quarter inch hardware cloth to catch twigs, fruit pits, eggshells, and stray trash such as produce stickers, and return the screened out bits to the active pile. Use the finished compost as a soil amendment by mixing two to four inches of compost into the top six to nine inches of soil, or as a mulch by loosening the top two to three inches of soil and spreading a three inch layer on the surface, keeping it a few inches away from plant stems and tree trunks, following EPA guidance. Wash hands after handling compost, and wash produce grown in compost amended soil thoroughly before eating.
Seasonal Notes and Common Mistakes
Composting slows in cold weather and speeds up in warm weather, and your routine should adjust with the seasons. In spring and summer, the pile is most active: turn more often, watch moisture in dry spells, and expect the fastest results. In autumn, stockpile dry leaves, because they are the browns you will need all winter. In winter, microbial activity slows or pauses in freezing weather. Keep adding material if the bin has room, keep it covered, and do not worry if the pile goes quiet; activity resumes as temperatures rise.
The most common beginner mistakes are easy to avoid once named. Adding food without covering it with browns causes smell and flies. Adding only kitchen scraps with no browns causes a wet, ammonia smelling pile. Adding thick layers of grass clippings on their own causes matting and slime. Letting the pile dry out stops decomposition entirely. And expecting finished compost in weeks from a cold composted pile causes disappointment: three to five months for a well maintained pile is normal, and a year for an untended one is normal too.
Frequently Asked Questions
Do I need to buy a compost starter or activator?
No. The microbes that cause decomposition already live on plant wastes, according to Colorado State University Extension. A handful of garden soil or finished compost added to the first layers introduces microbes, but even that is optional: microbes arrive with the materials themselves and from the soil beneath the bin.
How big should my compost pile be?
Aim for at least three feet high, three feet wide, and three feet deep once the pile is built up, which is about one cubic yard. That volume holds heat and sustains microbial activity. Smaller piles still decompose, but they will not heat up enough to kill weed seeds, and they finish more slowly.
Can I compost in winter?
Yes, with slower results. Microbial activity drops as temperatures fall and may pause during freezing weather. Keep adding material when the bin has room, keep the pile covered, and turn less often so you do not lose stored heat. The pile will resume active decomposition when temperatures rise in spring.
Can I put citrus, onions, or bread in my compost bin?
In small amounts, yes, for a backyard pile. Citrus peels, onion scraps, and bread break down like other food scraps, although bread should be buried well because it can attract animals. The stricter avoidance rules for citrus and onions apply mainly to worm bins, where those foods can harm the worms.
How often should I turn my compost?
Turning every one to two weeks speeds decomposition the most, and turning once a month still helps noticeably. If you cannot turn at all, the pile will still compost, but slowly and unevenly. In a tumbler, spin the drum every few days while the batch is active. Turn less often in winter to conserve heat.
Why does my compost smell bad?
A rotten smell usually means the pile is too wet or starved of air, so turn it and add dry, coarse browns. An ammonia smell usually means too much nitrogen and too few browns, so mix in browns and cover any exposed greens. A healthy pile smells earthy.
How do I keep rats out of my compost bin?
Keep meat, dairy, and greasy foods out entirely, bury every food addition under four to eight inches of browns, fit a tight lid, and close any hole or gap larger than one quarter inch. A base or floor under the bin adds protection where rats are persistent. If rats appear anyway, stop adding food scraps until the pile is running on yard materials alone, and check the bin for gaps and for food sitting exposed.
When is compost ready, and can I use unfinished compost?
Compost is ready when it is dark, loose, and crumbly, smells like fresh soil, shows no recognizable food scraps, and no longer heats up after turning, followed by at least four weeks of curing. Unfinished compost is not dangerous to handle, but it can temporarily tie up nitrogen in soil as microbes finish breaking it down, so it is better used as mulch on the surface than mixed into planting beds.
Keep reading: Organic Fertilizer for Vegetables
Keep reading: Organic Matter and Soil
Sources & references
- United States Environmental Protection Agency, Composting At Home. Definition of composting, ingredients for composting, what to add and what to avoid in a backyard pile, steps for building and maintaining a pile, temperature range of 130 to 160 degrees Fahrenheit, three to five month finishing time, curing of at least four weeks, shrinkage to about one third, rodent prevention, worm composting basics, and finished compost application rates.
- United States Environmental Protection Agency, Approaches to Composting. Carbon to nitrogen ratio of roughly three parts browns to one part greens by volume, translating to about 30 to 1 elemental carbon to nitrogen.
- Colorado State University Extension, Making Compost. Microbes naturally present on plant wastes and no need for starters, materials to use and avoid, seed survival below about 145 degrees Fahrenheit, bin location and local ordinance distances, and troubleshooting causes and solutions for odor and low temperature.
- Cornell Composting, Cornell Waste Management Institute, Home Composting Slide Show Part II. Optimum carbon to nitrogen ratio of about 30 to 1, optimum moisture of about 40 to 60 percent, minimum pile size of one cubic yard, and ideal temperatures between 90 and 150 degrees Fahrenheit.
- University of California Agriculture and Natural Resources, Vegetable Research and Information Center, Composting. Minimum pile size of three feet high and three feet wide, moisture like a squeezed out sponge, and carbon to nitrogen ratio of roughly 30 to 1.
- Montana State University Extension, Home Composting (MontGuide). Pile size of three to four feet on each side, particle size guidance, and carbon to nitrogen ratios of common materials.
- University of Massachusetts Amherst, Center for Agriculture, Food, and the Environment, Waste Management and Composting. Carbon to nitrogen ratio of 30 to 1 as ideal, volume of three feet square generally adequate, and frequent turning for optimum temperatures and air.
- University of Connecticut Extension, The Basics of Composting. Partially shaded site near water, fast hot compost pile of three to four feet high and wide, and decomposition fastest near a carbon to nitrogen ratio of about 25 to 1.


